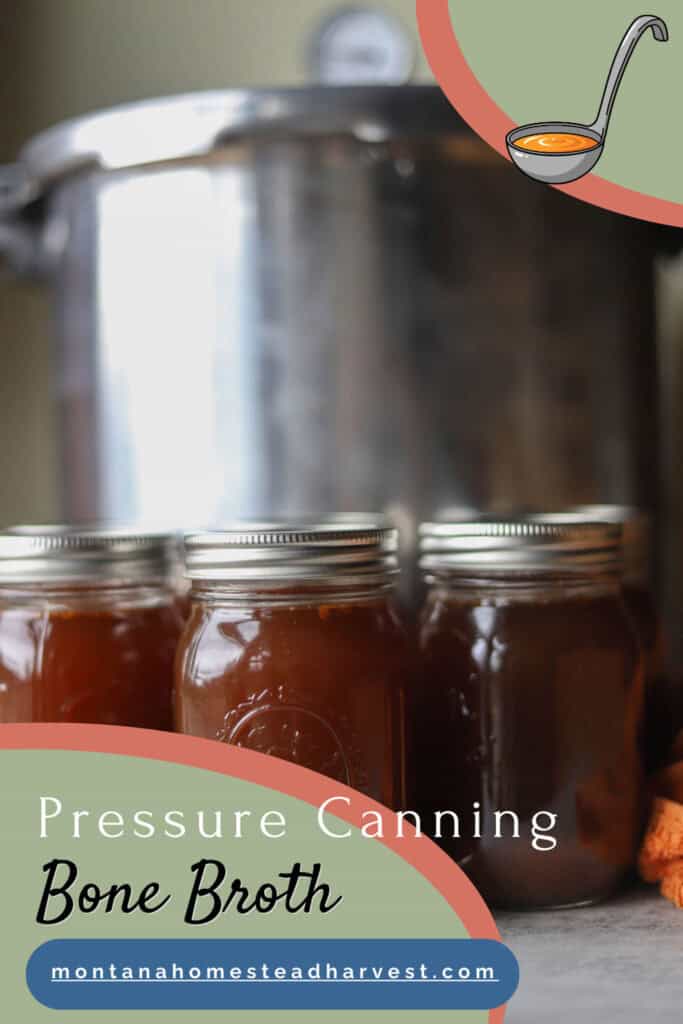
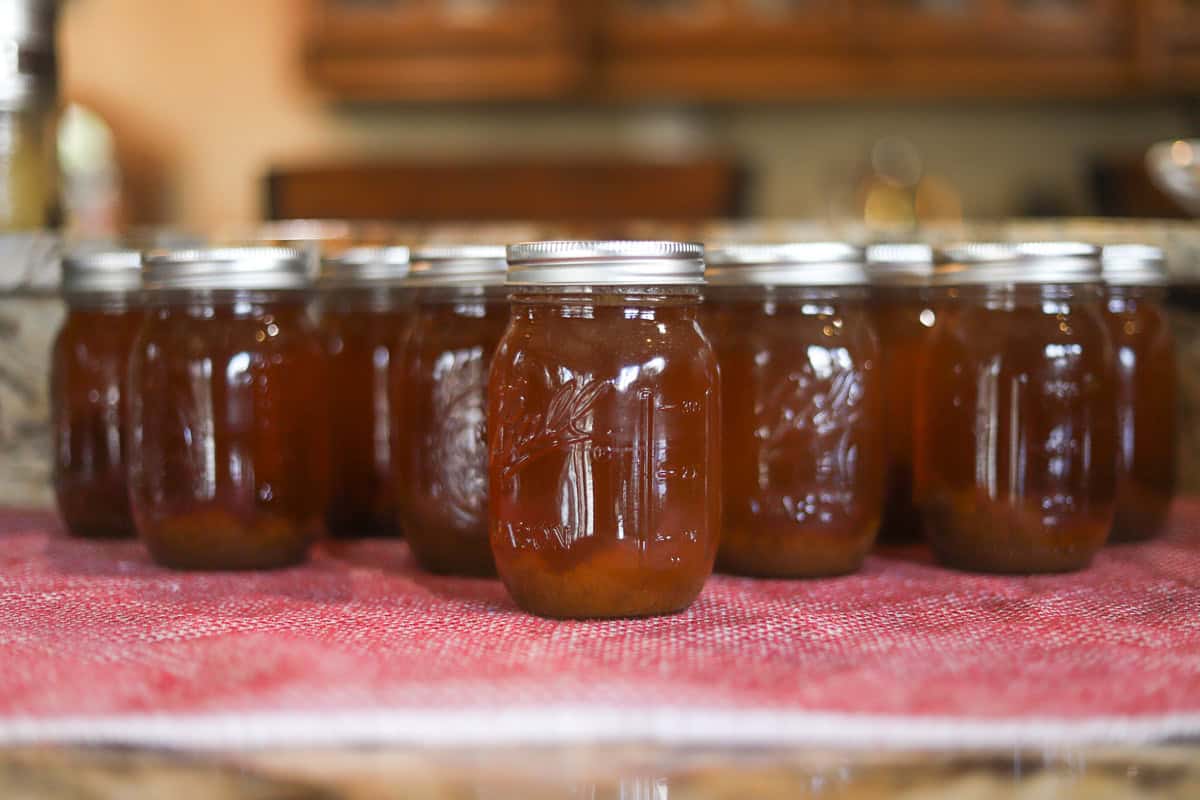
Whether you prefer stove-top bone broth or pressure cooker bone broth, this guide will walk you through the benefits of canning bone broth with a pressure canner. This simple method makes your broth shelf-stable, so you can stock your pantry with jars of rich, homemade bone broth to enjoy all year long. Then make your own umami mushroom seasoning!
Last year, I bought a pressure canning book and later a pressure canner with the intention of learning how to pressure can. However, it ended up being quite a busy year, and I never got around to it. This year, I'm making pressure canning a priority, and we're starting with something simple: pressure canning bone broth.
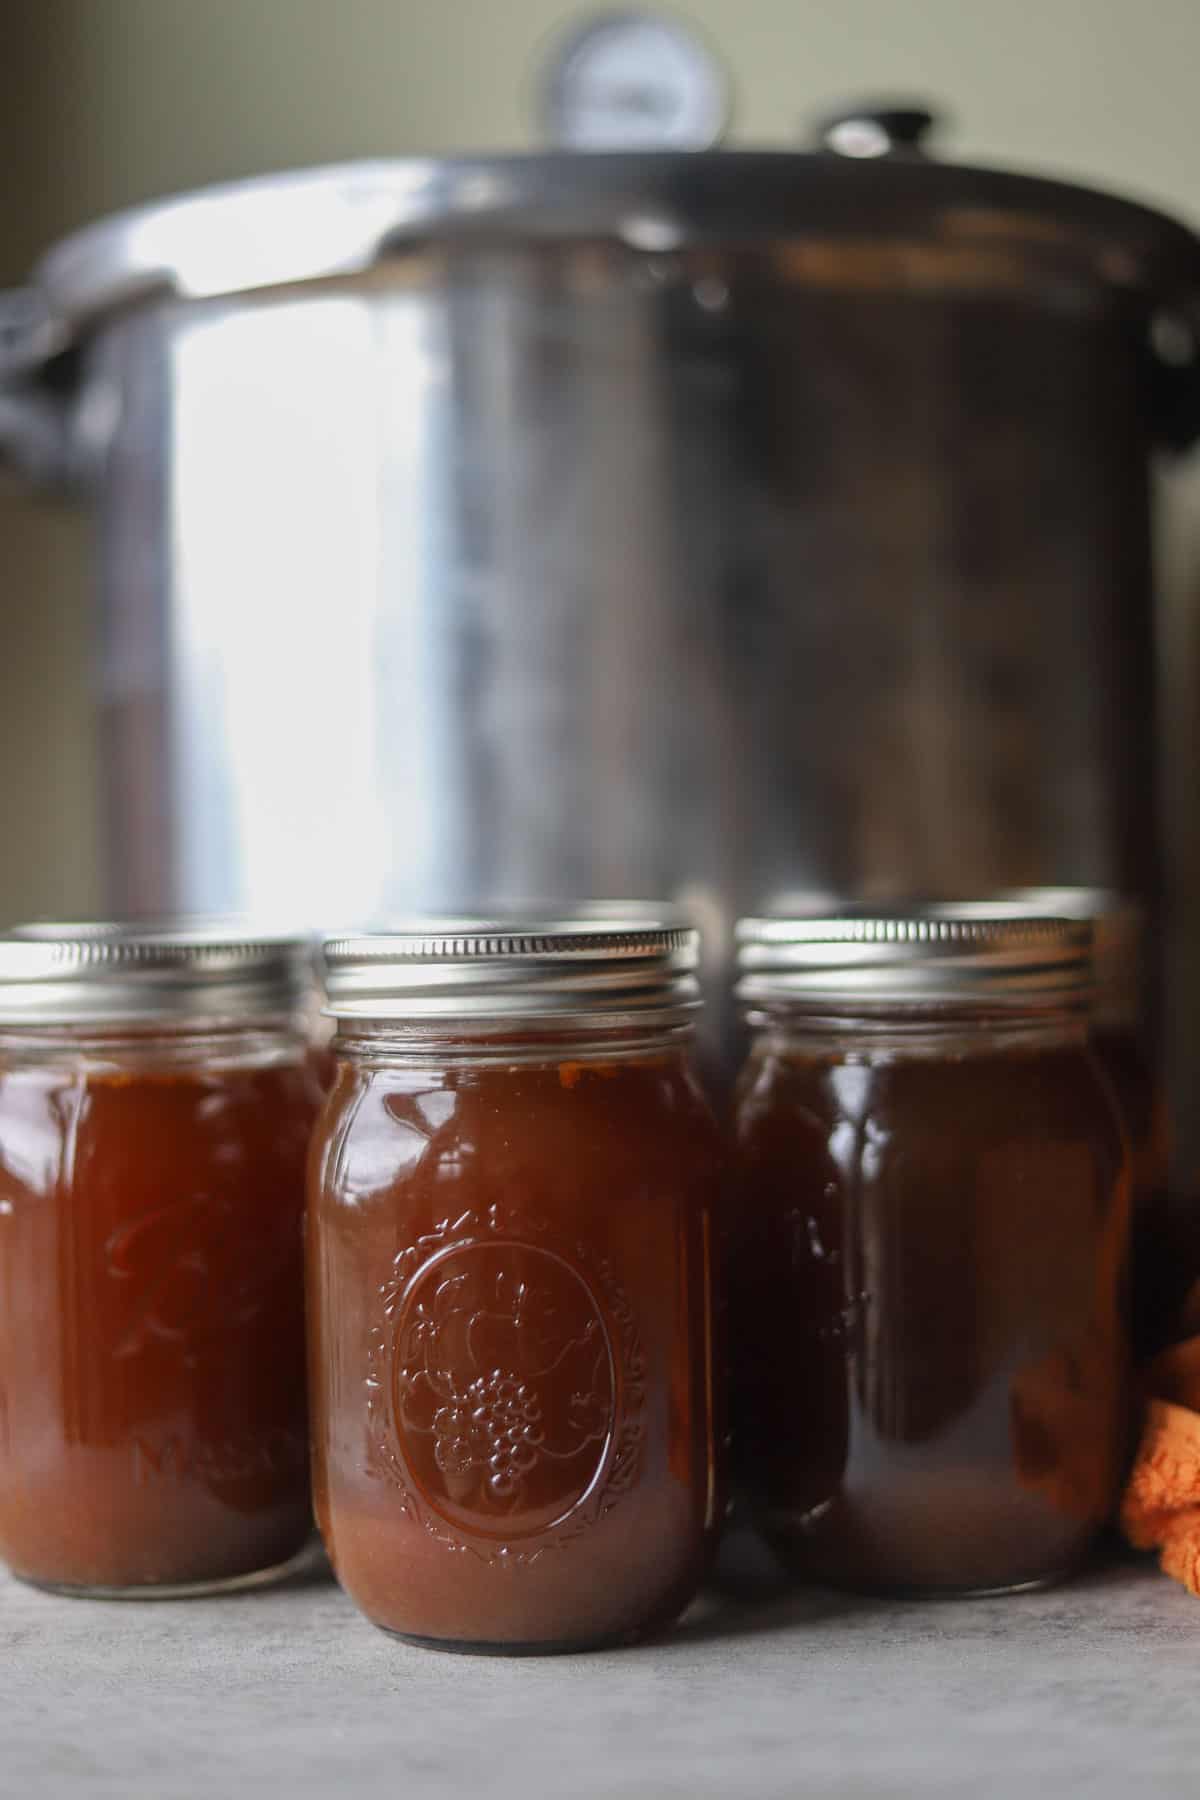
I use a Presto 01781 23-Quart Pressure Canner and Cooker for canning bone broth. Keep in mind that pressure canner instructions can vary depending on the brand and model, so always refer to your manufacturer's guidelines for processing times, pressure levels, and safety recommendations.
If you're new to pressure canning, don't worry, it might seem intimidating at first, but once you get the hang of it, it becomes second nature.
Jump to:
Why Pressure Can Bone Broth?
When it comes to canning bone broth, pressure canning isn't optional-it's essential. Bone broth is considered a low-acid food, which means it must be processed at a higher temperature to be safe for long-term storage.
A pressure canner heats jars to at least 240°F, which is hot enough to destroy harmful bacteria like Clostridium botulinum. This is what makes your shelf-stable bone broth safe to store in your pantry.
On the other hand, water bath canning only reaches 212°F (the boiling point of water). While that's perfectly fine for high-acid foods like jams, Oregon grape jelly, and pickled garlic scapes, it's simply not hot enough to safely preserve bone broth.
Bottom line:
If you're canning bone broth, always use a pressure canner. Water bath canning is not safe for this purpose, even if it seems easier or more convenient.
Pressure Canning Benefits
- If you make a lot of broth (which many cooks and homesteaders do), canning frees up valuable freezer room for meat, berries, and other foods.
- You'll have portioned bone broth on hand for soups, chili, gravies, and sauces.
- Pressure canning is cost-effective
- It allows you to preserve broth made from leftover bones, vegetable scraps, or roasted carcasses instead of letting it go to waste.
- Unlike frozen broth, canned broth can be used immediately without waiting for it to thaw.
- Home-canned broth becomes a versatile pantry ingredient that can quickly elevate everyday meals.
Equipment Needed
- pressure canner
- canning jars (pints or quarts)
- lids and rings
- jar lifter
- funnel
- ladle
Ingredients
- Beef bone broth for canning
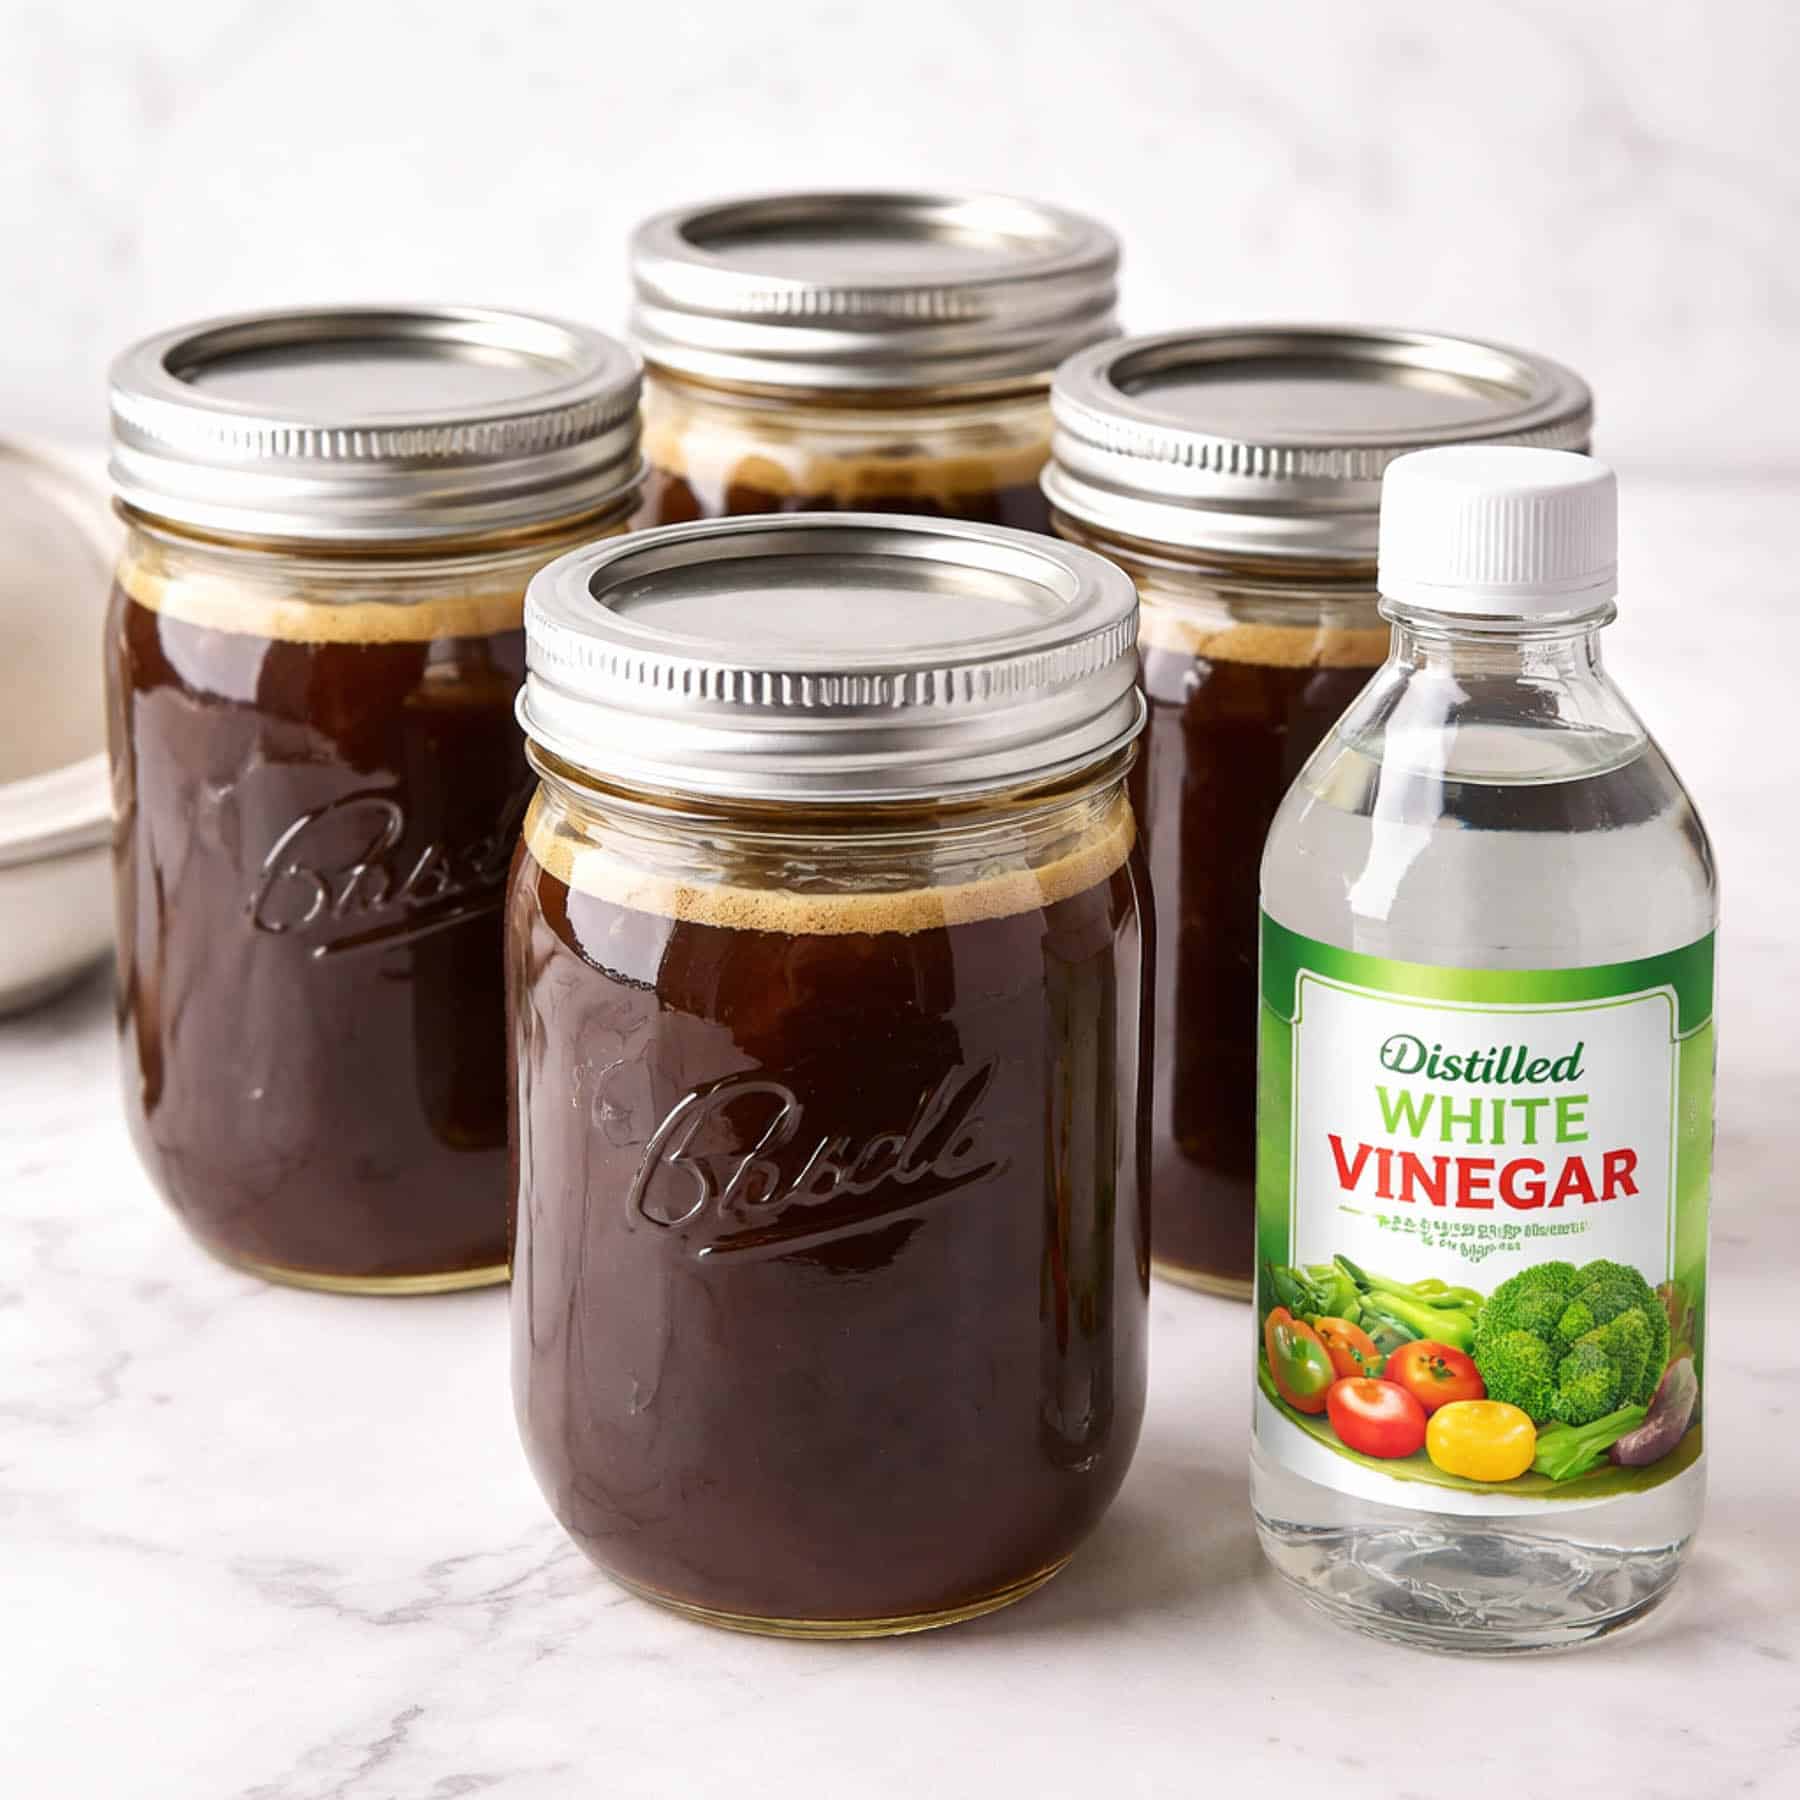
- Vinegar for wiping jar rims
Preparing Bone Broth for Canning
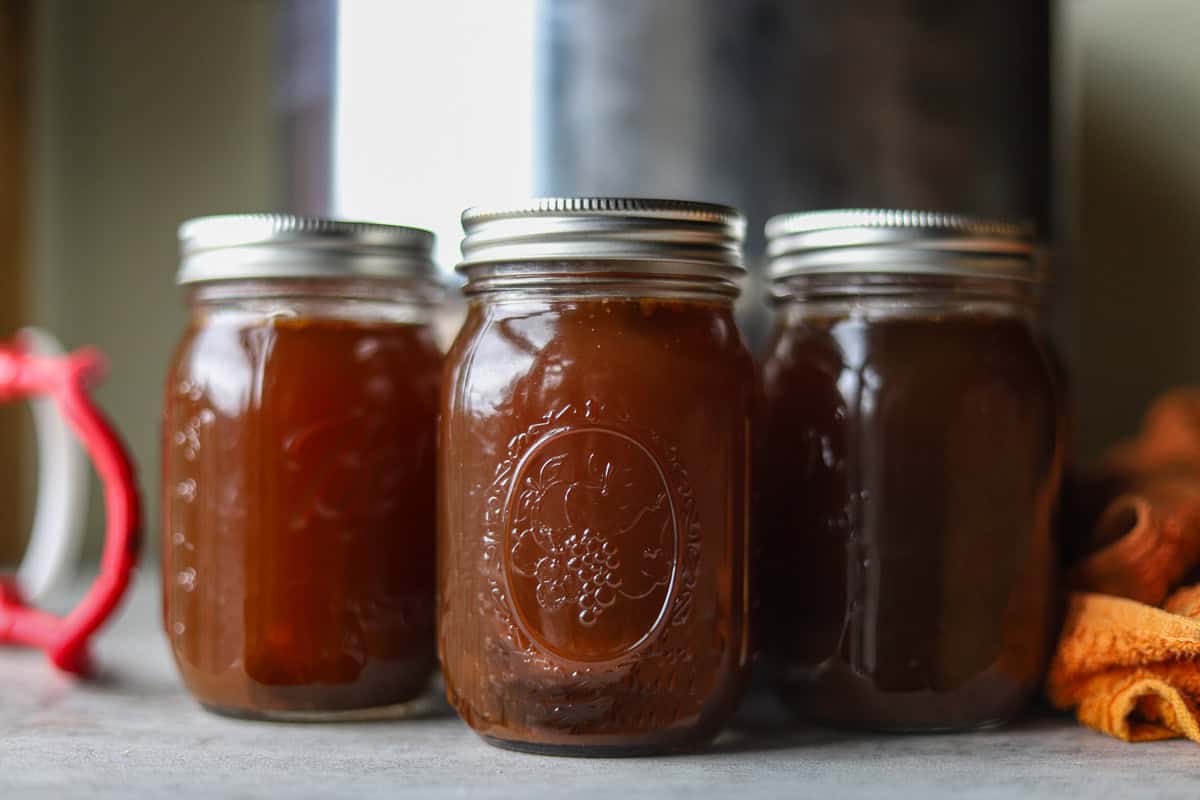
Once your bone broth is prepared, strain, cool, and remove the top layer of fat. Refrigerating or freezing the broth makes removing the excess fat easy.
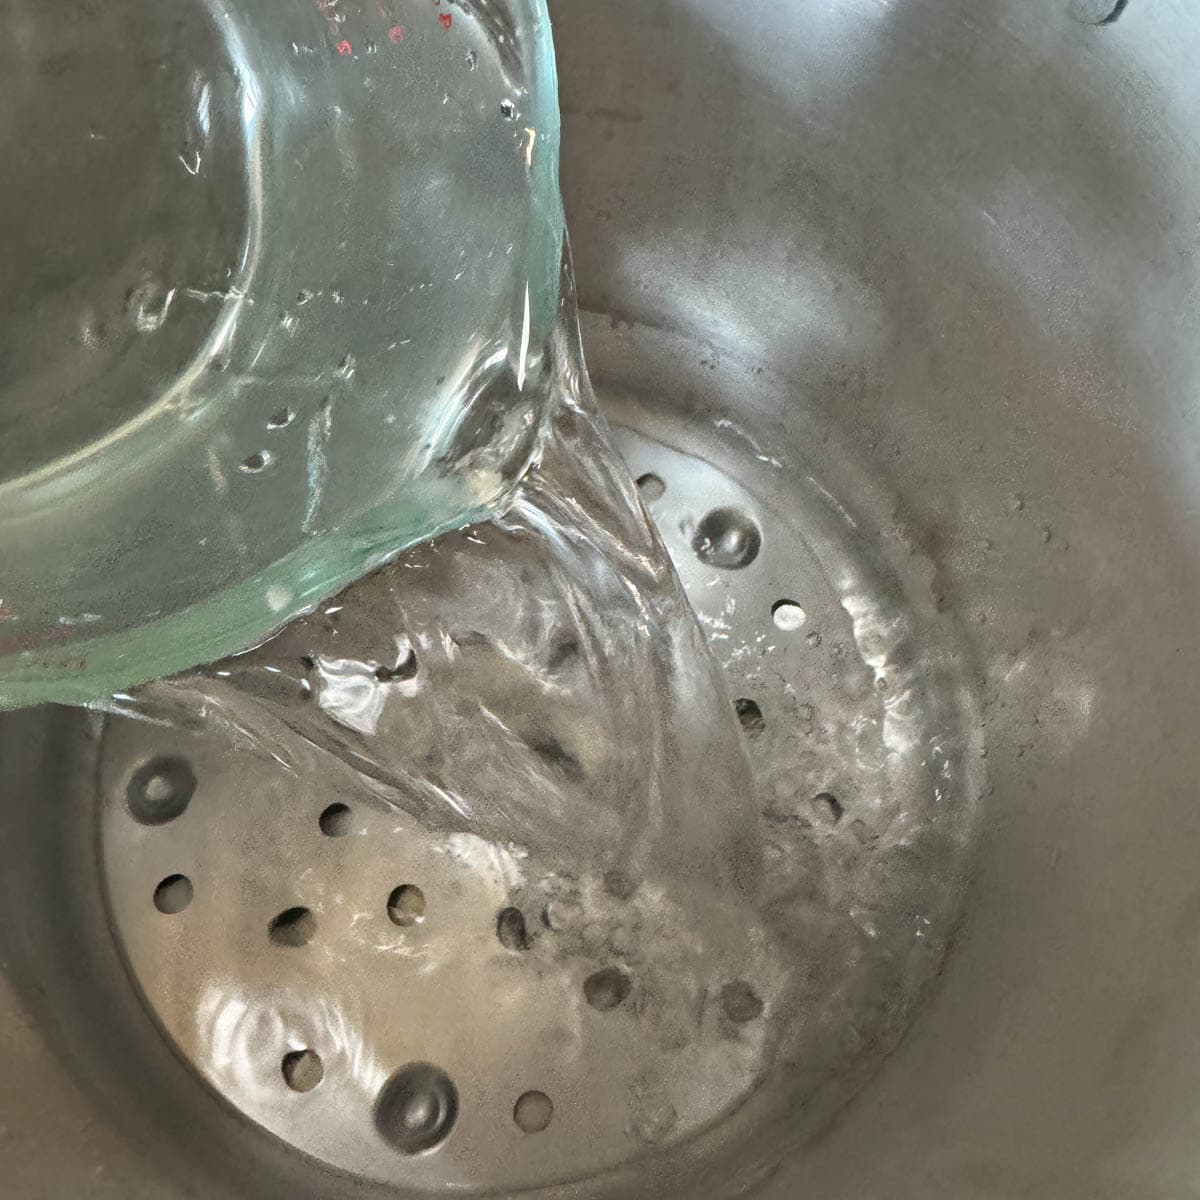
- Prepare the canner by adding a canning rack on the bottom, then pour 3-quarts of hot water and 2 tablespoons of distilled white vinegar to prevent staining the jars.
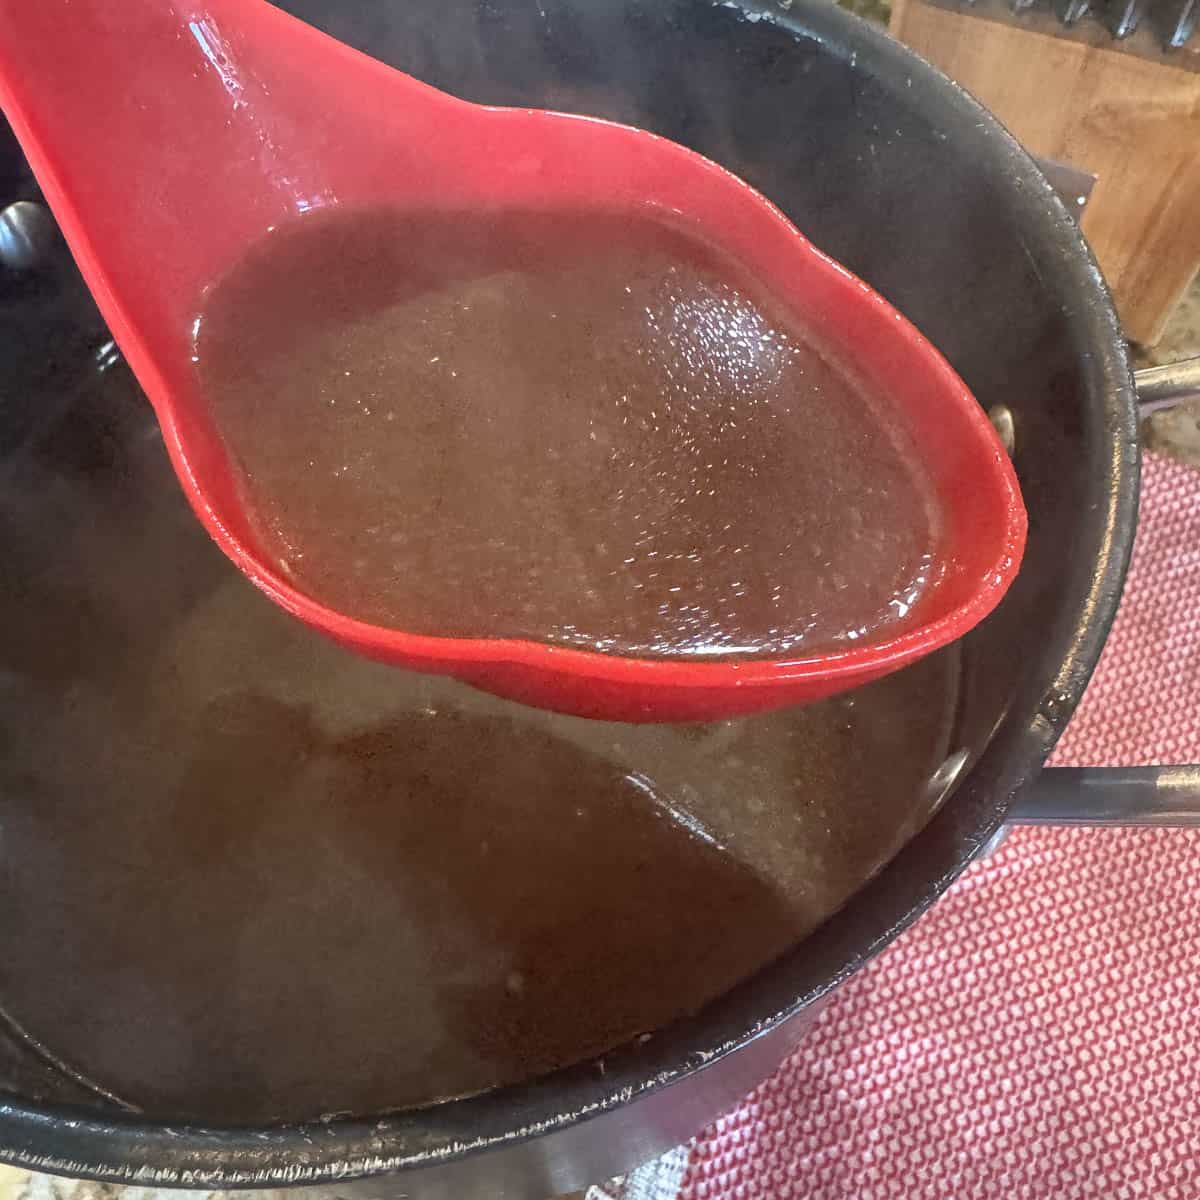
- Reheat broth to boiling and keep jars in hot water until you're ready to fill them. This prevents thermal shock when adding hot broth and helps ensure safe processing.
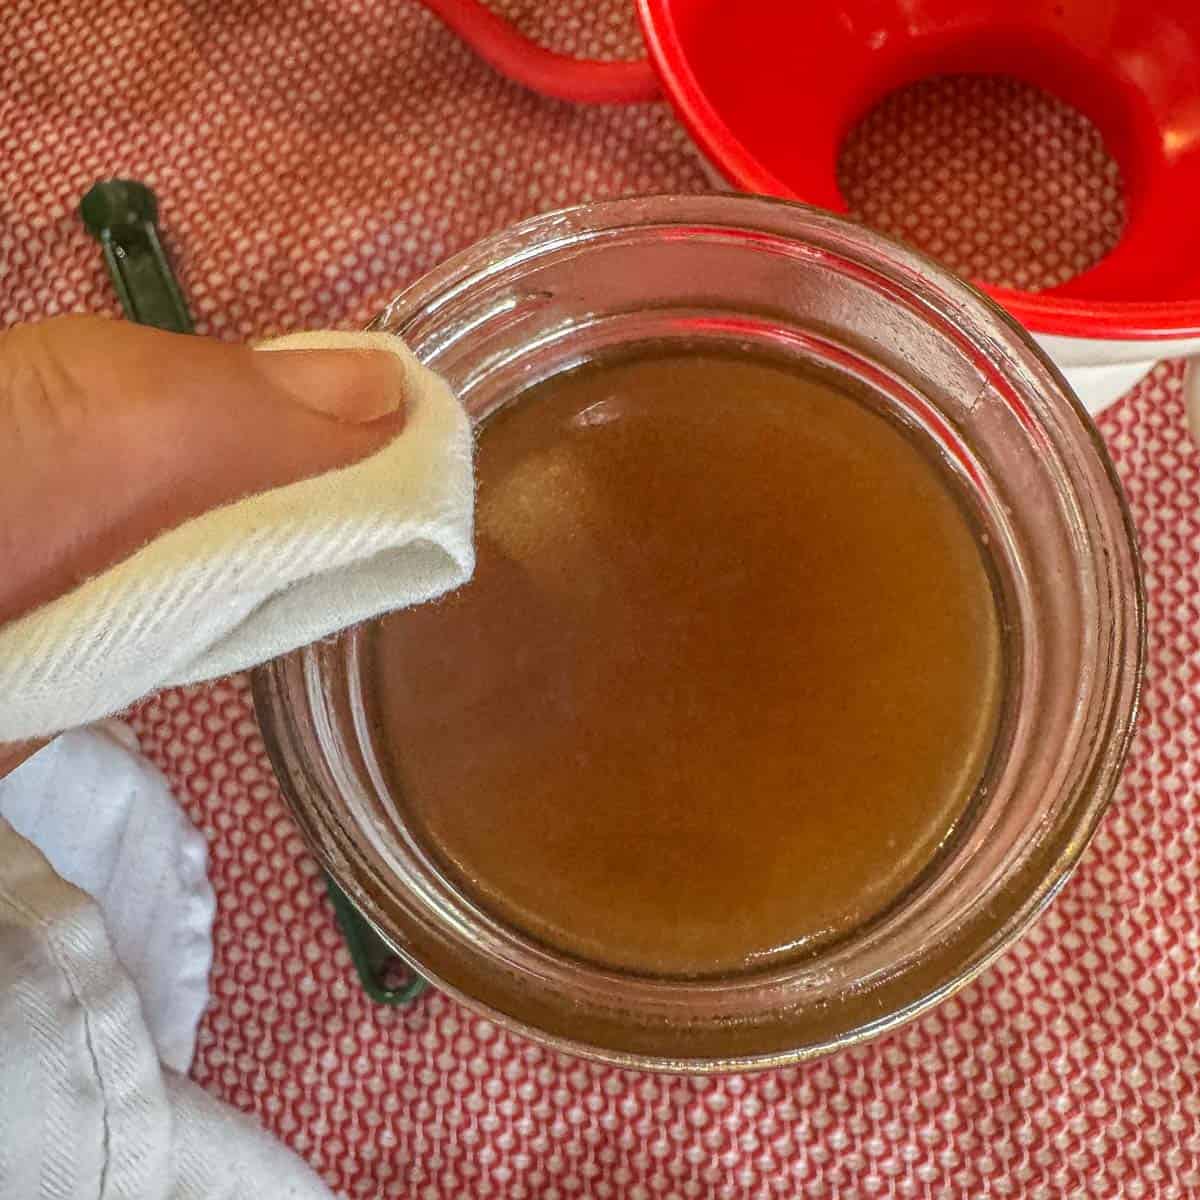
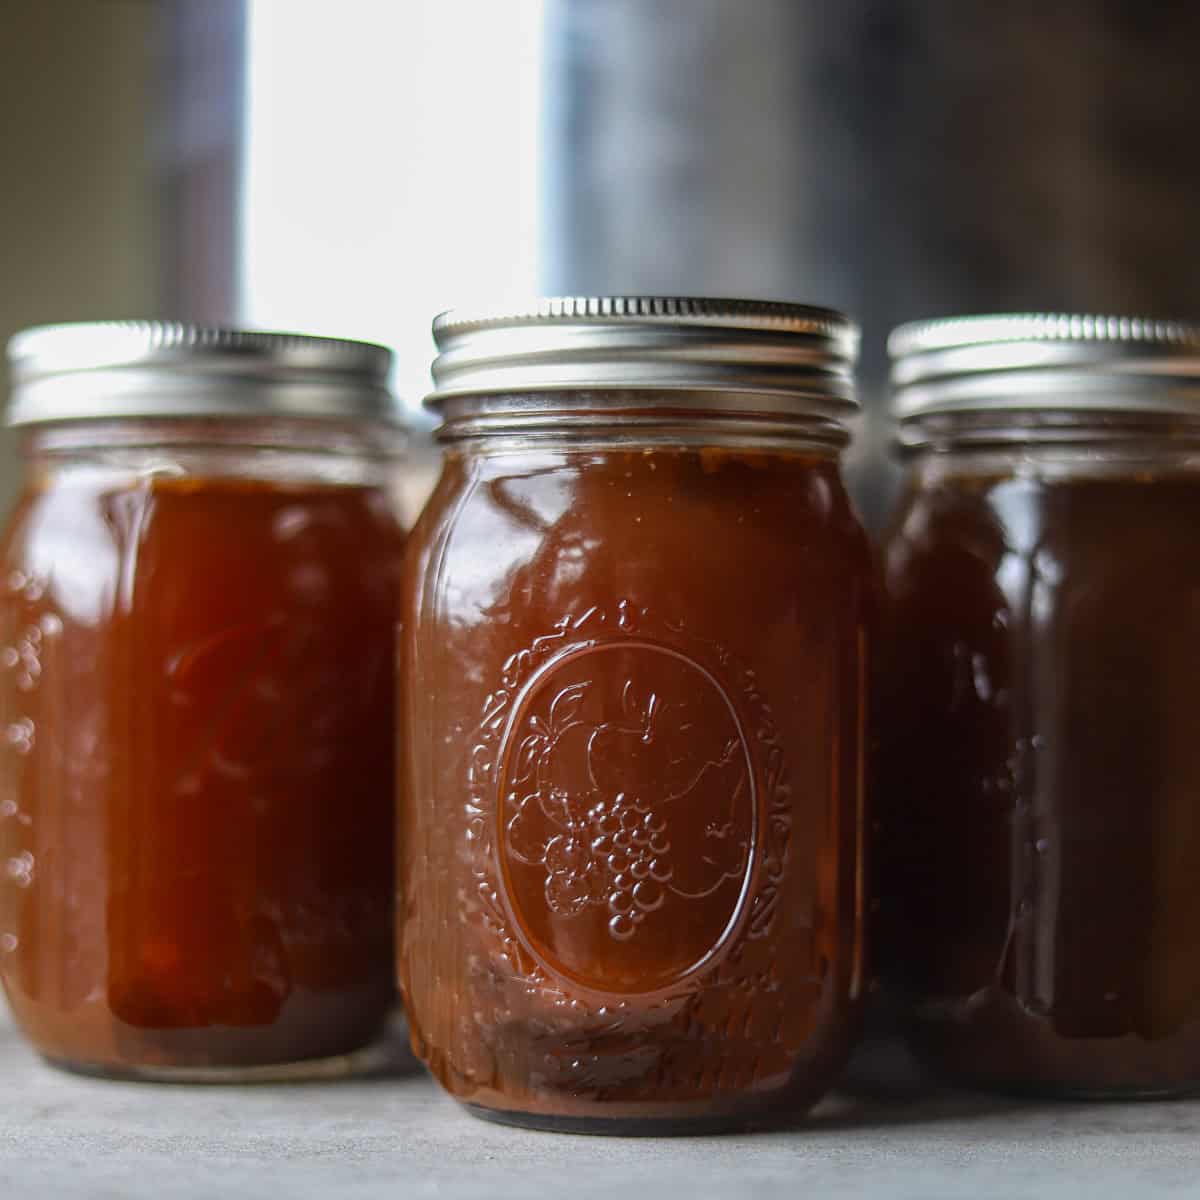
- Fill hot sterilized jars with hot broth, leaving 1" headspace. Wipe rims with a washcloth dipped in distilled white vinegar, then add lids and collars and hand-tighten.

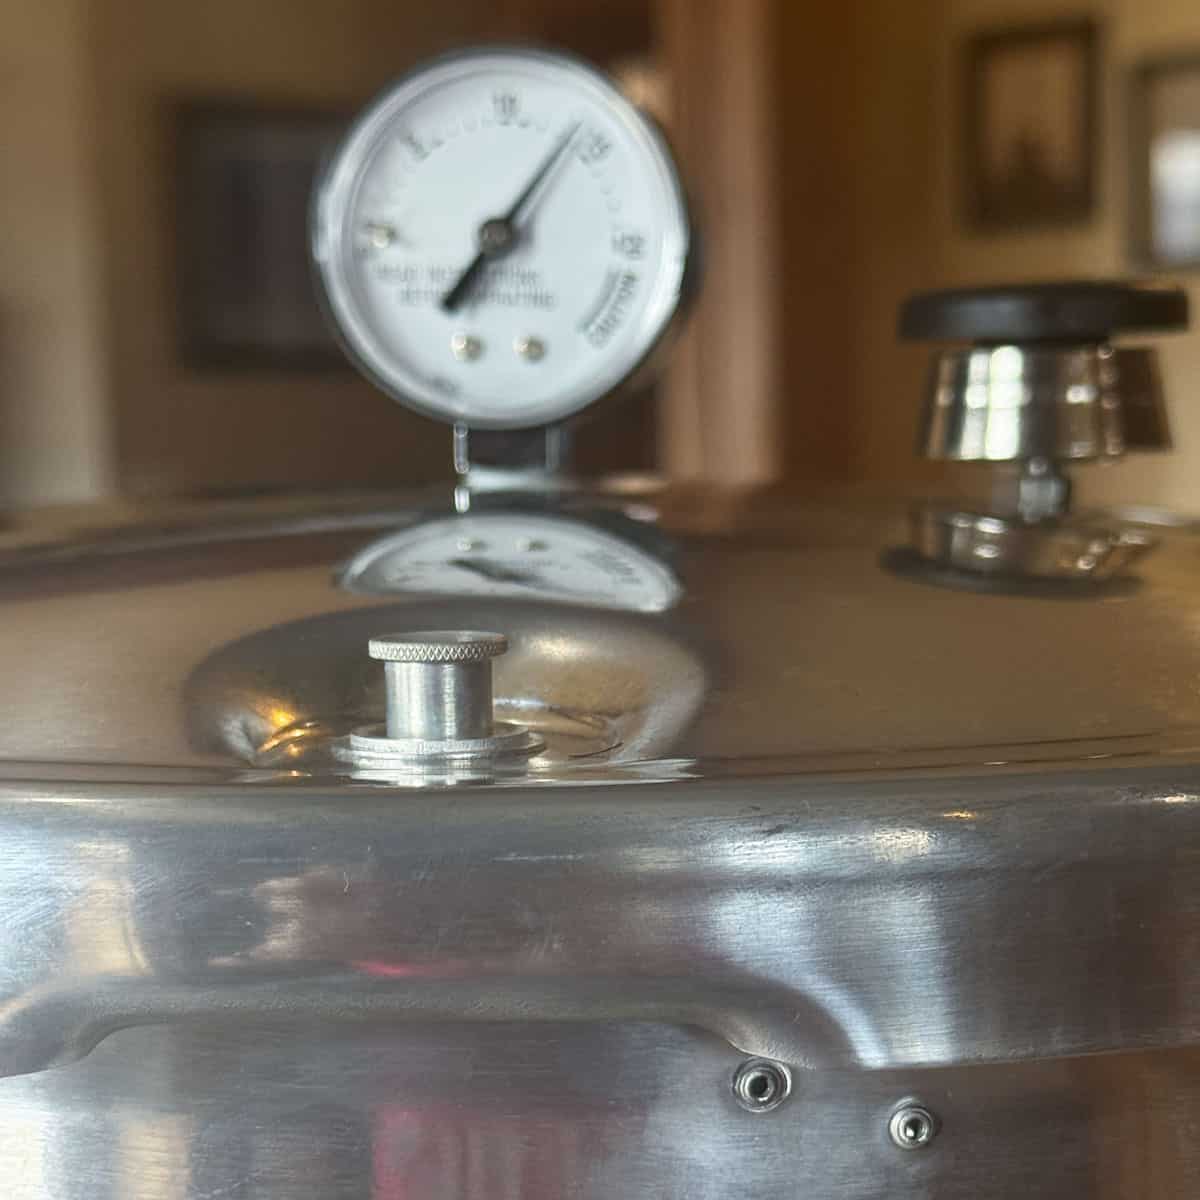
- Use jar lifters to transfer jars into the pressure canner. Place the lid on the canner and line up the V-shaped mark on the lid with the inverted V mark on the canner handle.
- Press down on the lid to seal as you turn it clockwise to lock in place. The cover handles and body handles should align. Bring to a boil on high heat until a steady flow of steam can be seen from the vent; Set a timer for 10 minutes.
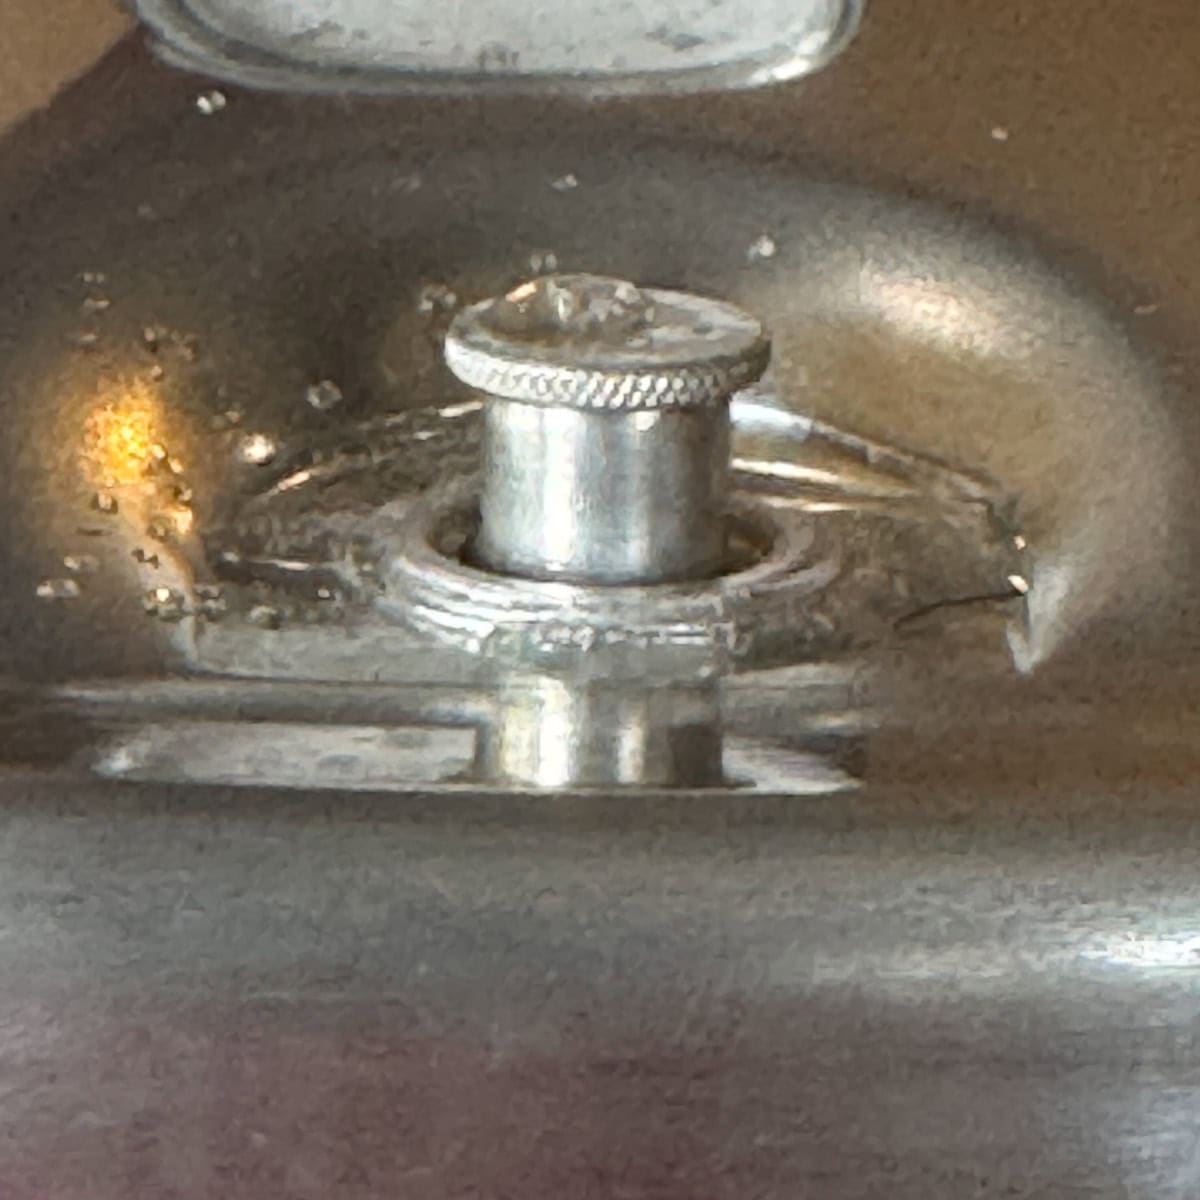
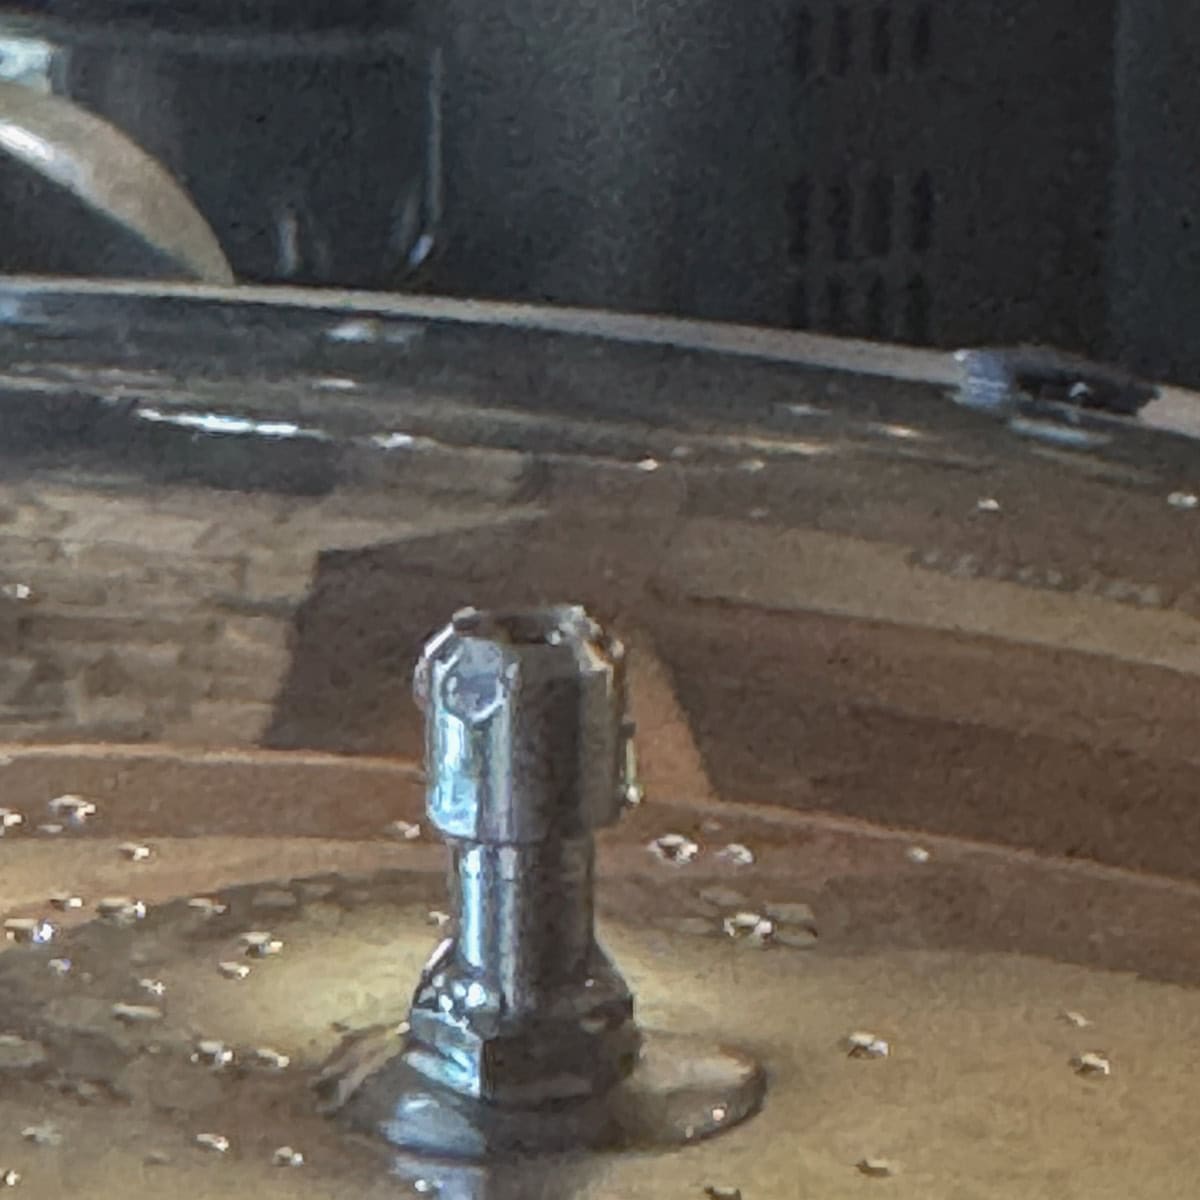
- After venting for 10 minutes, place the pressure regulator on the vent pipe. As pressure builds, the air vent will lift, locking the cover of the canner. The pressure dial gauge will slowly rise.
Pro Tip: The vent cover lock is a good way to indicate if there is pressure in the canner. In the up postion, it indicates there is pressure build-up in the canner. In the down position, it indicates there is no pressure remaining.
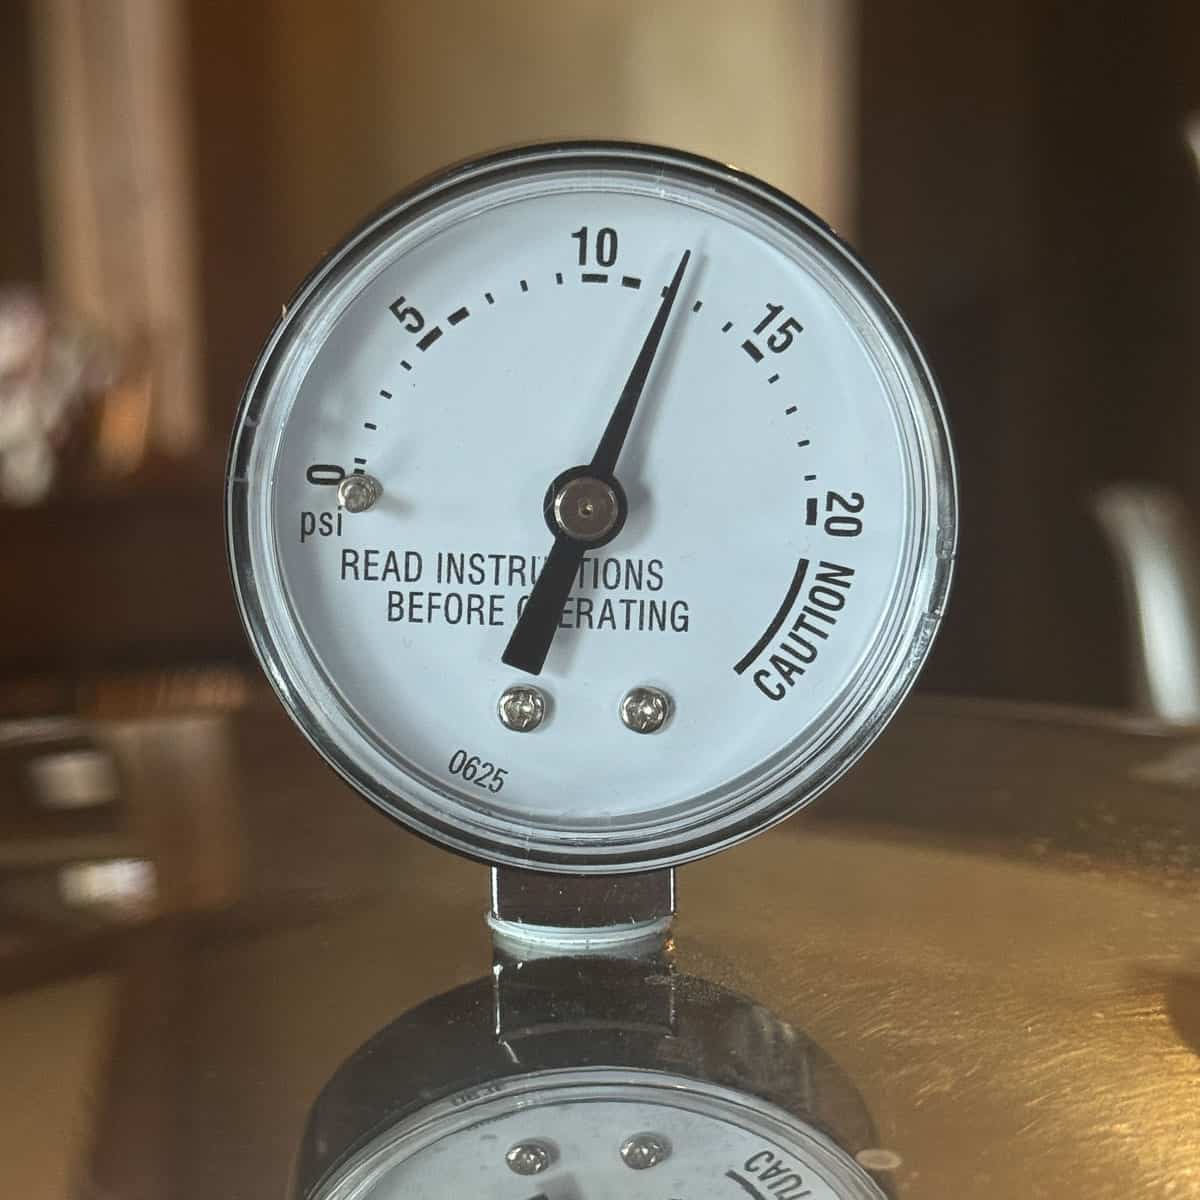
- Once the desired PSI is reached (based on your elevation), set a timer and process pints for 20 minutes; quarts for 25 minutes.
- Keep an eye on the gauge to ensure the pressure never goes below the appropriate PSI.
Pro Tip: It's perfectly fine if your pressure creeps slightly above the recommended PSI during processing. Just adjust your heat to bring it back down gradually. However, if the pressure drops below the required PSI at any point, you'll need to bring it back up to pressure and restart your processing time from the beginning to ensure your bone broth is safely canned.
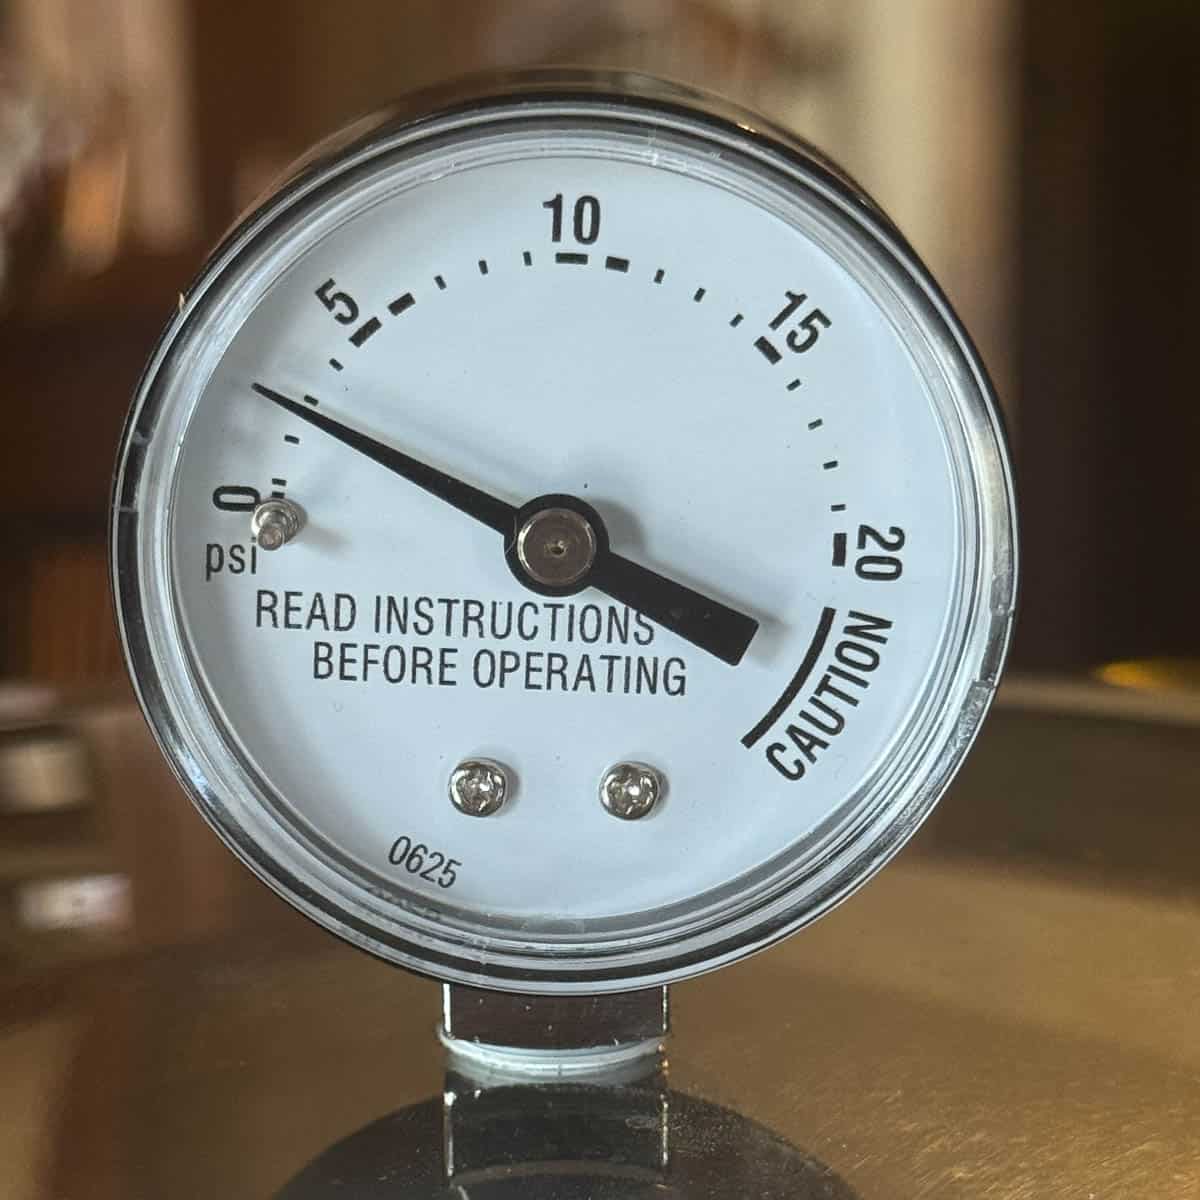
- Turn off the heat when the time is up. When the air vent pin drops and no more steam is coming out of the vent, remove the pressure regulator, then cool the pressure canner for 10 minutes.
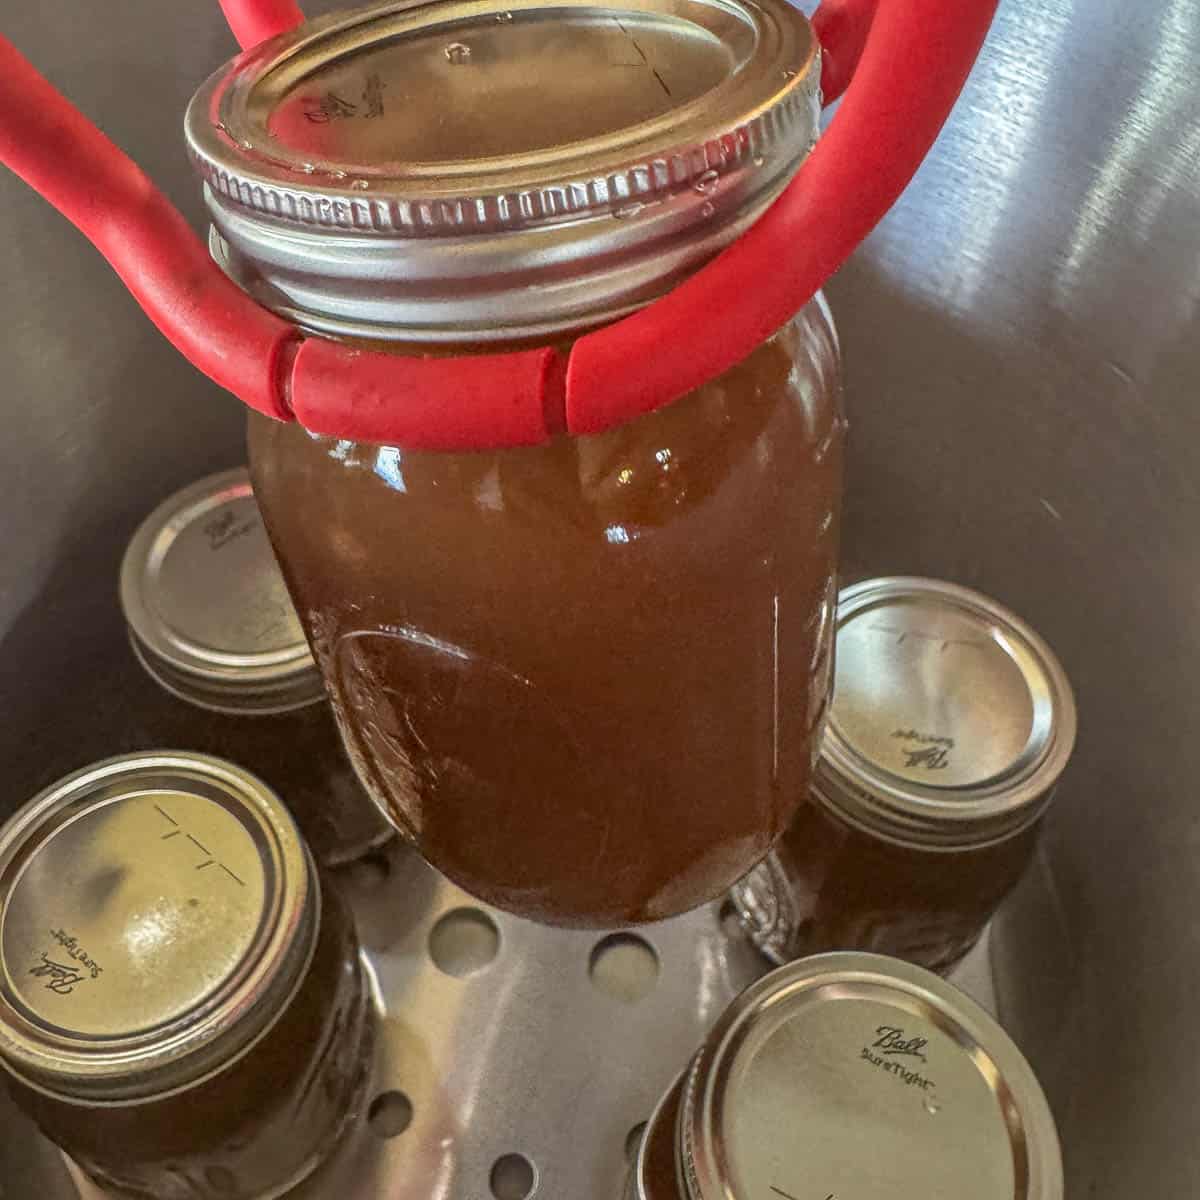
- Turn the cover counterclockwise to unlock and remove. Use jar lifters to remove jars and place them on a towel on the counter, undisturbed, for 12 hours. Check seals before storing.
Processing Time
Here are the processing times recommended by the National Center for Home Food Preservation.
Processing Time:
- Pints: 20 minutes
- Quarts: 25 minutes
Pressure
- 10 PSI (weighted gauge)
- 11 PSI (dial gauge)
For altitudes above 1000 feet, make the following adjustments:
| Altitude Range | Pressure for Weighted Gauge | Pressure for Dial Gauge |
|---|---|---|
| 0–1,000 ft | 10 PSI | 11 PSI |
| 1,001–2,000 ft | 15 PSI | 11 PSI |
| 2,001–4,000 ft | 15 PSI | 12 PSI |
| 4,001–6,000 ft | 15 PSI | 13 PSI |
| 6,001–8,000 ft | 15 PSI | 14 PSI |
How Long Does Canned Bone Broth Last?
Properly pressure-canned bone broth can last 12 to 24 months when stored in a cool, dark place. That said, it's often still safe to use beyond that timeframe as long as the seal is intact and there are no signs of spoilage.
Ways to Use Bone Broth
- soups
- stews
- gravy
- cooking rice
- sipping as a warm drink
Storage
Before storing the bone broth, remove the rings to ensure the lids are sealed, then store in a cool, dark location, such as a pantry, and use within 2 years for best flavor.
Pro Tips for Pressure Canning Bone Broth
- Total canning time will be longer than the processing time listed. This includes the time it takes for the canner to reach pressure and to cool down naturally before opening.
- If the pressure canner cover sticks, there could be more pressure in the canner. Allow the canner to cool further and try again.
- Keep a gallon freezer bag in your freezer for beef bones, chicken carcasses, and vegetable scraps. Once the bag is full, you'll have everything you need to make a large batch of pressure cooker bone broth.
- Don't forget to label the jars with the contents and the date. Even though properly canned broth can last a long time, it's best used within 2 years for the best flavor and quality.
- Don't throw the fat away! Beef fat from bone broth can be used for cooking or added to homemade pet food. Chickens love it too!
FAQ
Yes. Because broth is a low-acid food, it must be processed in a pressure canner.
No, water bath canning is not recommended for bone broth because it is a low-acid food. It needs to reach a higher temperature to destroy Botulinum spores (240F to 250F).
Always leave 1 inch of headspace when canning broth. This allows for expansion during processing and helps ensure a good seal.
While a small amount of fat is fine, too much fat can interfere with the jar sealing properly. After the broth cools and the fat solidifies on top, remove excess fat before reheating and filling jars.
More Homeasteading Posts
I hope you learned something by reading this pressure cooker bone broth post. Here are some other posts you may enjoy!


Pressure Canning Bone Broth (Shelf Stable)
Ingredients
- 8 pints bone broth
- distilled white vinegar (wiping rims & add to canner)
Instructions
- Prepare the canner by adding a canning rack on the bottom, then pour 3-quarts of hot water and 2 tablespoons of distilled white vinegar to prevent staining the jars.
- Reheat broth to boiling and keep jars in hot water until you're ready to fill them. This prevents thermal shock when adding hot broth and helps ensure safe processing.
- Fill hot sterilized jars with hot broth, leaving 1" headspace. Wipe rims with a washcloth dipped in distilled white vinegar, then add lids and collars and hand-tighten.
- Use jar lifters to transfer jars into the pressure canner. Place the lid on the canner and line up the V-shaped mark on the lid with the inverted V mark on the canner handle.
- Press down on the lid to seal as you turn it clockwise to lock in place. The cover handles and body handles should align. Bring to a boil on high heat until a steady flow of steam can be seen from the vent; Set a timer for 10 minutes.
- After venting for 10 minutes, place the pressure regulator on the vent pipe. As pressure builds, the air vent will lift, locking the cover of the canner. The pressure dial gauge will slowly rise.
- Once the desired PSI is reached (based on your elevation), set a timer and process pints for 20 minutes; quarts for 25 minutes.
- Keep an eye on the gauge to ensure the pressure never goes below the appropriate PSI.
- Turn off the heat when the time is up. When the air vent pin drops and no more steam is coming out of the vent, remove the pressure regulator, then cool the pressure canner for 10 minutes.
- Turn the cover counterclockwise to unlock and remove. Use jar lifters to remove jars and place them on a towel on the counter, undisturbed, for 12 hours. Check seals before storing.
Notes
- The vent cover lock is a good way to indicate if there is pressure in the canner. In the up postion, it indicates there is pressure build-up in the canner. In the down position, it indicates there is no pressure remaining.
- Total canning time will be longer than the processing time listed. This includes the time it takes for the canner to reach pressure and to cool down naturally before opening.
- It's perfectly fine if your pressure creeps slightly above the recommended PSI during processing. Just adjust your heat to bring it back down gradually. However, if the pressure drops below the required PSI at any point, you'll need to bring it back up to pressure and restart your processing time from the beginning to ensure your bone broth is safely canned.
- If the pressure canner cover sticks, there could be more pressure in the canner. Allow the canner to cool further and try again.
- Don't forget to label the jars with the contents and the date. Even though properly canned broth can last a long time, it's best used within 2 years for the best flavor and quality.
- Don't throw the fat away! Beef fat from bone broth can be used for cooking or added to homemade pet food. Chickens love it too!
Hilda Sterner says
I hope you try your hand at pressure canning soon. It's a game changer!