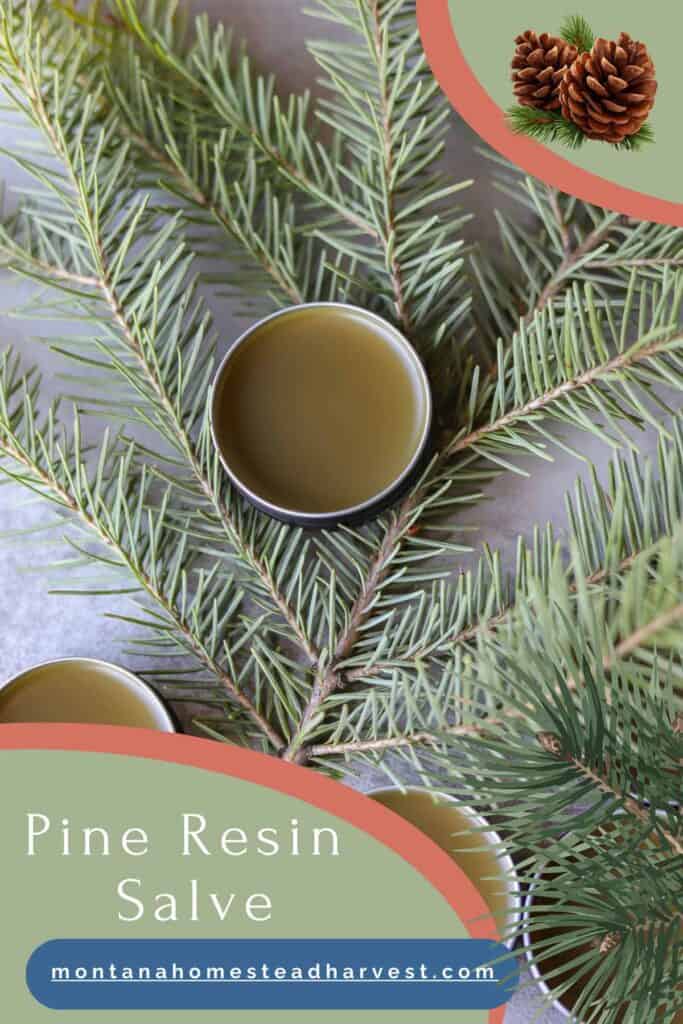
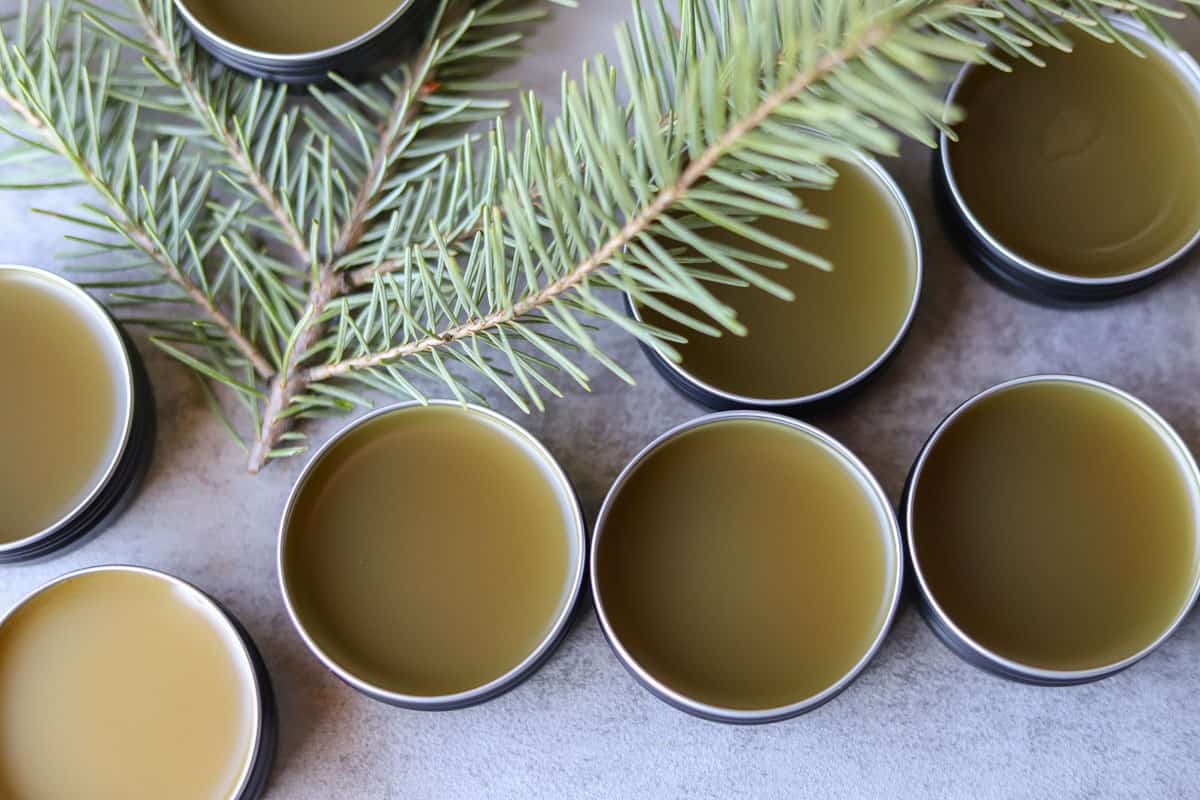
This pine resin salve can be prepared any time of year since pine resin is available year-round. Pine resin has anti-inflammatory and antimicrobial properties, making it amazing for dry skin, achy hands, and acts as a drawing salve for splinters, similar to black drawing salve! If you love making your own herbal remedies, you'll definitely want to check out my arnica salve and plantain salve post, too!
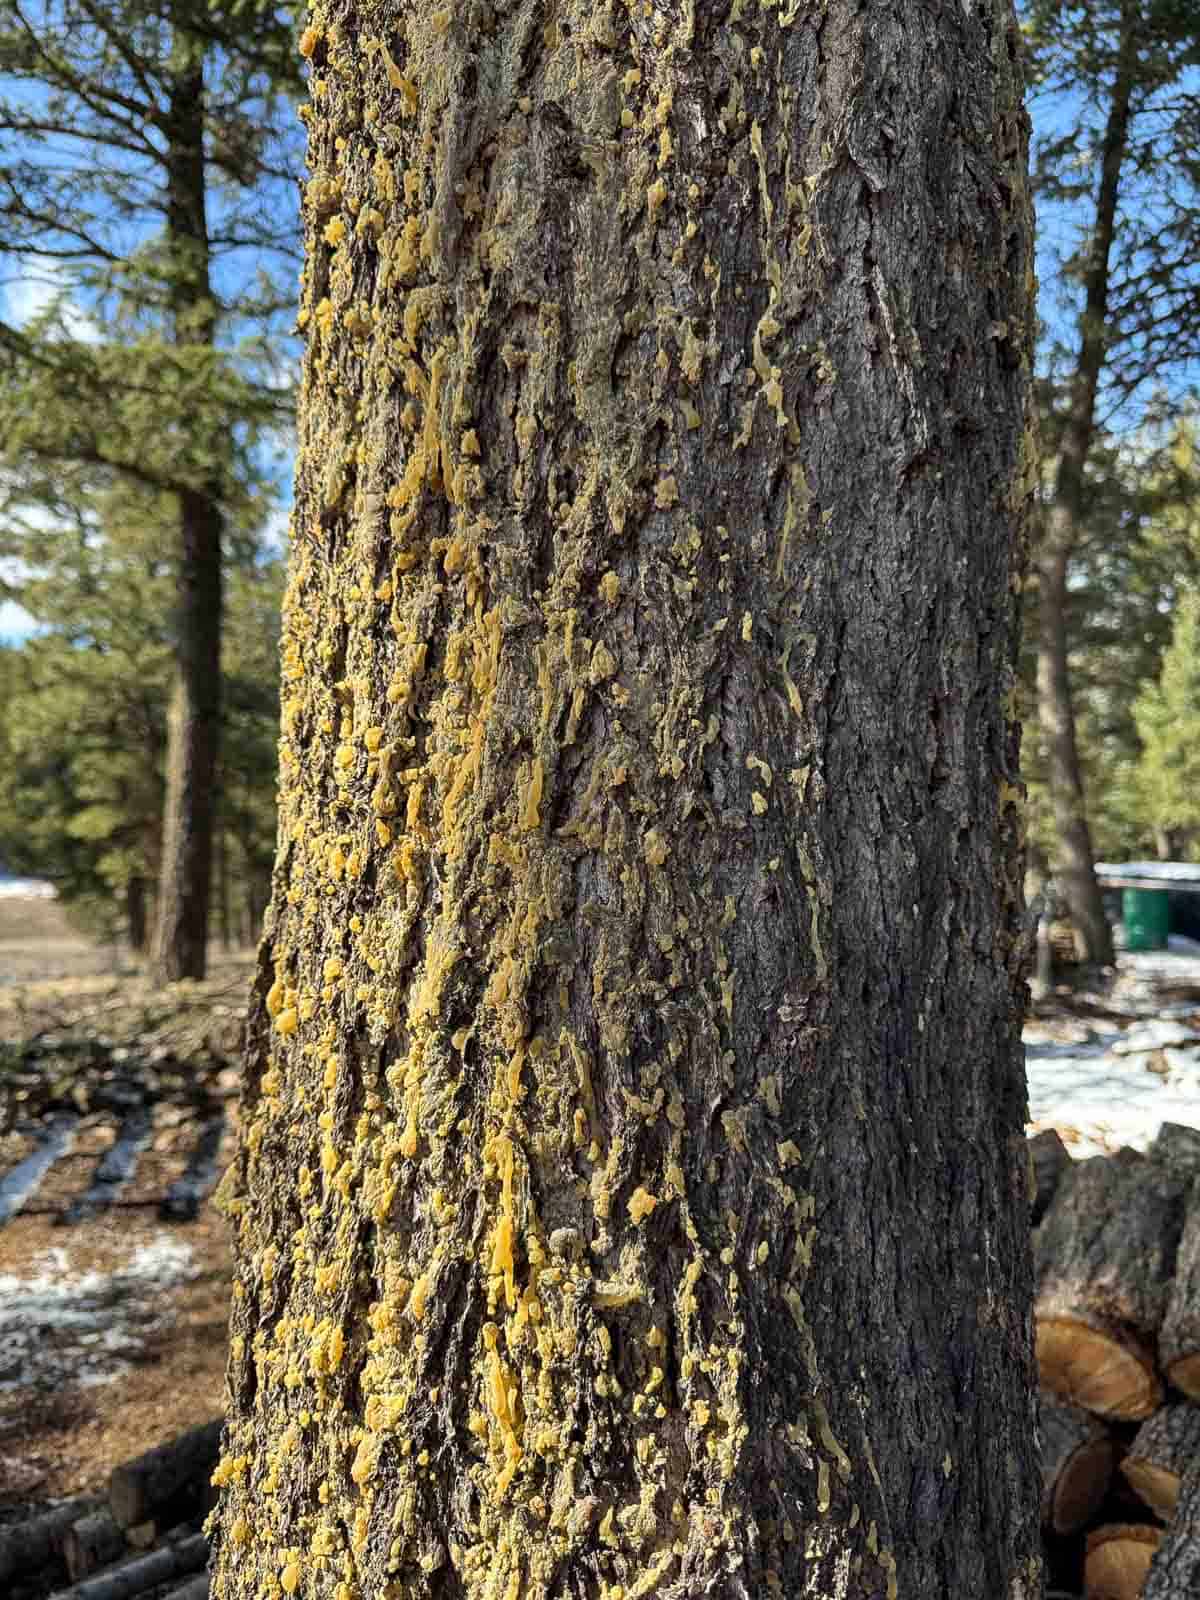
If you spend any time in the Montana woods, you've probably noticed the golden, amber-colored globs of resin oozing from pine trees. Maybe you've gotten it stuck to your fingers and spent ten minutes trying to get it off; I know I have. 🙃
But here's the thing: that sticky nuisance is actually liquid gold. Pine resin has been used for centuries as a natural antiseptic and wound healer, which makes it perfect for turning into a powerful, all-natural salve.
No time to make your own? No pine trees in your backyard? No problem. I've already done the sticky work for you, so you can skip straight to the good part and treat yourself to a handcrafted pine resin salve made by yours truly.
Jump to:
What Is Pine Resin?
Pine resin (also called pine pitch or sap) is the sticky substance that seeps out of pine trees when the bark is damaged. It's the tree's natural defense system. It seals wounds, fights off insects, and protects the tree from infection. Interestingly, it does something very similar when we use it on our own skin!
It's worth noting that resin and sap aren't the same thing. True pine sap is a watery, sugary liquid that flows through the tree, while resin is the thick, sticky substance the tree produces in response to injury. For this salve, you want the resin.
How to Harvest Pine Resin
One of the things I love most about pine resin is that you can harvest it without harming the tree at all. Here's how I do it:
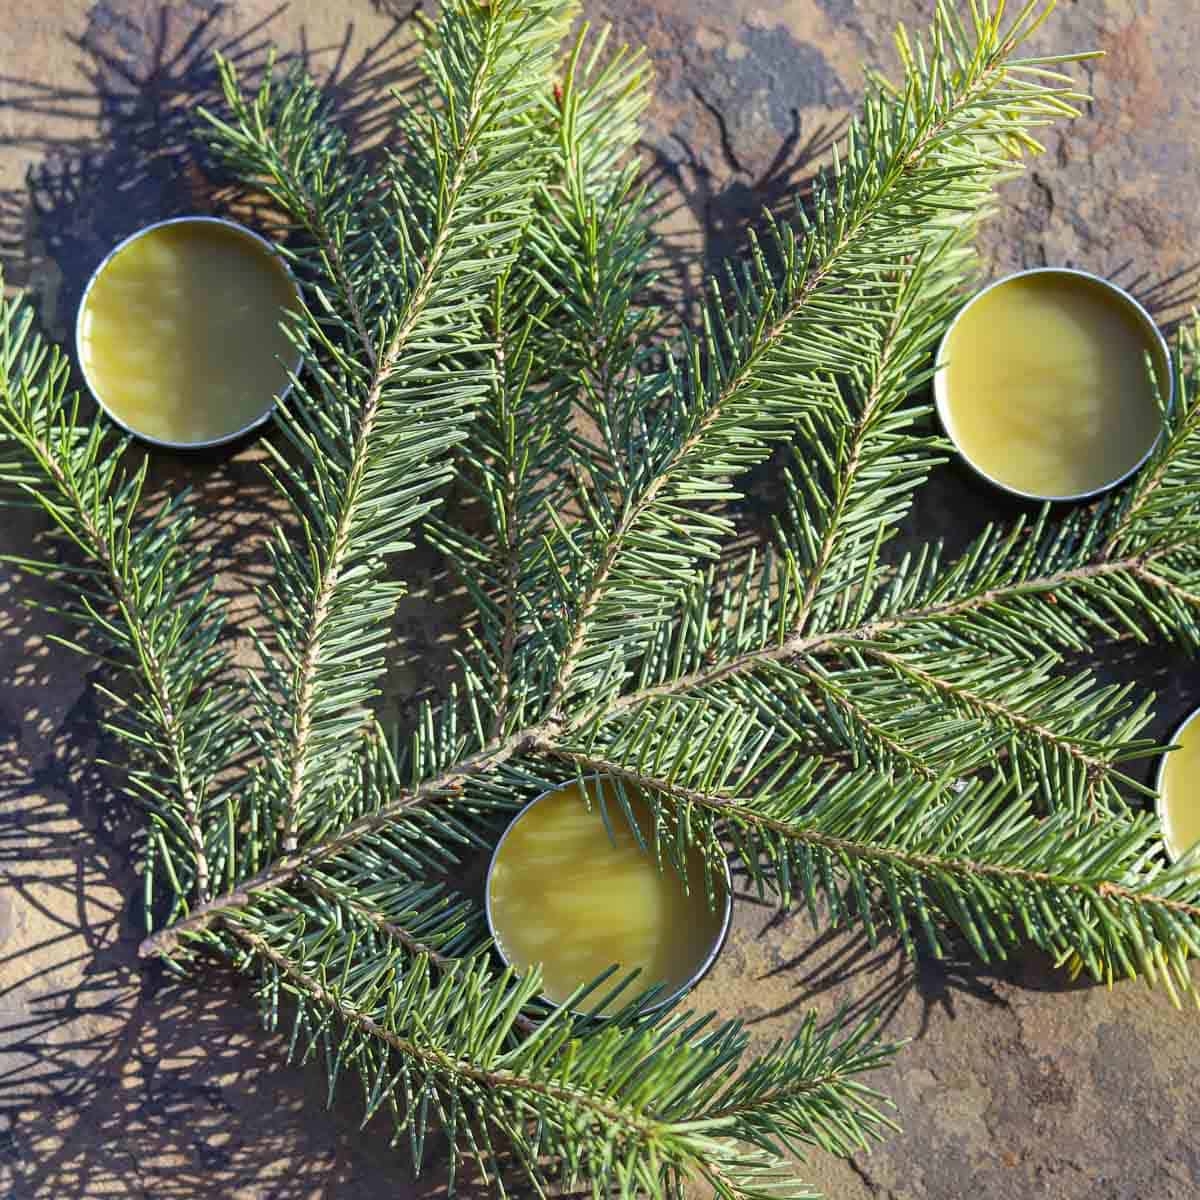
Look for pine trees (ponderosa, lodgepole, and western white pine are all common here in Montana) that have natural wounds, broken branches, or areas where the bark has been scraped. You'll often see resin that has dripped down the trunk and hardened into chunks or is still soft and sticky.
What you'll need:
- A glass jar or metal tin
- A stick or an old spoon for scraping
- Gloves (optional, but helpful - it will get on your hands!)
Simply scrape the resin from the tree bark into your jar. If the resin is soft and fresh, it will scrape off easily. Older, hardened resin can be broken off in chunks. Avoid harvesting from living wounds that appear fresh and raw. Give those spots time to heal and come back later. Always take only what you need and leave plenty on the tree.
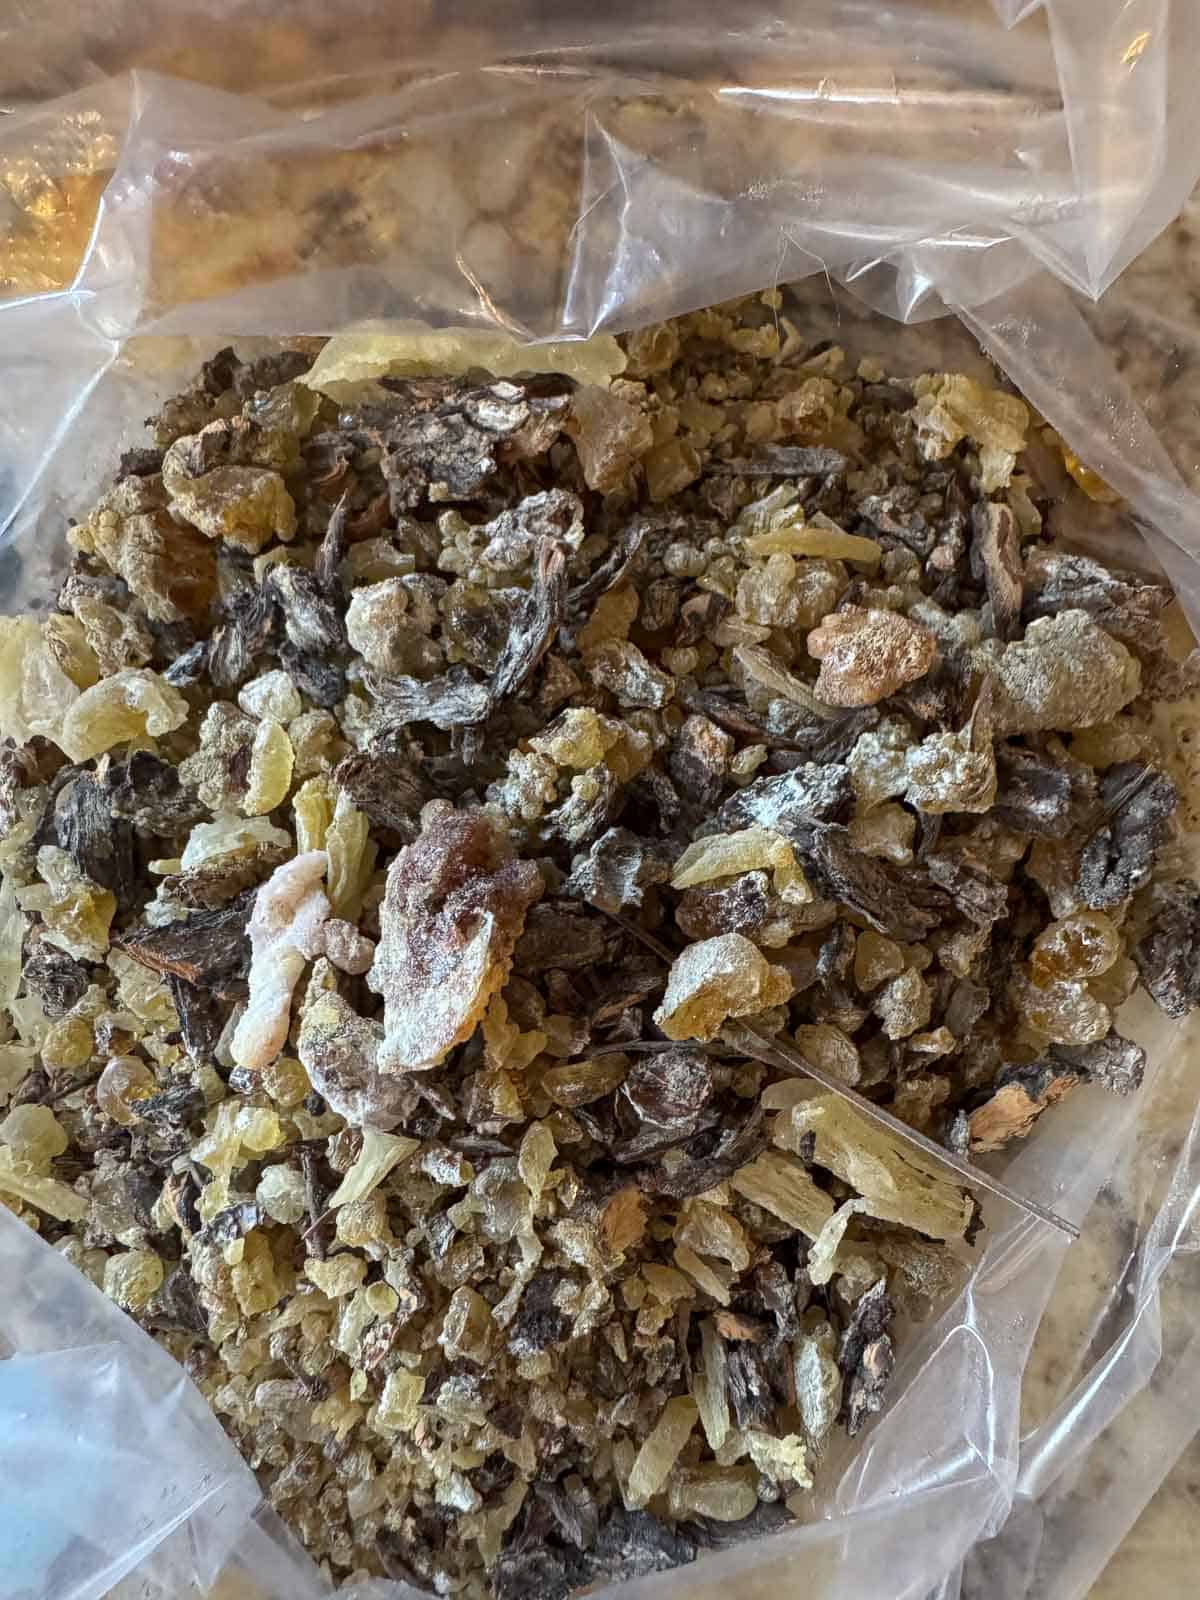
A note on cleanliness: You'll likely pick up some bark, dirt, and debris along with your resin. Don't worry, we'll strain all of that out later.
Uses & Benefits of Pine Resin Salve
Pine resin has some impressive traditional uses, and there's growing scientific interest in its antimicrobial properties. Here's what pine resin salve is commonly used for:
- Minor cuts and scrapes: Pine resin is naturally antimicrobial and has been used for centuries to clean and protect wounds.
- Splinters and drawing: When applied as a warm poultice, pine resin is said to help draw out splinters, thorns, and even bee stingers.
- Dry, cracked skin: The salve base is deeply moisturizing and soothing.
- Blisters and chafing: A great addition to your pack for long hikes!
- Mild infections or irritated skin: Some herbalists use it for its antiseptic properties on skin irritations.
I like to keep a small tin for inevitable scrapes and nicks, and another in my hiking daypack!
Pine Resin Salve Ingredients
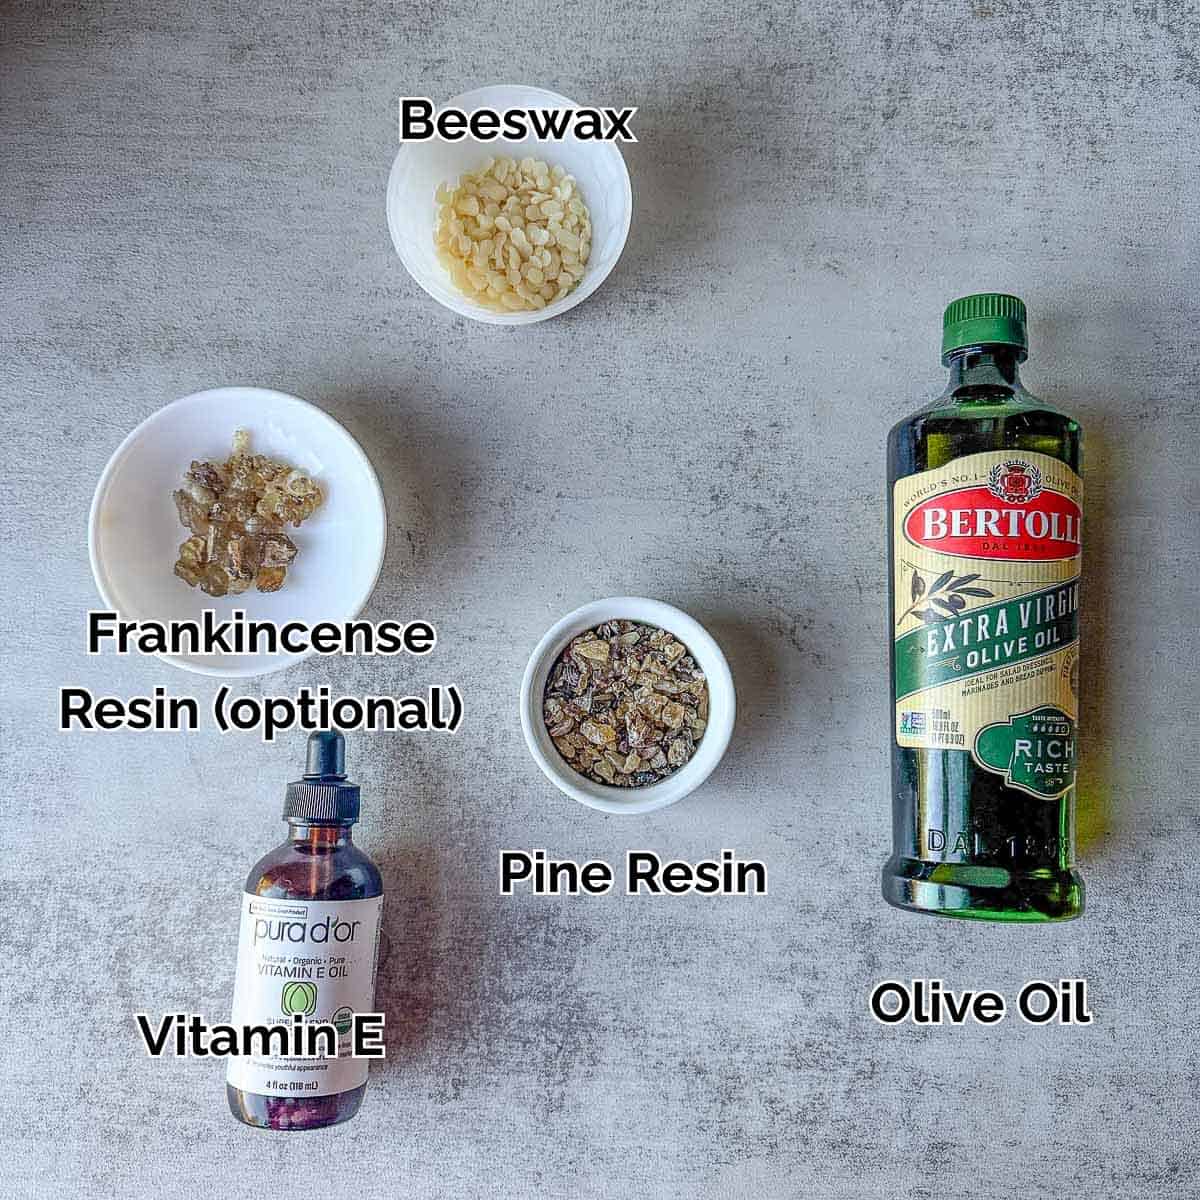
- Pine Resin: ¼ cup pine resin
- Frankensence: Rich in boswellic acids, it is known to help reduce inflammation and support skin repair, making this salve even more soothing for irritated or damaged skin (optional).
- Carrier Oil: 1 cup olive oil; you can also use sunflower or grapeseed oil.
- Beeswax: 1 ounce (¼ cup), adjust to your preference for a softer or firmer salve.
- Vitamin E Oil: 1 teaspoon (extends shelf life and nourishes skin).
- Essential Oils: 10 drops (optional, lavender or tea tree are great choices). I didn't add any to mine because I didn't think it needed it.
*See recipe card for quantities.
How to Make Pine Resin Salve
This salve is a must-have for your homestead stash. It's perfect for minor cuts, scrapes, splinters, dry skin, and even cracked heels.
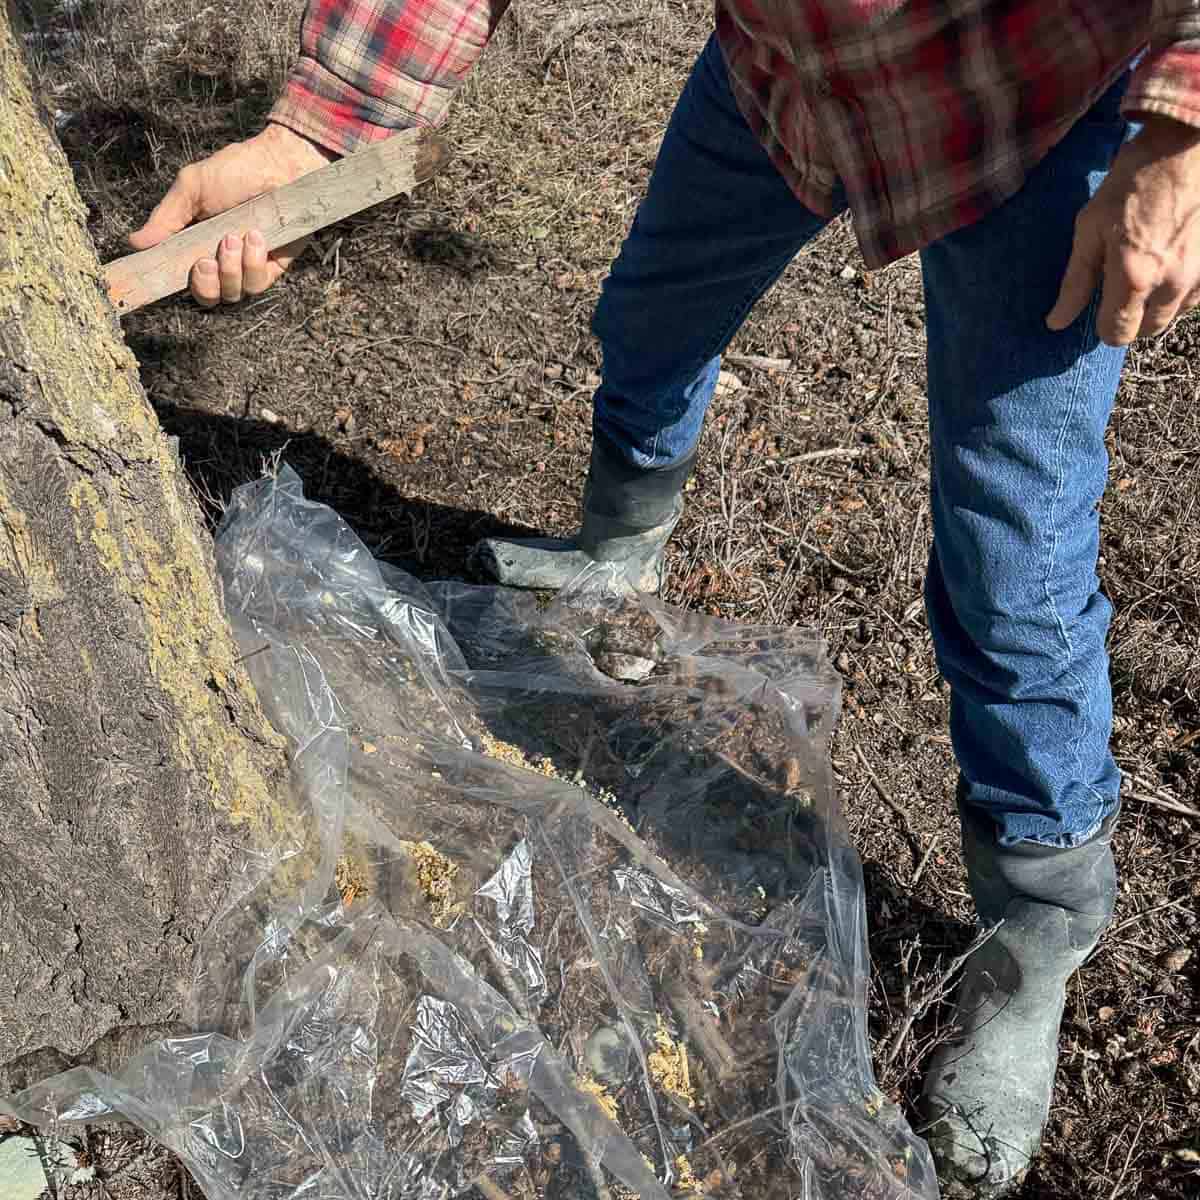
- Scrape resin from pine tree bark using a stick or piece of wood into a jar or can. Or spread a large piece of plastic under the tree, if you want to harvest a larger amount.
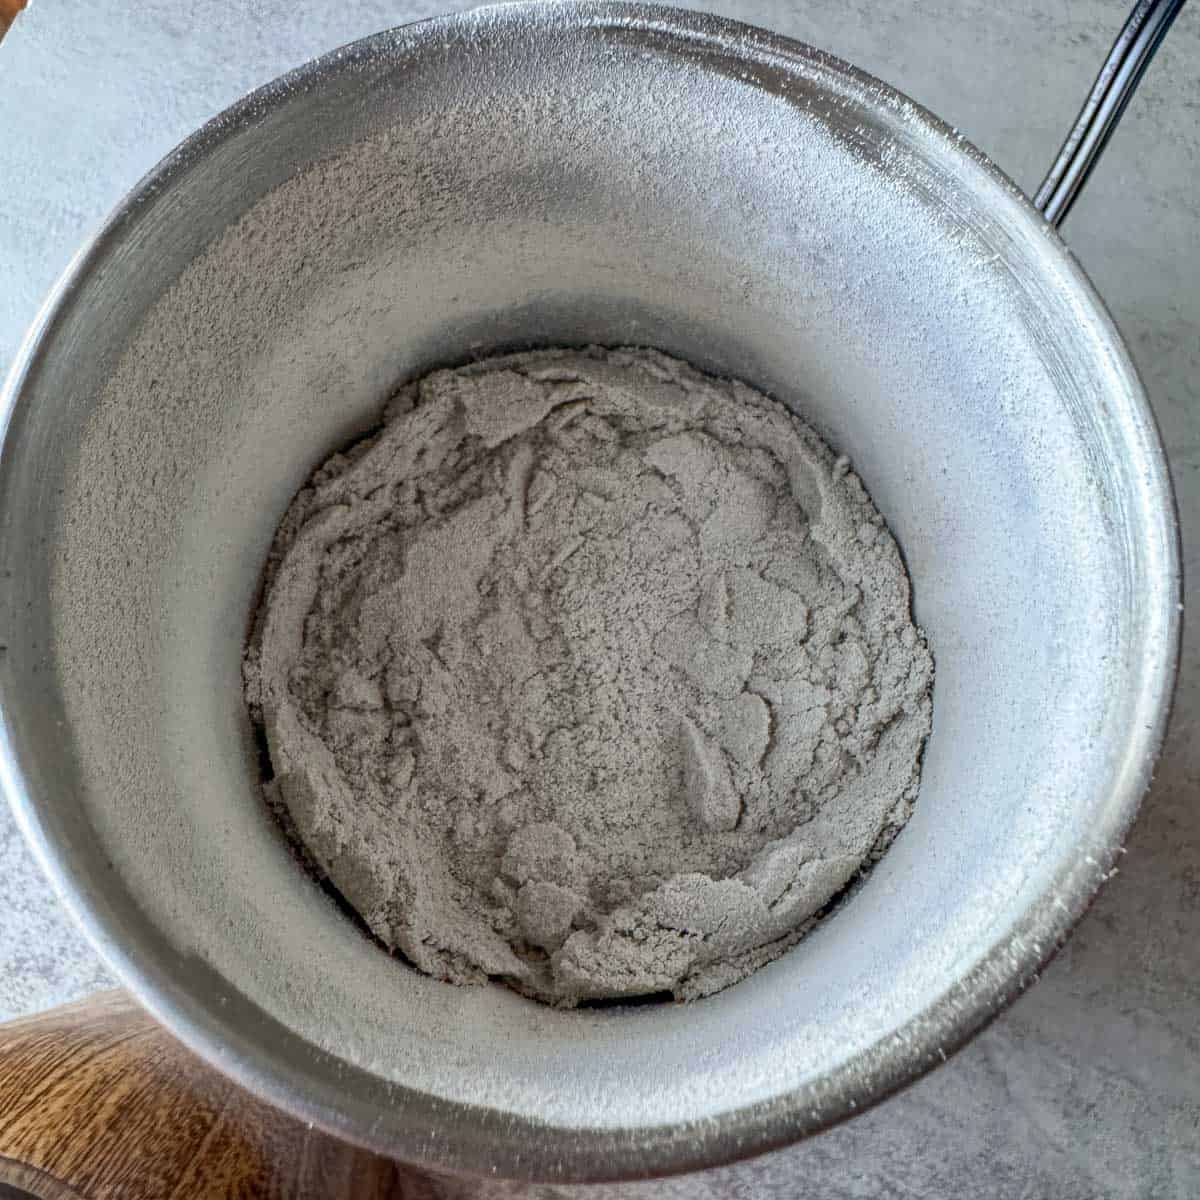
- Remove tree bark pieces; don't worry about getting every tiny bit. Add Frankincense (optional), then freeze for an hour. Grind into a powder using an old spice grinder (optional).
Pro Tip: Freezing the resin first makes it much easier to grind, but it will stick to your grinder either way. This is why I recommend having a spice grinder dedicated to this purpose.
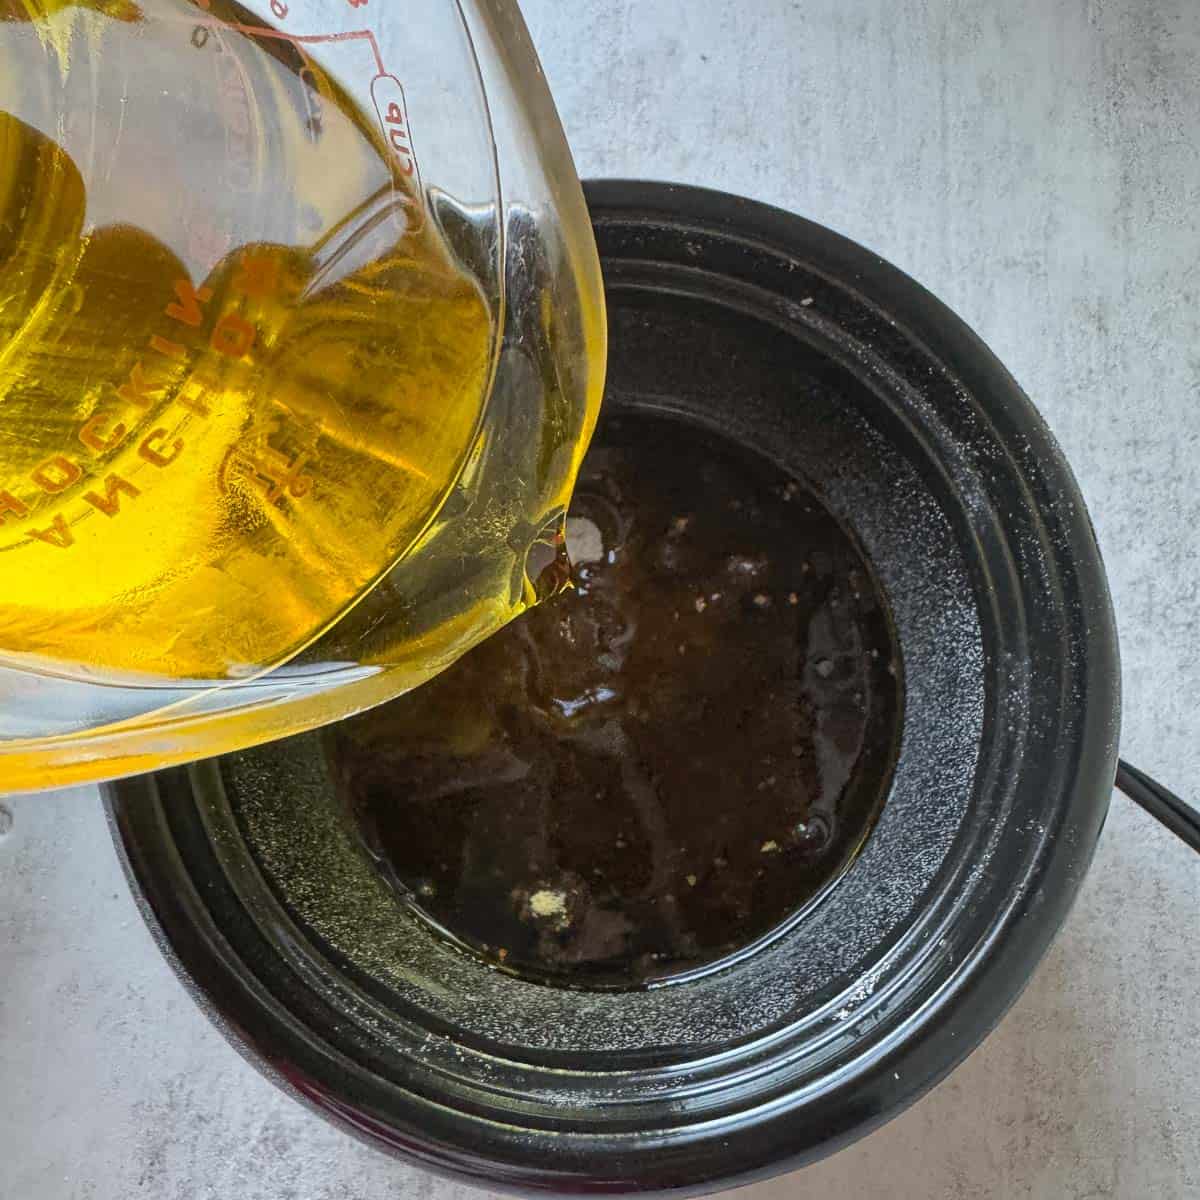
- Add ground resin to a small crockpot or a small saucepan, then cover with olive oil and mix. Set on the lowest setting and allow to infuse for at least 2 hours. Longer is even better.
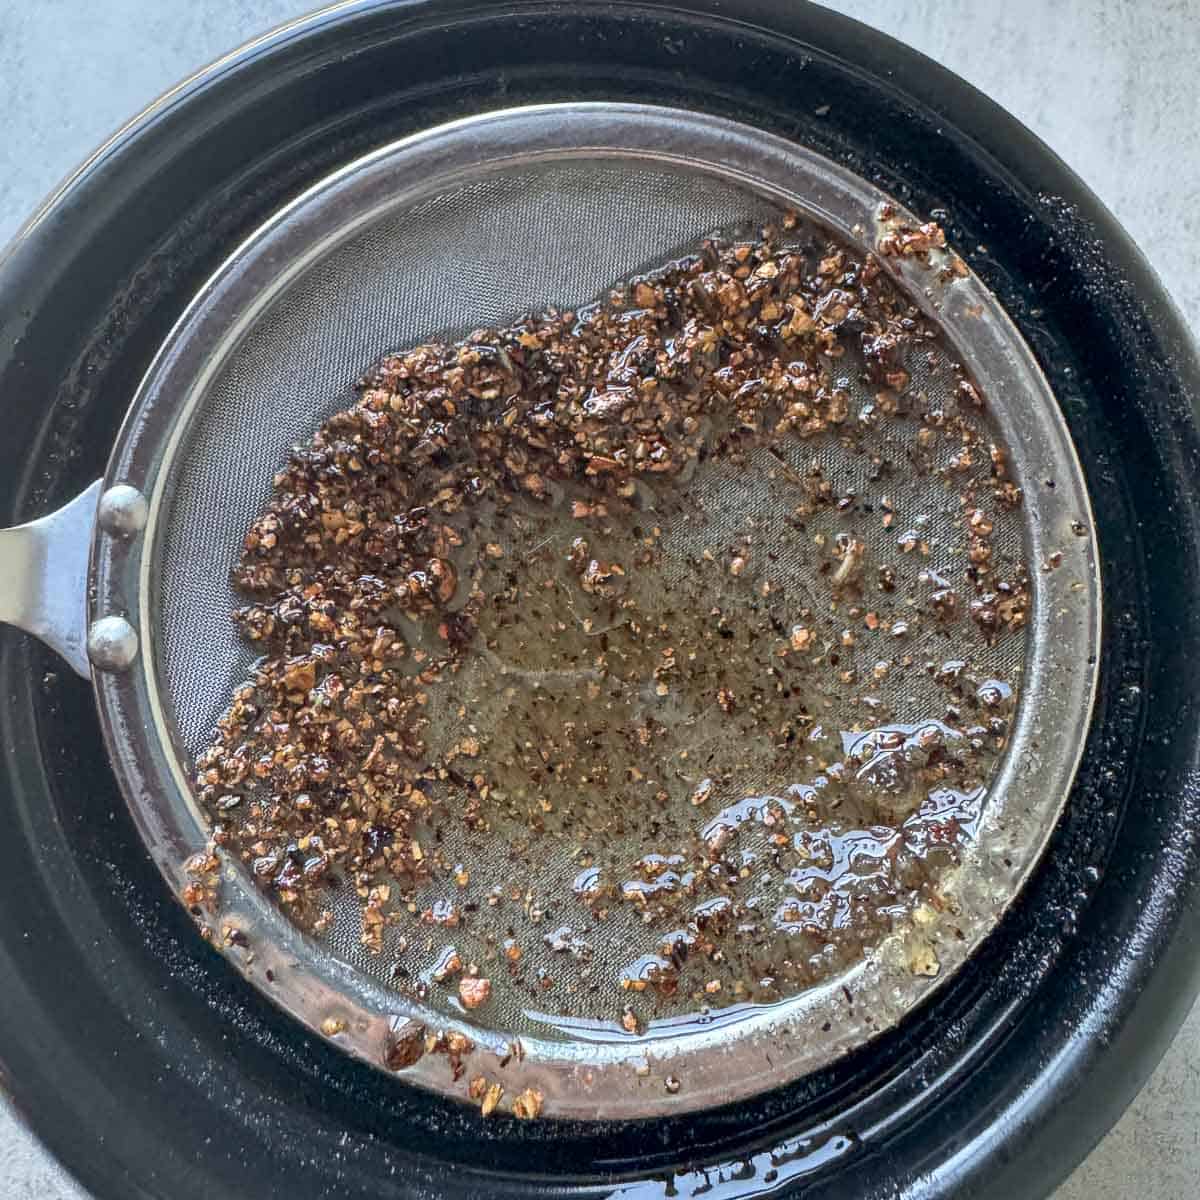
- Use a skimmer to remove bark that rises to the surface, then discard.
Pro Tip: Keep your oil between 120°F and 150°F (49°C - 65°C).
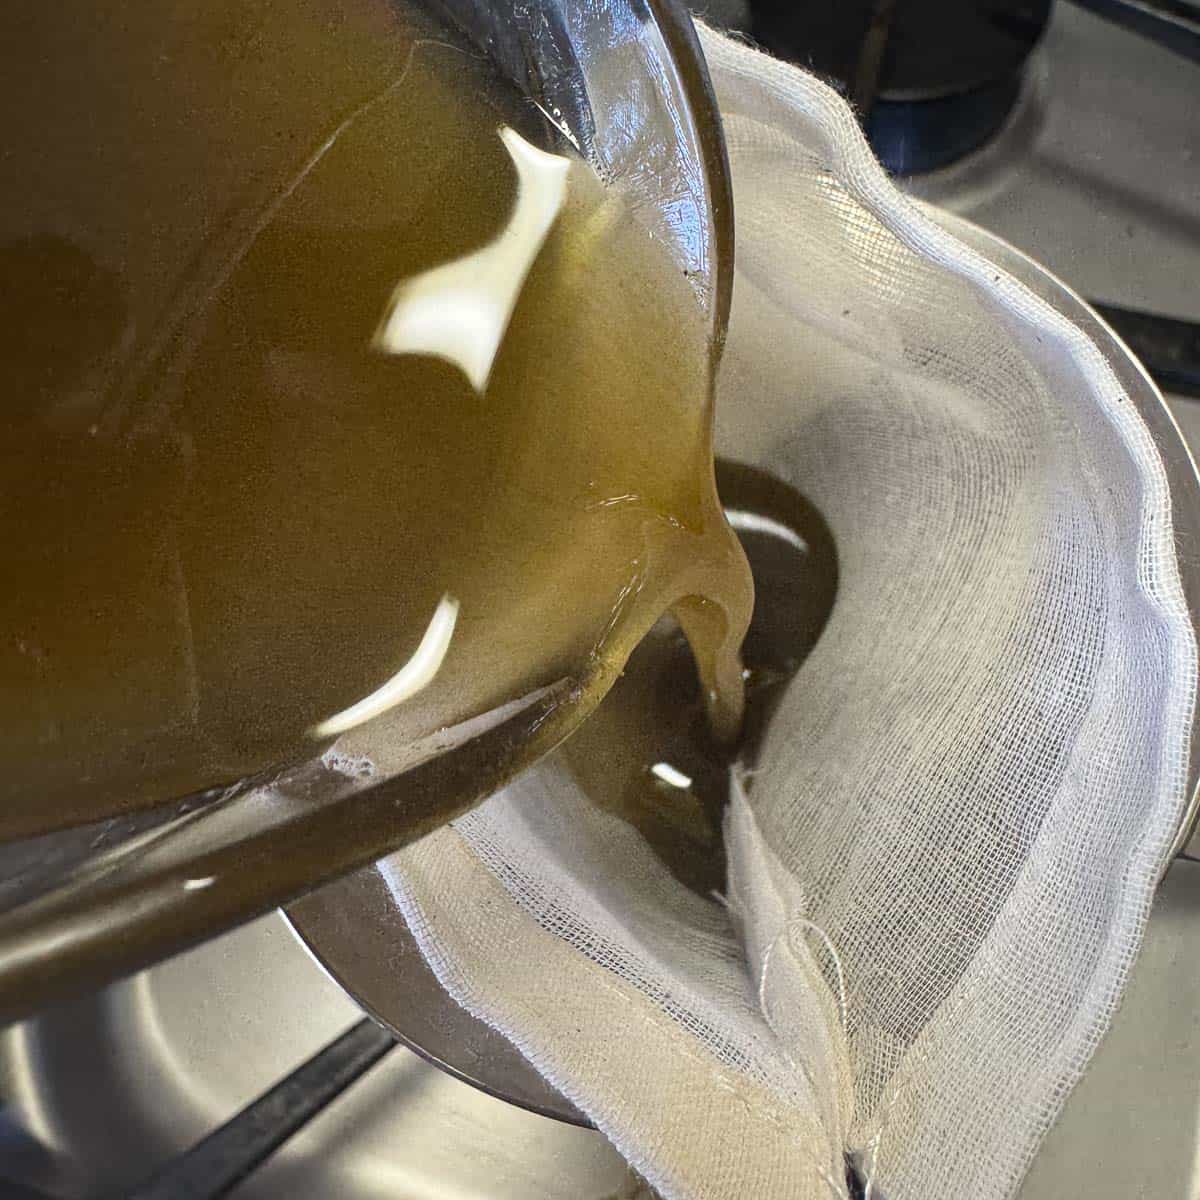
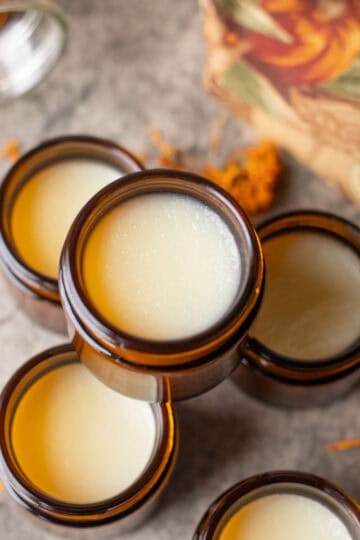
- Strain the resin-infused oil through a soup bag. Add oil to a small saucepan with beeswax. Stir over low heat until wax is fully melted.
- Remove from heat and allow to cool for a few minutes. Stir in vitamin E and essential oils, if adding.
Pro Tip: You'll most likely end up with less than a cup of oil after straining. You can make up the difference with more olive oil.
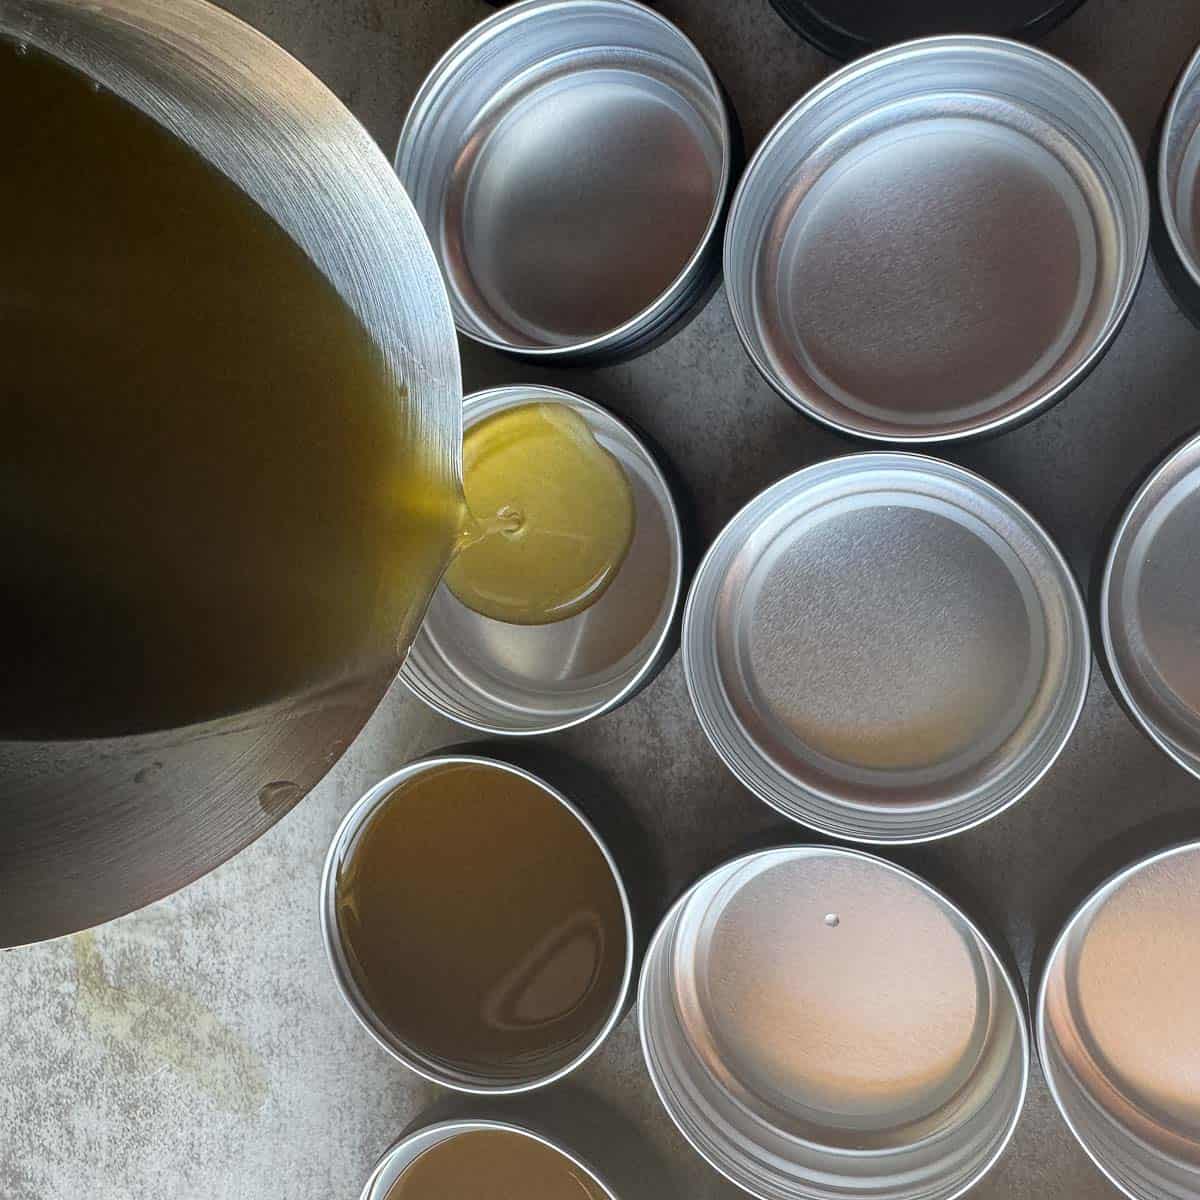
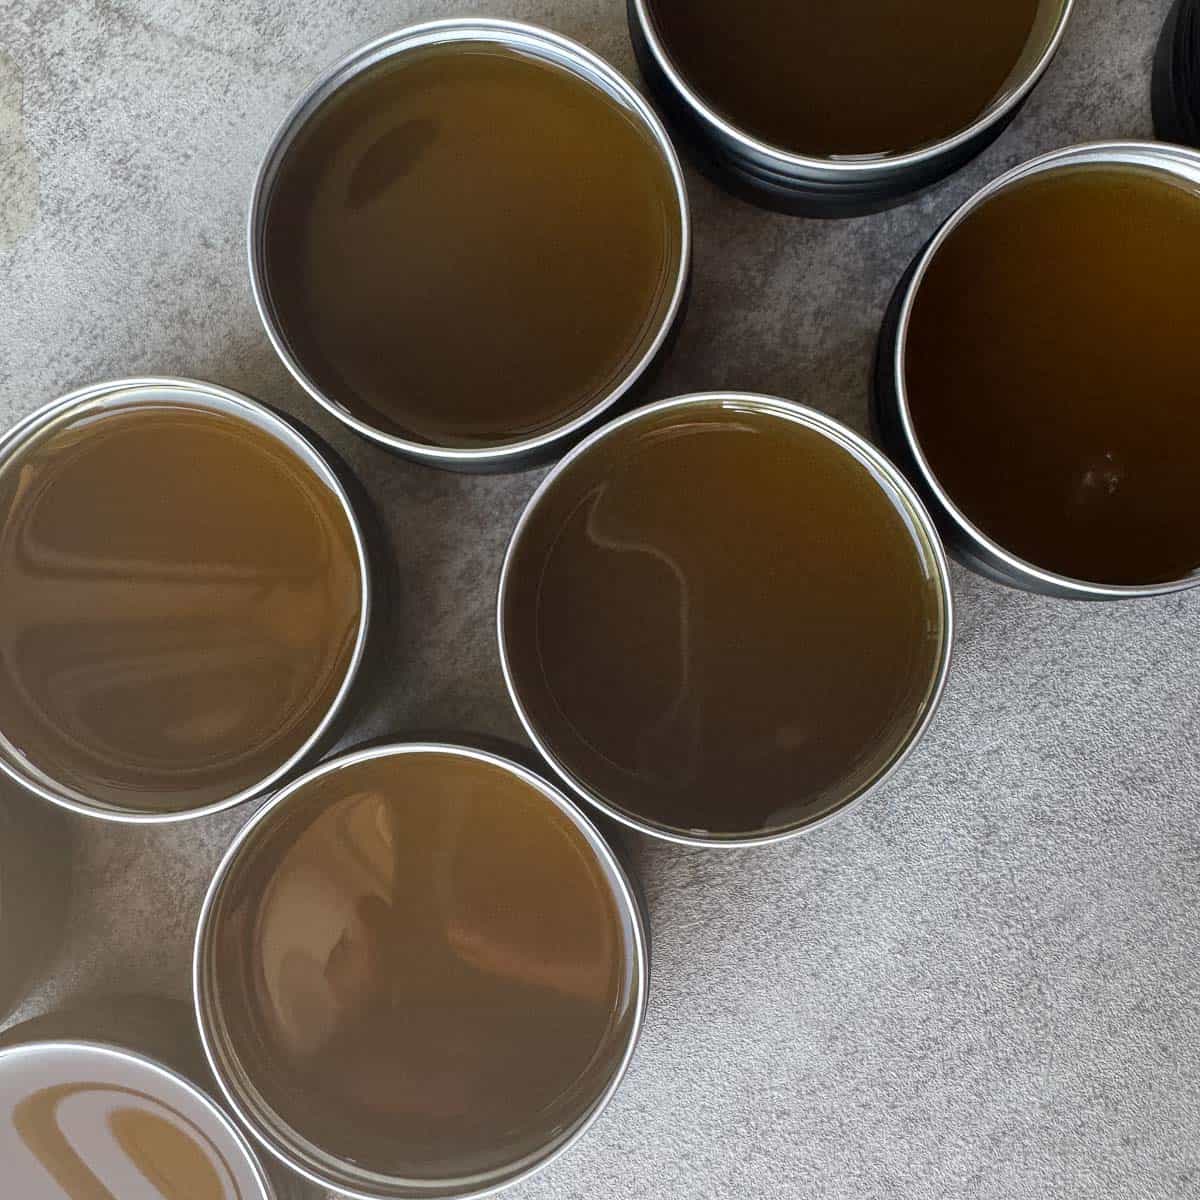
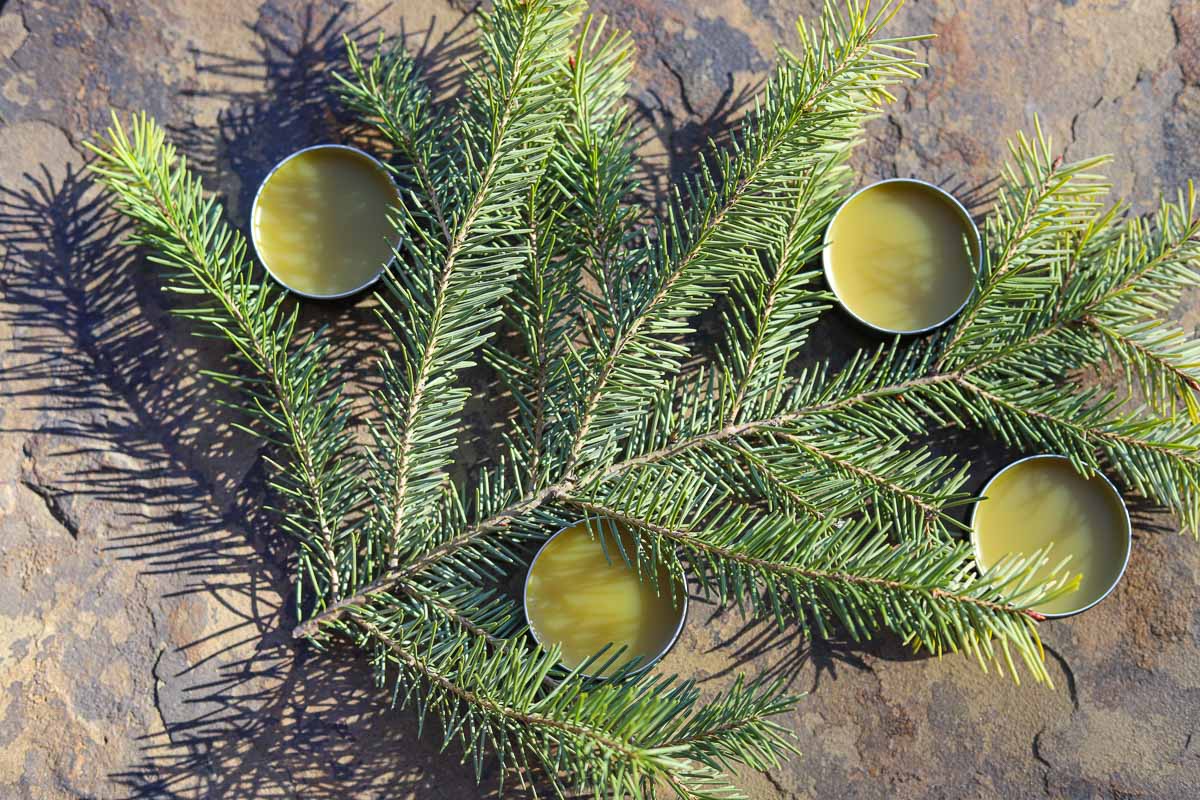
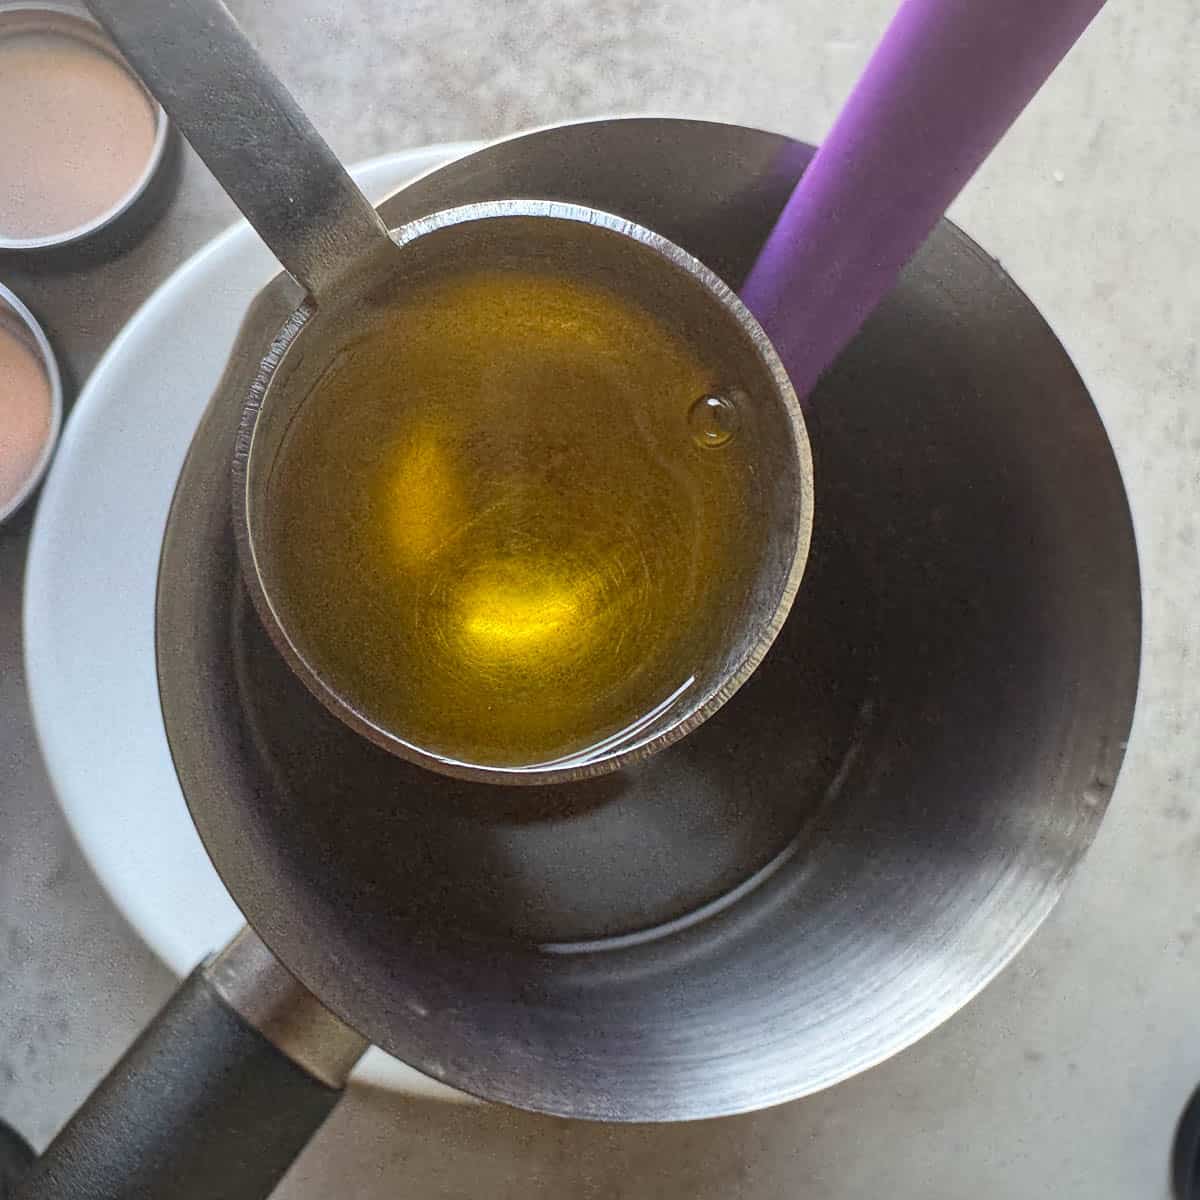
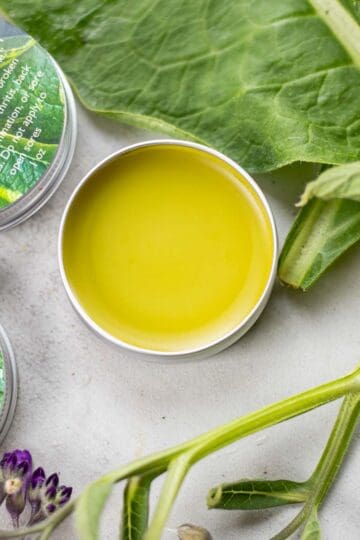
- Carefully pour the mixture into tins. Allow to cool completely before putting the lids on. Don't forget to label with contents.
Safety & Precautions
Pine resin is generally well-tolerated, but there are a few things to keep in mind before you start slathering it on:
- Patch test first. Some people are sensitive to pine resins, especially those with allergies to other tree resins or turpentine. Apply a small amount to the inside of your wrist and wait at least a few hours to see if you have any reactions before using it more broadly.
- Not for deep wounds. This salve is great for minor surface scrapes and skin irritations, but should not be used on deep puncture wounds or serious injuries. Please see a healthcare provider for those.
- Avoid open, infected wounds. If a wound shows signs of serious infection (spreading redness, fever, pus), see a doctor.
- Pregnancy and nursing. If you're pregnant or breastfeeding, consult your healthcare provider before using herbal remedies.
- Keep away from eyes and mucous membranes.
- Not for internal use.
Disclaimer:
This post is for informational purposes only and is not intended as medical advice. Always consult a qualified healthcare professional before using herbal remedies.
Variations & Add-Ins
One of my favorite things about making your own salves is how easy it is to customize them. Here are a few ideas:
- Calendula + Pine Resin: Infuse your carrier oil with dried calendula flowers for a few weeks before making your salve. Calendula is known for its soothing, skin-healing properties and pairs beautifully with pine resin.
- Plantain + Pine Resin: Add a plantain-infused oil for extra anti-inflammatory benefits. I do this all the time. Plantain is literally growing in my yard!
- Beeswax-Free Version: Substitute carnauba wax for a vegan salve.
- Essential Oil Blends: Try frankincense and lavender for a beautifully aromatic healing salve, or tea tree for added antimicrobial punch.
- Softer Balm: Increase the shea butter and reduce the beeswax slightly for a silkier texture that melts right into the skin.
Equipment
Here are the products I recommend for salve-making:
One 8-ounce mason jar, a soup bag or fine mesh strainer for straining the oil, and a wax melting pot with a spout for easy and precise pouring.
You will also need tins to store the salve. I prefer 1-ounce tins; however, you can also use 2-ounce tins.
Or check out my salve-making product recommendation page!
Storage
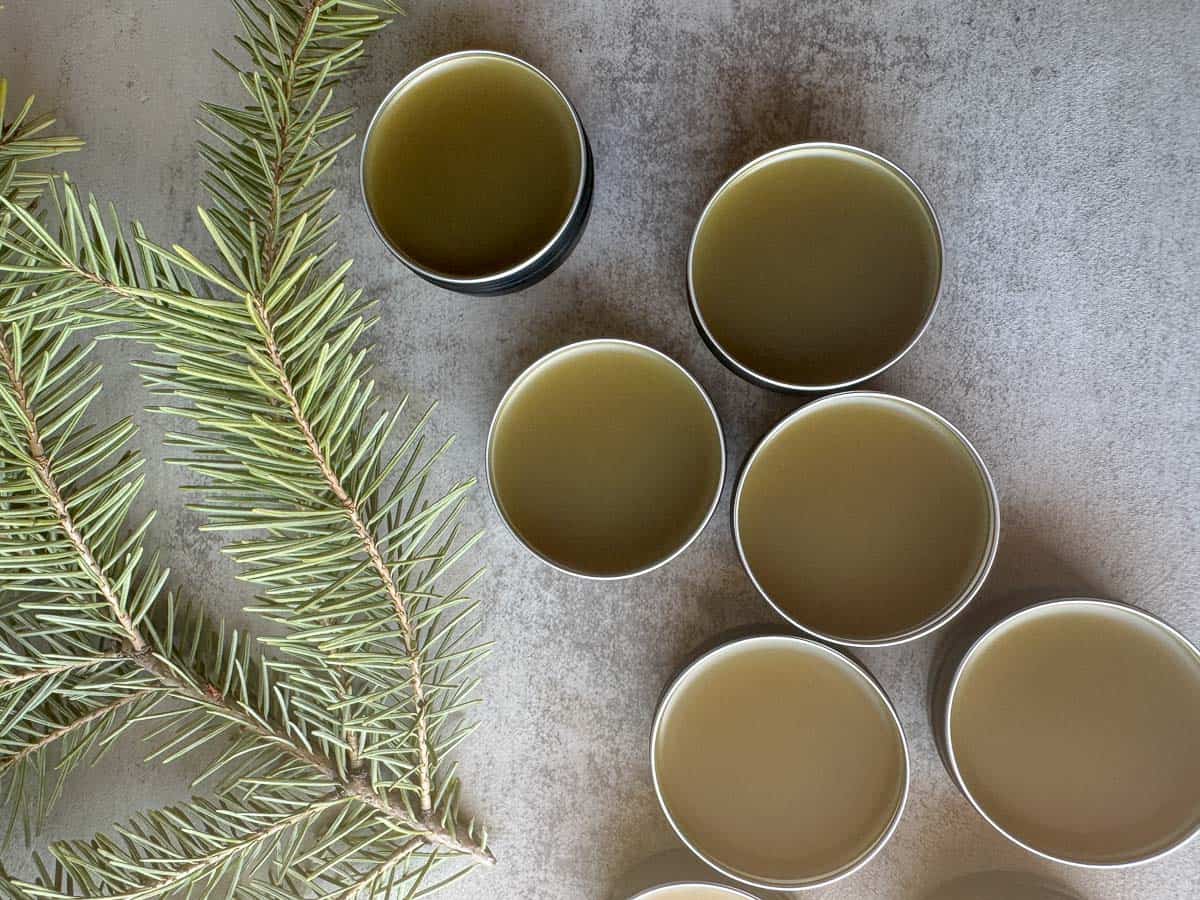
Store your pine resin salve in a cool, dark place. It keeps well for up to a year, especially when vitamin E oil is added. Small metal tins work great and look adorable, labeled for gifting!
Pro Tips
- Resin can be incredibly sticky and difficult to clean off tools. Dedicate an old pot, spoon, and spice grinder (if you grind the resin) to salve-making. Or clean up immediately with rubbing alcohol before the resin sets.
- Before pouring into tins, test the consistency by dropping a spoonful onto a cold plate and letting it set for a minute. Too soft? Add a bit more beeswax. Too hard? Add a splash more oil.
- A little goes a long way. You only need a thin layer on the skin.
- When straining your infused oil, do it while it's still warm (but not hot) so it flows easily and leaves less mess behind in the cheesecloth or strainer.
- Try blending with other herbs, such as dandelion or yarrow, for added skin-soothing benefits.
- Essential oils like lavender or tea tree can add extra antimicrobial benefits, but I prefer the pine scent.
- Don't forget to label your tins with the date and content. Your future self will thank you!
FAQ
Pine sap is the watery liquid that flows through the tree, carrying nutrients. Pine resin is the thick, sticky substance the tree produces in response to injury. For this salve, you want the resin, the amber, gummy stuff you find oozing from wounds or cracks in the bark.
Most pine species produce usable resin, including ponderosa, lodgepole, and western white pine; all are common here in Montana. Avoid harvesting from toxic yew trees. When in doubt, make sure you've correctly identified the tree before harvesting.
No worries! If you can't forage your own resin, you can purchase food-grade or cosmetic-grade pine resin online.
Salve consistency is easy to adjust! If it's too soft, reheat and add a bit more beeswax. If it's too hard, reheat and add a little more carrier oil. The cold plate test before pouring is your best friend here.
Not exactly. While both are used to support the skin and help draw out impurities like splinters or irritants, they are made with different ingredients and have slightly different properties.
Traditional black drawing salve often contains ingredients like activated charcoal or ichthammol, which give it its dark color and strong "drawing" effect.
Pine resin salve, on the other hand, relies on natural pine sap, which has antimicrobial, anti-inflammatory, and mildly drawing properties. It's generally gentler on the skin and has a more pleasant, woodsy scent.
Final Thoughts
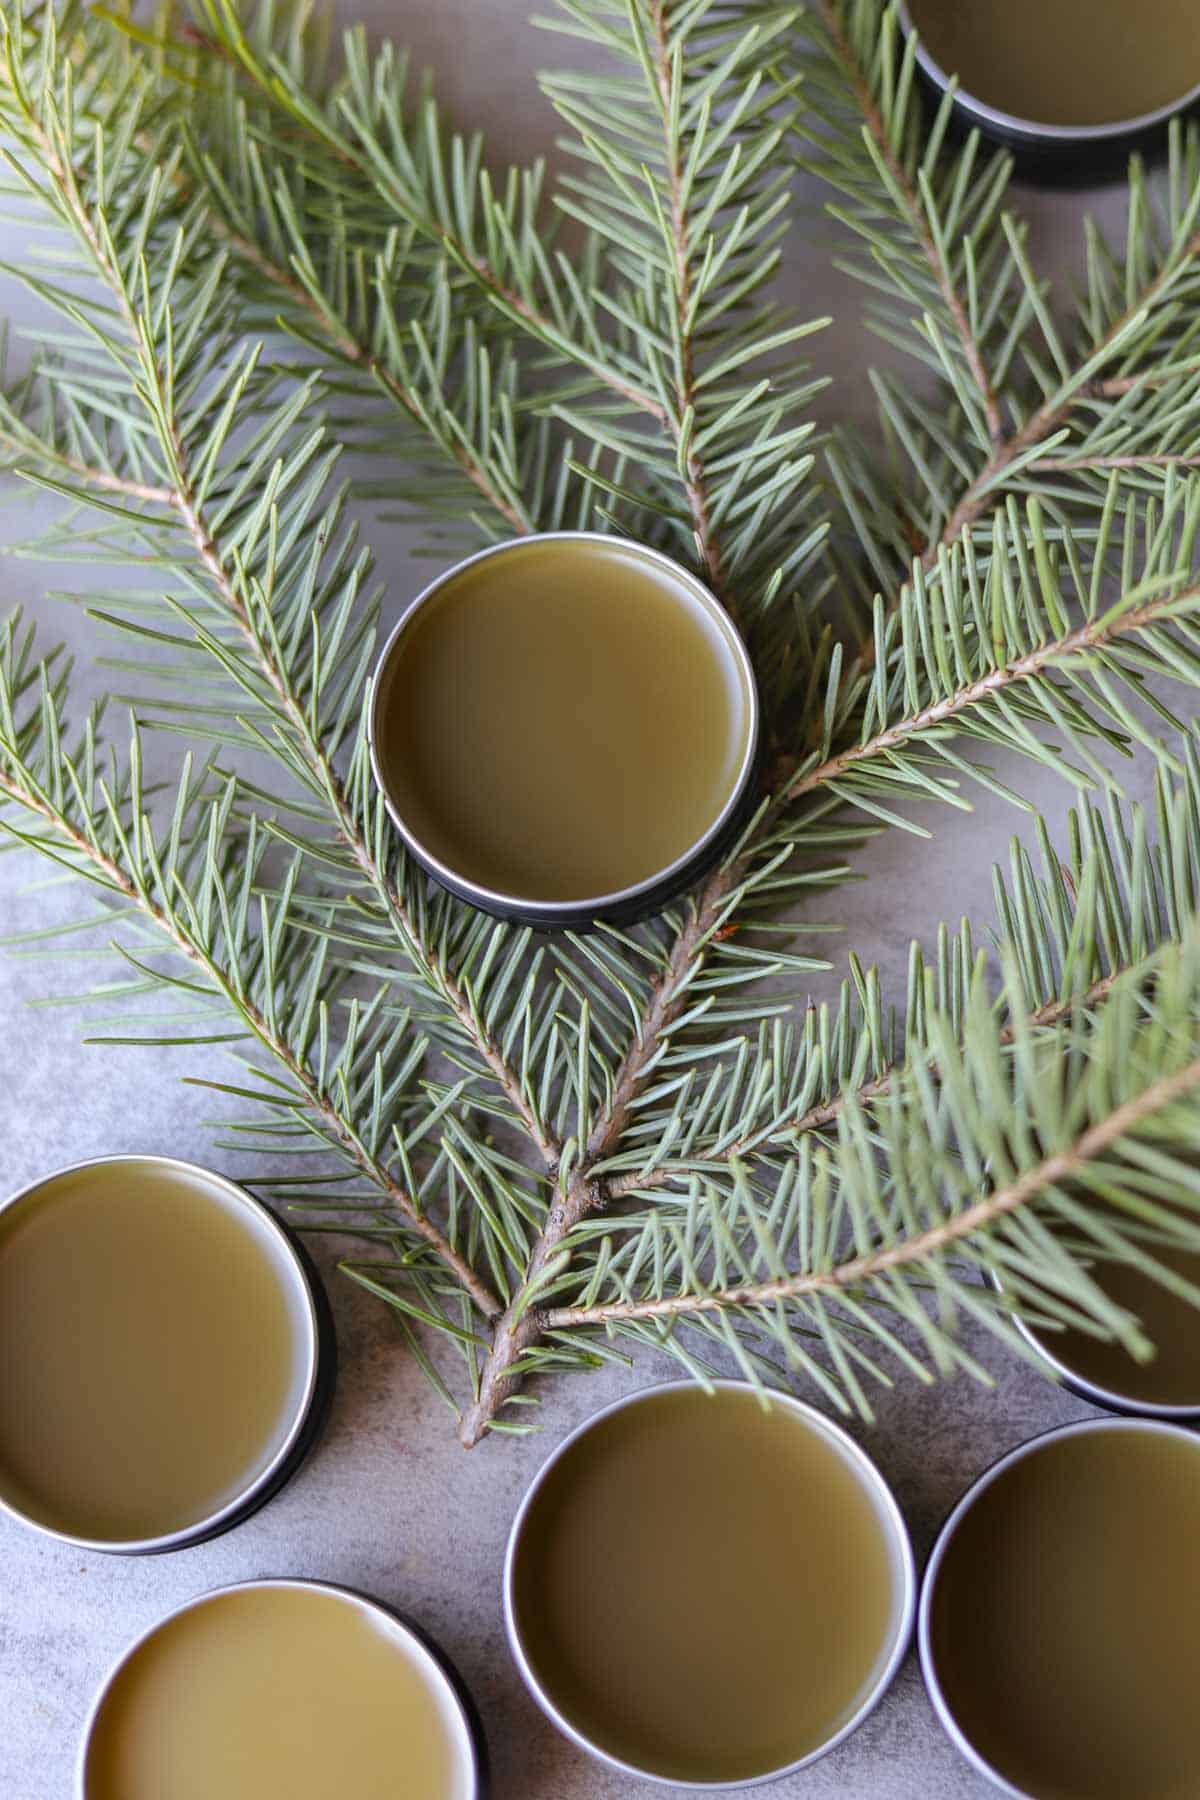
Making pine resin salve feels like one of those truly old-fashioned homesteading skills. Walking through the woods, collecting something the land offers you freely, then turning it into something genuinely useful. There's something really satisfying about that. I hope you give it a try!
If you make this salve, I'd love to hear about it! Leave a comment below and give it a rating. It really helps other readers find the post.
Related Posts
Looking for other similar recipes? Try these:


Pine Resin Salve
Equipment
- 10 1-ounce tins
Ingredients
- ¼ cup pine resin
- 2 tablespoon frankincense
- 1 cup olive oil
- 1 ounce beeswax pellets (¼ cup)
- 1 teaspoon Vitamin E
Instructions
- Scrape resin from pine tree bark using a stick or piece of wood into a jar or can. Or spread a large piece of plastic under the tree, if you want to harvest a larger amount.
- Remove tree bark pieces; don't worry about getting every tiny bit. Add Frankinsence (optional), then freeze for an hour. Grind into a powder using an old spice grinder (optional).
- Add ground resin to a small crockpot or a small saucepan, then cover with olive oil and mix. Set on the lowest setting and allow to infuse for at least 2 hours. Longer is even better.
- Use a skimmer to remove bark that rises to the surface, then discard.
- Strain the resin-infused oil through a soup bag. Add oil to a small saucepan with beeswax. Stir over low heat until wax is fully melted.
- Remove from heat and allow to cool for a few minutes. Stir in vitamin E and essential oils, if adding.
- Carefully pour the mixture into tins. Allow to cool completely before putting the lids on. Don't forget to label with contents.
Notes
- Freezing the resin first makes it much easier to grind, but it will stick to your grinder either way. This is why I recommend having a spice grinder dedicated to this purpose.
- Keep your oil between 120°F and 150°F (49°C - 65°C).
- You'll most likely end up with less than a cup of oil after straining. You can make up the difference with more olive oil.
- Before pouring into tins, test the consistency by dropping a spoonful onto a cold plate and letting it set for a minute. Too soft? Add a bit more beeswax. Too hard? Add a splash more oil.
- Resin can be incredibly sticky and difficult to clean off tools. Dedicate an old pot, spoon, and spice grinder (if you grind the resin) to salve-making. Or clean up immediately with rubbing alcohol before the resin sets.
- A little goes a long way. You only need a thin layer on the skin.
- When straining your infused oil, do it while it's still warm (but not hot) so it flows easily and leaves less mess behind in the cheesecloth or strainer.
- Try blending with other herbs, such as dandelion or yarrow, for added skin-soothing benefits.
- Essential oils like lavender or tea tree can add extra antimicrobial benefits, but I prefer the pine scent.
- Don't forget to label your tins with the date and content. Your future self will thank you!
Hilda Sterner says
I hope you try making your own pine resin. If you do, come back and let me know how it goes!