
If you're wondering how to grow garlic, you're in the right place. Garlic is one of the easiest crops to grow in the home garden. In this guide, I'll show you when to plant garlic, how to care for it, when to harvest it, and how to cure and store your harvest. I'll even share how to harvest garlic scapes to make garlic scape butter!
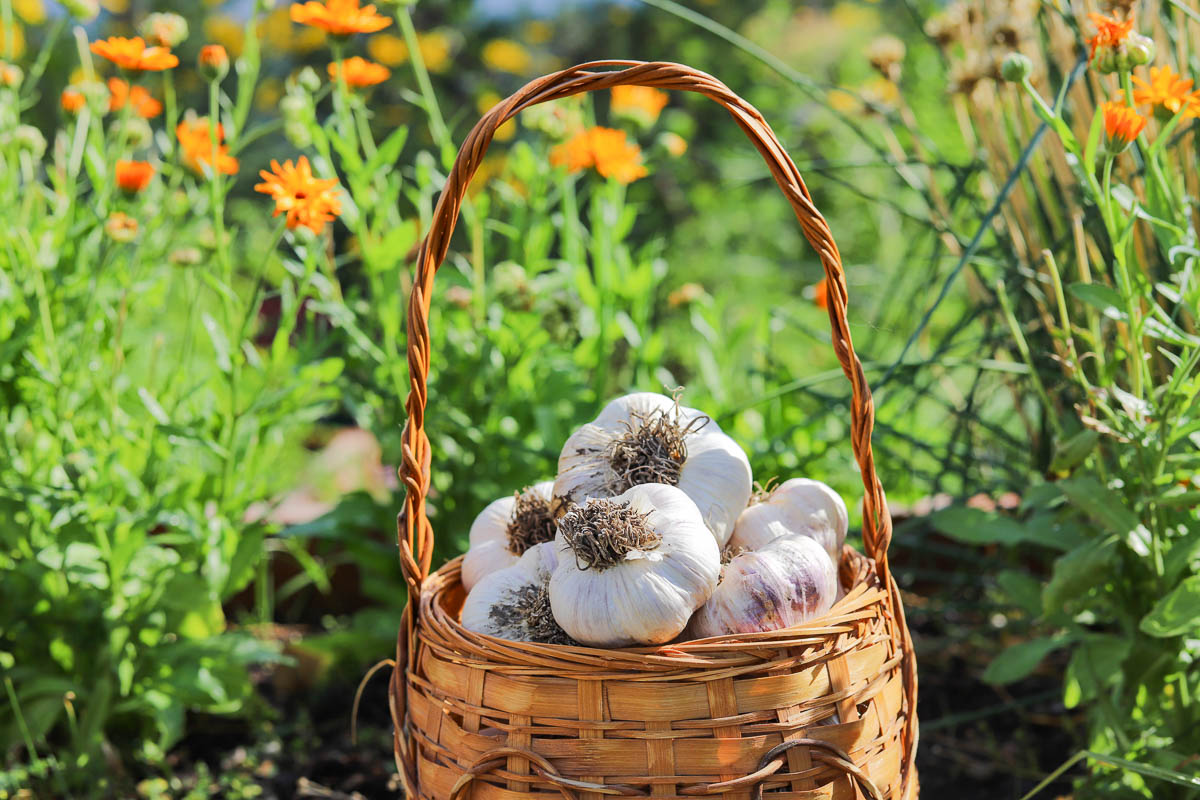
Garlic is one of the few vegetables you can plant in the fall and harvest the following summer, making it an excellent crop for the home garden. It doesn't require much space, and once established, garlic is relatively low-maintenance. With the right variety, well-draining soil, and proper planting time, even gardeners in cold climates like zone 4 can grow a great crop of garlic!
Jump to:
- Why Grow Your Own Garlic?
- Garlic Growing at a Glance
- Types of Garlic
- When to Plant Garlic
- Can You Plant Garlic in Spring?
- Choosing Garlic for Planting
- Should You Plant Garlic from the Grocery Store?
- How to Prepare the Garlic Cloves for Planting
- How to Plant Garlic
- How to Care for Garlic
- When and How to Harvest Garlic
- How to Cure and Store Garlic
- Common Garlic Growing Problems
- Growing Garlic Is Easier Than You Think
- More Gardening Posts
- Comments
Why Grow Your Own Garlic?
There are plenty of good reasons to grow your own garlic. For starters, garlic takes up relatively little garden space and can be planted in garden beds, raised beds, or tucked into other areas of the vegetable garden.
Homegrown garlic also gives you access to varieties that you may never see at the grocery store. Hardneck garlic, in particular, comes in a variety of flavors, bulb sizes, and clove colors.
Garlic is also a great crop for beginner gardeners because there's not much to do during winter. Plant it in the fall, mulch it well, and let Mother Nature take over for a while. That's my kind of gardening!
Garlic Growing at a Glance
- Plant time: Fall
- Harvest: Summer
- Sun: Full sun
- Soil: Fertile, well-draining soil
- Plant depth: 4 inches in cold climates, 2-3 inches in warmer climates
- Clove spacing: 4 inches apart
- Row spacing: 6 to 10 inches apart
- Best garlic for cold climates: Hard neck varieties
- Harvest when: About 40-60% of the leaves have browned
- Curing time: 2 to 3 weeks, or when the outer skin is dry and papery
Types of Garlic
The two main types of true garlic are hardneck and softneck. There's also elephant garlic, which is commonly sold alongside garlic but is actually more closely related to leeks.
Hardneck Garlic
Hardneck garlic produces a stiff stalk called a scape. Most hardneck varieties produce fewer but larger cloves, and they tend to have more complex flavors than softneck varieties.
Hardneck is also a good choice for gardeners in colder climates, making it a good choice for zone 4 gardeners like me. Some hardneck varieties are particularly well adapted to northern growing conditions.
The scapes are edible and can be harvested in early summer before the bulbs are ready. They have a mild garlic flavor and can be grilled, sautéed, or used to make pickled garlic scapes.
Softneck Garlic
Softneck garlic doesn't produce a scape, but does generally have more cloves per bulb and tends to store longer, which is one reason you'll often see softneck garlic braided for storage.
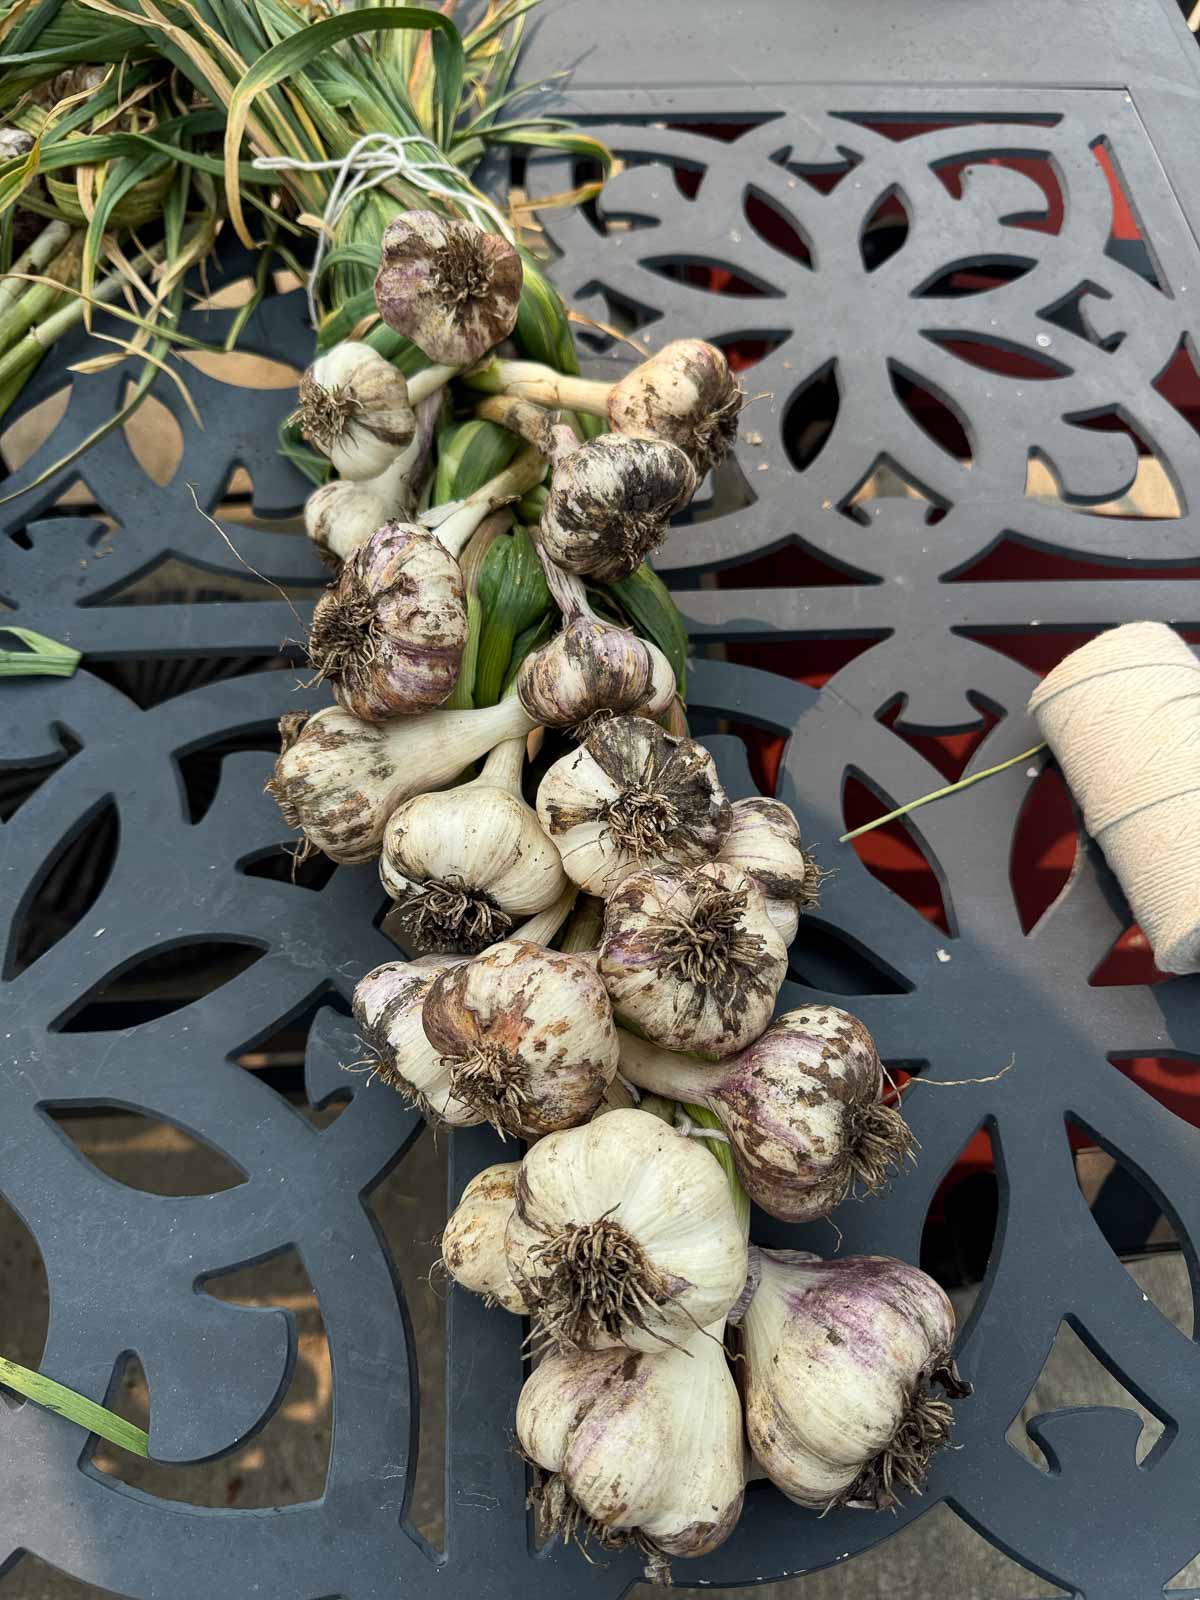
Softneck varieties can be a good choice for gardeners in milder climates, although they can also be grown successfully in colder regions.
Elephant Garlic
Despite its name, elephant garlic isn't actually true garlic. It's more closely related to leeks. The bulbs are very large and have a much milder flavor than regular garlic. If you're growing garlic specifically for that strong, unmistakable garlic flavor, stick with true garlic varieties.
When to Plant Garlic
The best time to plant garlic depends on where you live, but for most gardeners, fall is the ideal planting season. Garlic needs time to establish a strong root system before winter, then resume growth in spring as temperatures rise.
For gardeners in cold climates, garlic is typically planted in September or October, several weeks before the ground freezes. The goal is to plant early enough for the cloves to develop roots, but not so early that they produce a lot of tender green growth before winter.
When to Plant Garlic in Zone 4
In my Zone 4 Montana garden, I plant garlic in the fall, usually around late September to mid-October. However, I pay more attention to the weather and soil conditions than I do the calendar. Last year, I planted my garlic cloves on October 11th, and the year before that on September 25th.
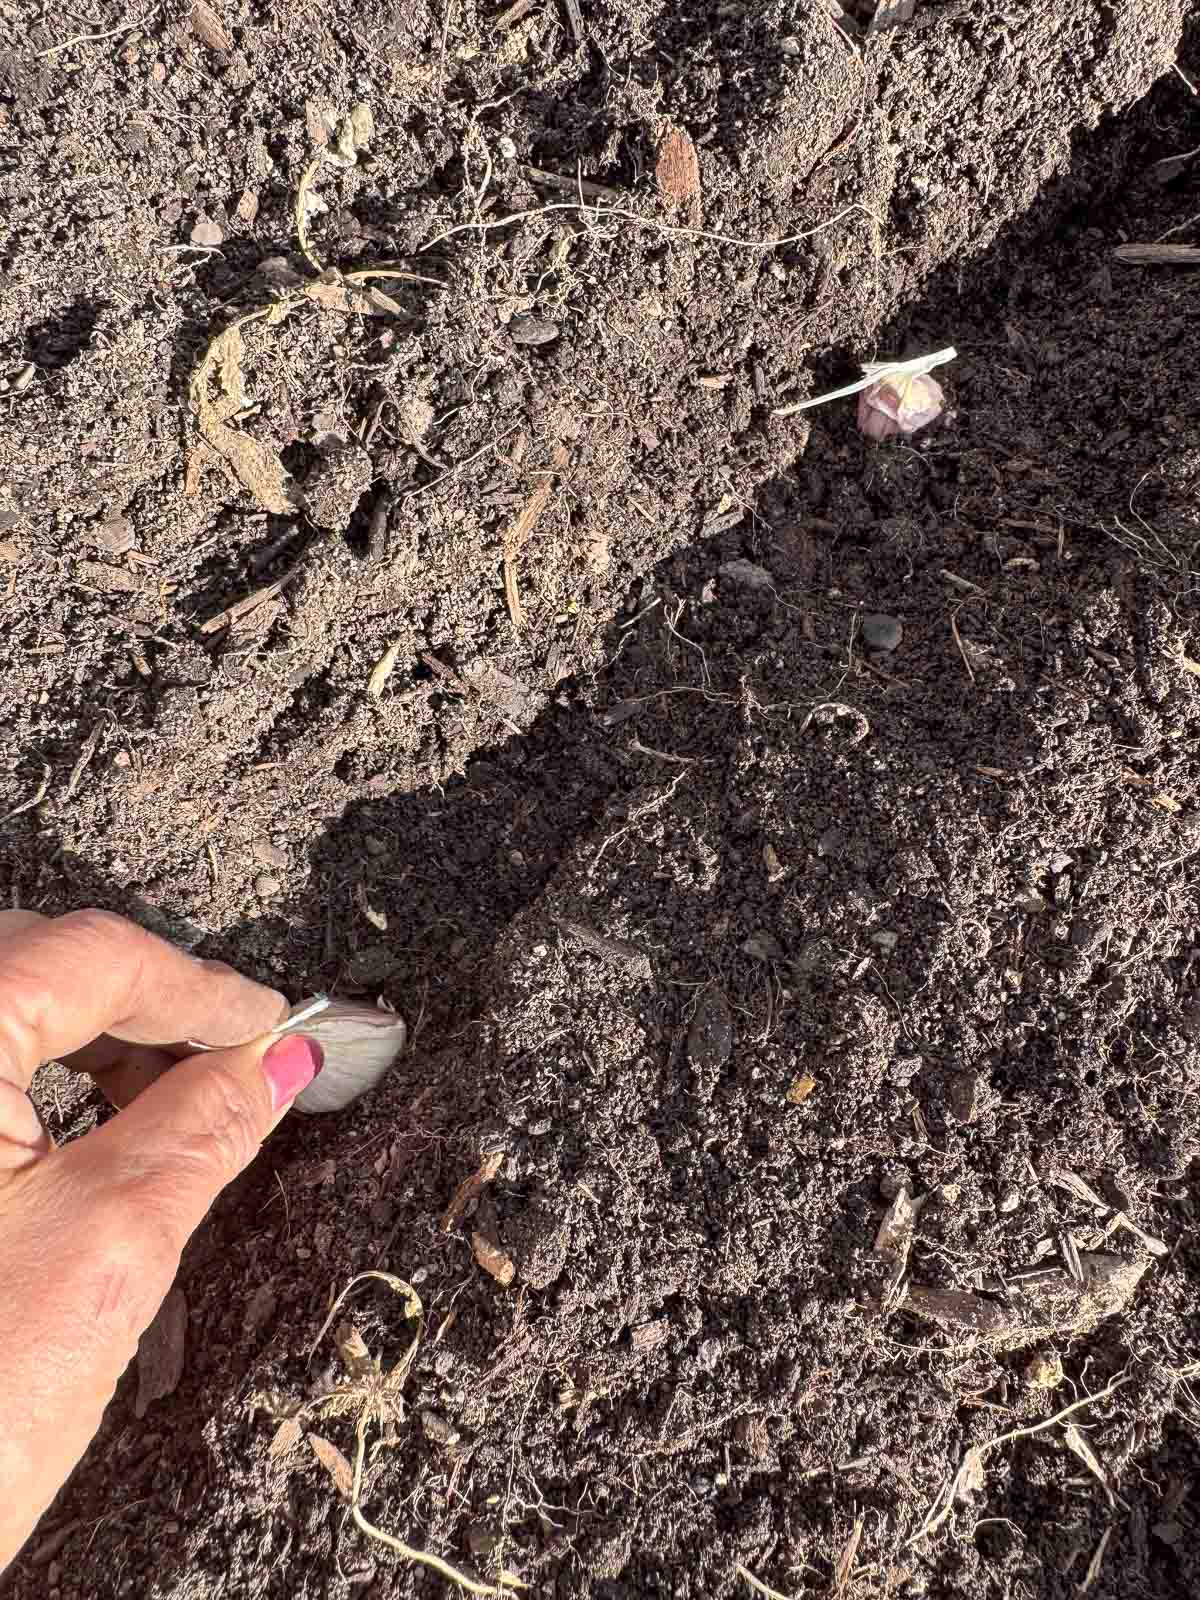
You want the soil to be still workable when you plant, but the weather should be cooling down. If you plant too early while the soil is warm, the cloves may produce too much above-ground growth before winter. If you wait too long and the ground freezes, planting becomes considerably more difficult.
Pro Tip: Don't worry if your garlic sends up a little green growth before winter. Small amounts of growth aren't necessarily a problem. The garlic will go dormant when temperatures drop and resume growing in spring.
Can You Plant Garlic in Spring?
Yes, you can plant garlic in spring, but don't expect the same results as fall-planted garlic.
Fall planting gives garlic several months to establish roots and experience the cold temperatures it needs for proper bulb development. Spring-planted garlic has a much shorter growing season and may produce smaller bulbs or individual cloves rather than well-developed bulbs.
If you miss the fall planting window, it's still worth planting in spring rather than giving up on growing garlic altogether. Plant the cloves as early as you can work the soil.
For spring planting, choose garlic that has been properly stored and, if possible, has been exposed to cold conditions. Some gardeners intentionally refrigerate seed garlic for several weeks before spring planting to help provide the cold period the cloves need.
Choosing Garlic for Planting
For the best results, purchase seed garlic from a reputable seed supplier or local grower rather than a grocery store.
Seed garlic is generally sold as whole bulbs that you separate into individual cloves just before planting. Look for large, healthy bulbs with firm cloves and no signs of mold, disease, or damage. Larger cloves tend to produce larger bulbs, so save your biggest and healthiest bulbs for planting next year.
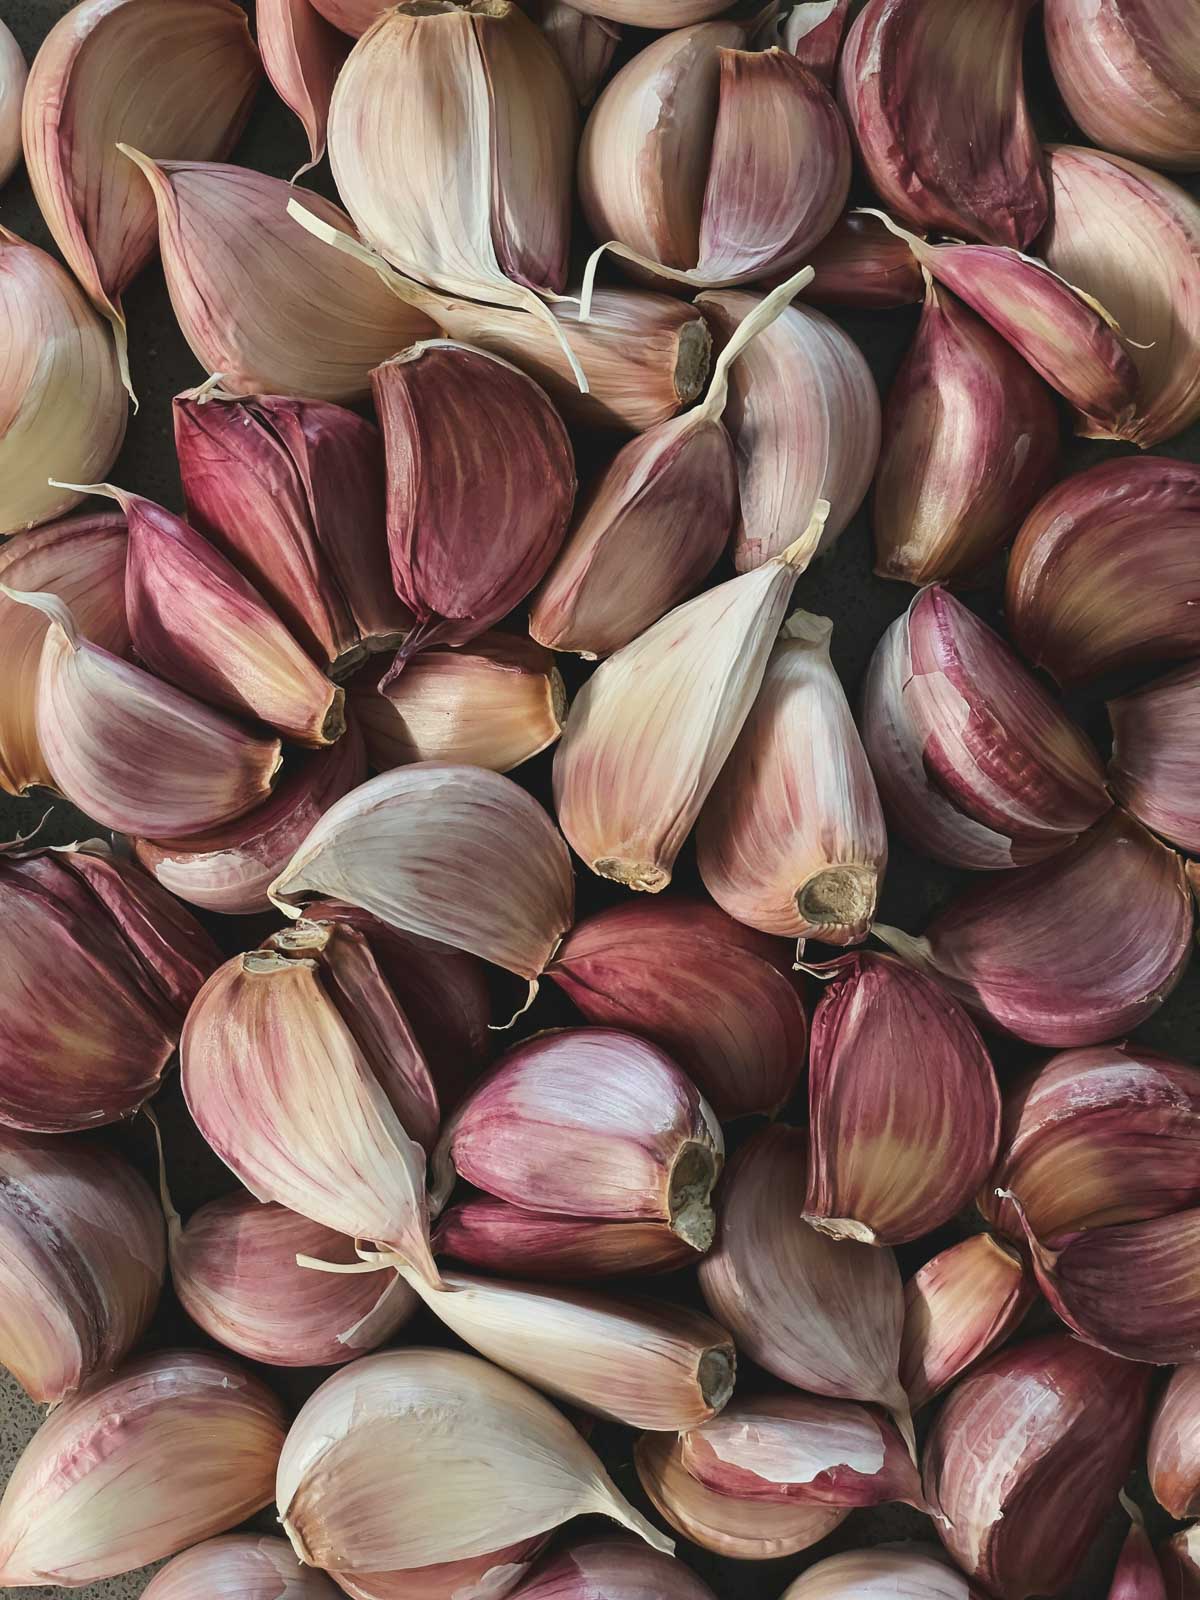
Should You Plant Garlic from the Grocery Store?
You can, but it's not the best option.
Grocery-store garlic may have been treated to prevent sprouting, and you generally won't know what variety you're getting or whether it is well suited to your climate. Seed garlic gives you much more control over the variety you're growing and allows you to choose types that are better suited to your growing zone.
How to Prepare the Garlic Cloves for Planting
Keep the garlic bulb intact until you're ready to plant it. Separate the cloves shortly before planting to prevent them from drying out unnecessarily.
Select the largest, healthiest cloves for planting. Leave the papery skin intact, and don't peel the cloves.
Plant each clove with the pointed end facing upward and the flat root end facing downward.
How to Plant Garlic
Once you've selected your garlic and chosen the right planting time, it's time to get those cloves into the ground. Garlic isn't particularly fussy, but giving it good soil, adequate spacing, and the correct planting depth will give you the best chance of growing large, healthy bulbs.
Choose a Sunny Location
Garlic grows best in full sun, so choose a location that receives at least 6-8 hours of direct sunlight each day.
Choose a location with well-drained soil. Avoid low spots in the garden where water tends to collect. Raised beds are an excellent option if your garden soil doesn't drain well.
Prepare the Soil
Garlic grows best in loose, fertile soil with plenty of organic matter. If your soil needs improvement, incorporate finished compost before planting.
If you're unsure about your soil's nutrient levels, a soil test can help determine whether additional amendments are necessary.
Plant the Garlic Cloves
Dig individual holes or create a shallow trench for your garlic cloves. Plant each clove with the pointed end facing upward and the flat root end facing downward.
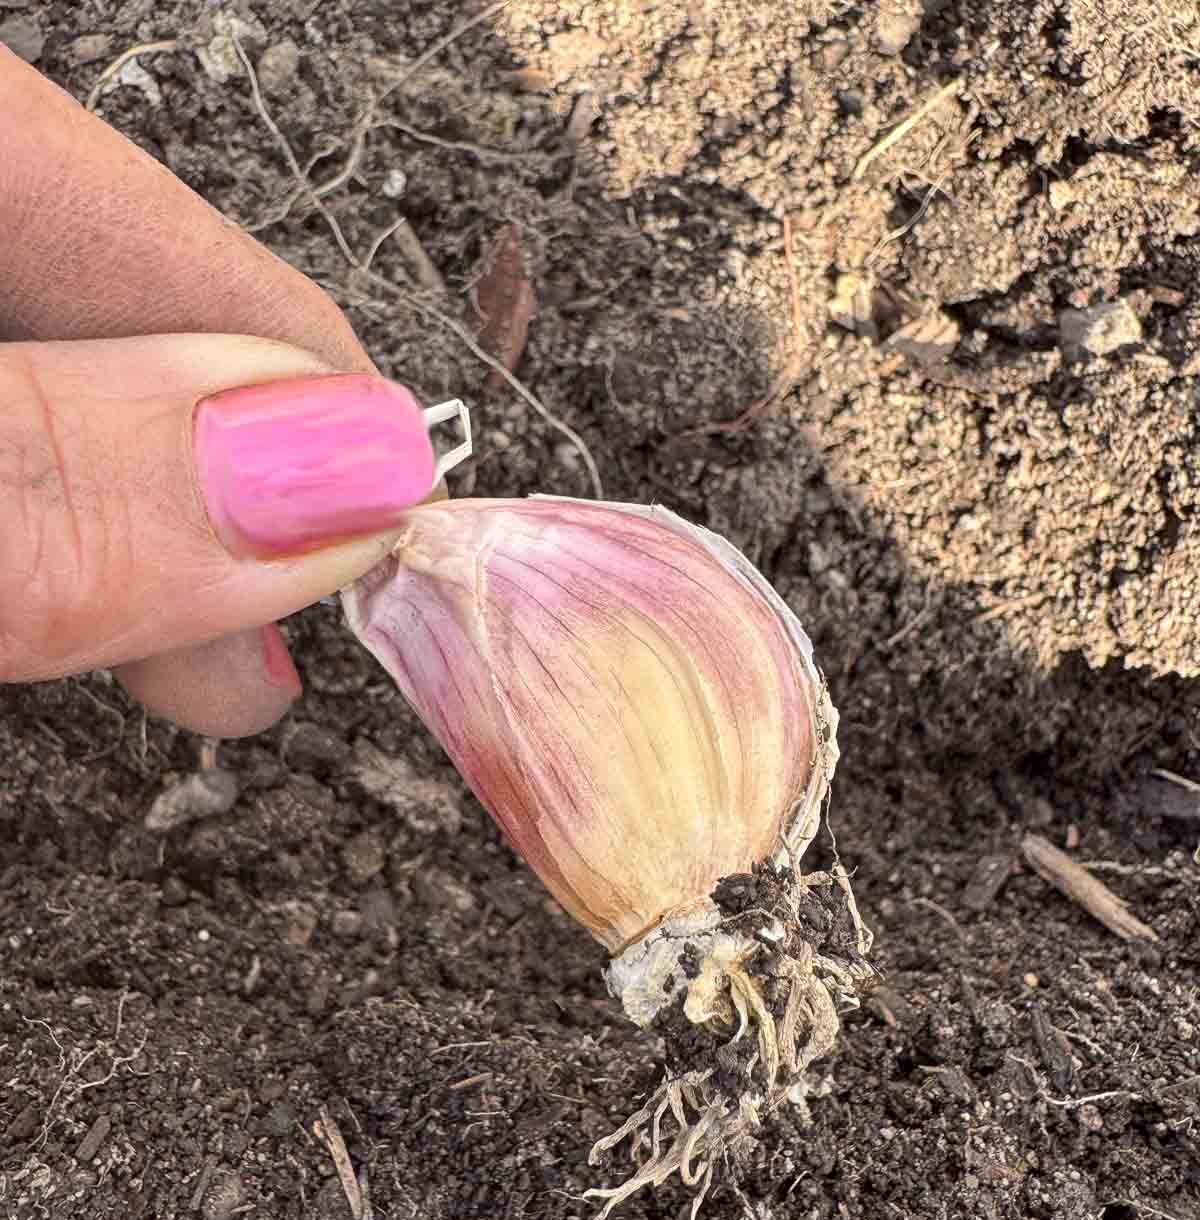
Plant garlic cloves about 2-3 inches deep in warm climates and 4 inches deep in colder ones, measuring from the top of the clove to the soil surface.
Space the cloves 4 inches apart, with 6-10 inches between rows. Proper spacing gives each plant enough room to develop. Once planted, cover the cloves with soil and gently firm the soil around them.
Water After Planting
Give the newly planted garlic bed a good watering after planting. This settles the soil around the cloves and encourages root development.
After that, keep the soil lightly moist while the garlic establishes its roots. Be careful not to keep the soil soggy. Garlic prefers consistent moisture during active growth but does not tolerate waterlogged soil.
Mulch the Garlic Bed
Mulching is especially important when growing garlic in a cold climate. After the soil has cooled, cover the bed with a layer of clean straw or another suitable organic mulch. Mulch helps insulate the soil, protects the cloves from extreme temperature fluctuations, and suppresses weeds.
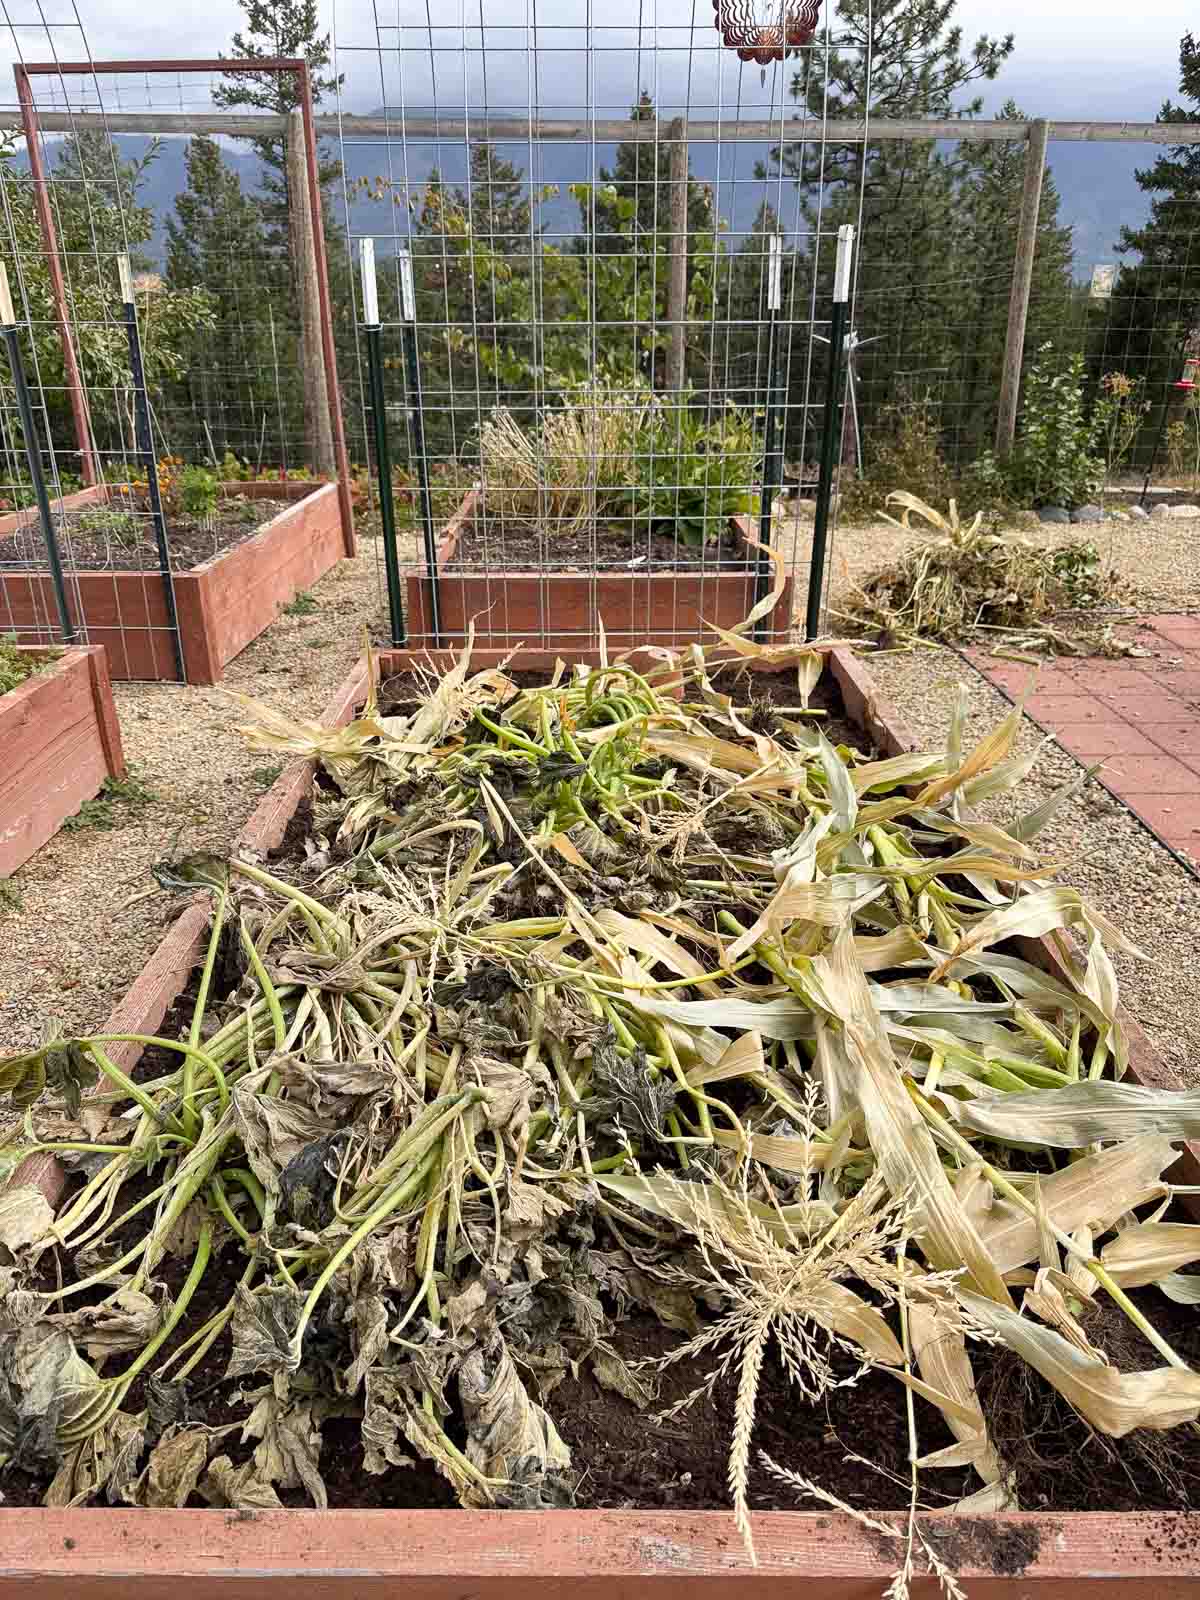
Pro Tip: You don't necessarily need to buy mulch for your garden bed. Last year, I used corn husks and other spent garden plants as mulch. I piled the dried plants over the garlic bed to create a thick insulating layer for the winter. When using garden debris as mulch, make sure the plants were healthy and free from disease or pests. Avoid using plants that have gone to seed, or you could introduce weeds into the beds.
When Should You Remove Mulch?
As spring arrives, gradually pull back or thin the mulch so the soil can warm and the garlic can grow freely. Keep some mulch in place to help suppress weeds and conserve moisture.
How to Care for Garlic
Once your garlic begins growing actively in spring, proper watering, feeding, and weed control become important.
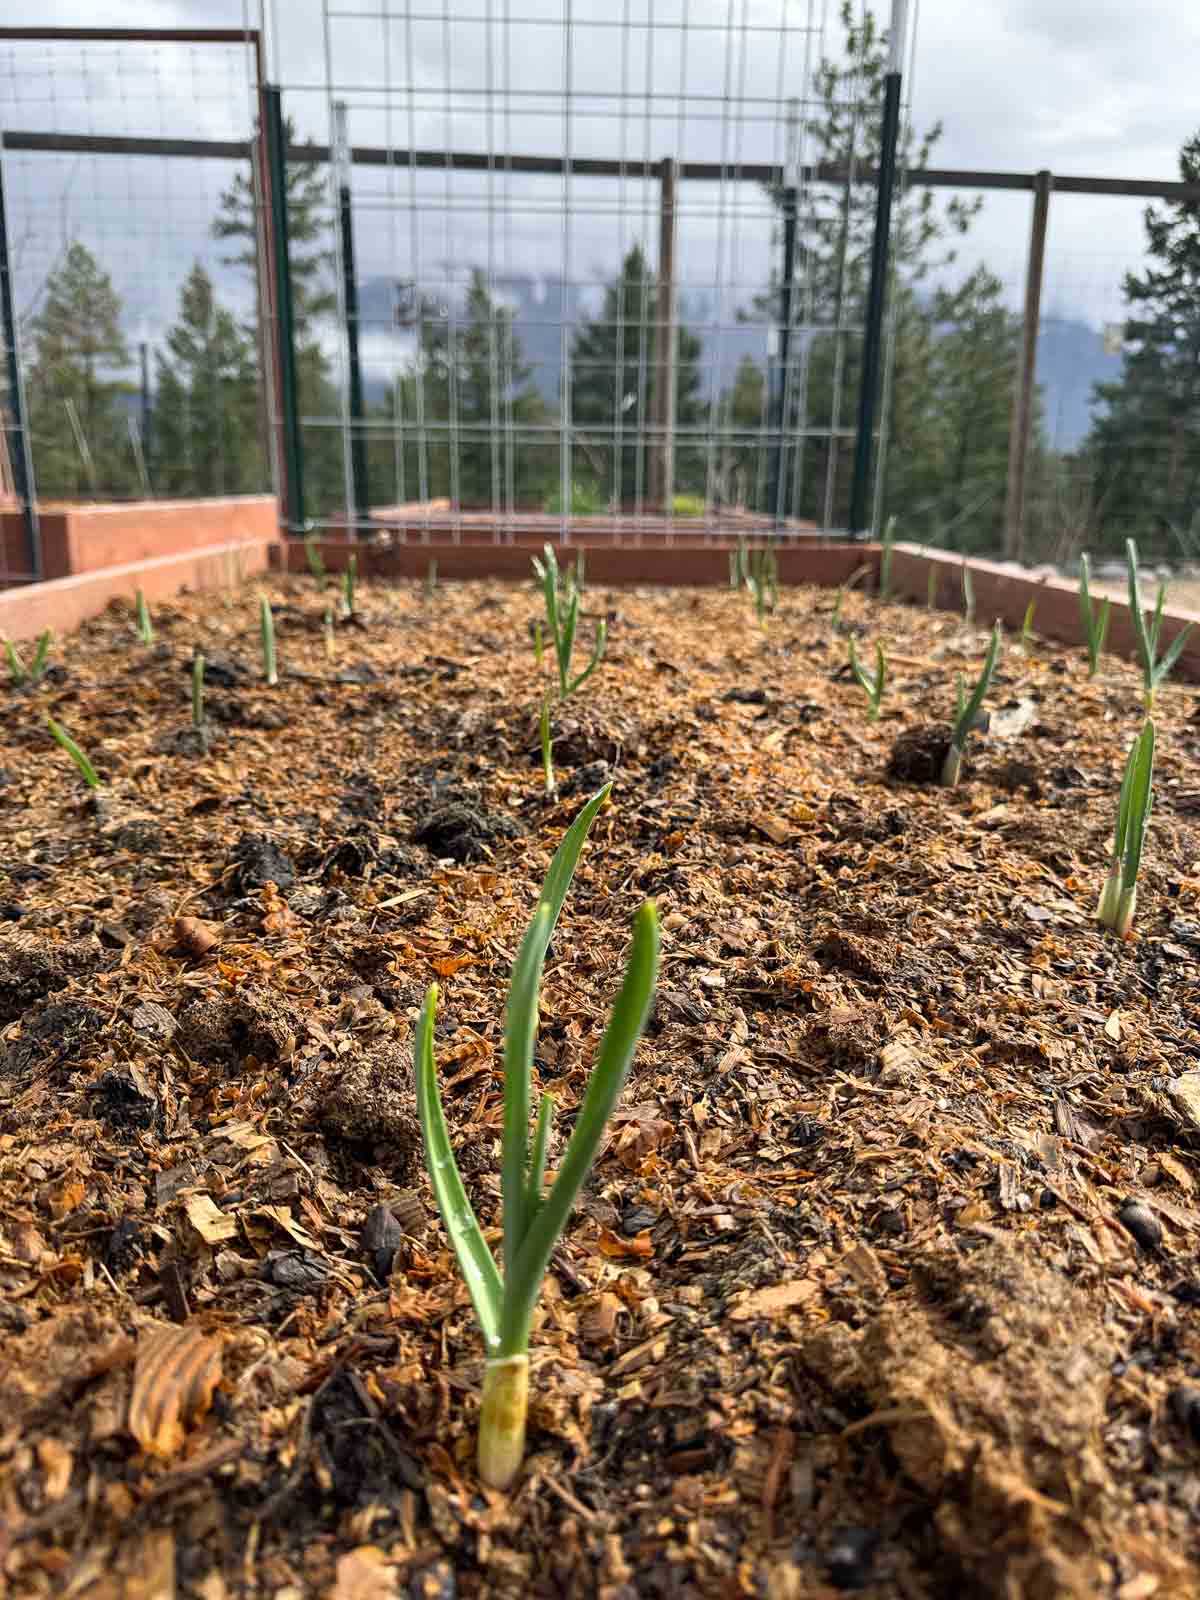
Watering Garlic
Garlic needs consistent moisture during its active growing season, particularly during spring and early summer when bulbs are forming. Keep the soil evenly moist, but avoid overwatering. Garlic has a relatively shallow root system, and overly wet soil can lead to root and bulb rot.
As harvest time approaches, gradually reduce watering. Stop watering about a week or two before harvest, depending on weather conditions.
Fertilizing Garlic
Garlic is a heavy feeder, so fertile soil is important for producing large bulbs. A good approach is to incorporate compost into the soil before planting, then provide additional nitrogen in early spring when the plants begin actively growing.
A nitrogen-rich fertilizer or well-composted organic fertilizer can be applied as a side dressing alongside the plants. Follow the product's application instructions rather than applying fertilizer by guesswork.
Avoid heavy nitrogen applications later in the growing season. Once the garlic begins putting its energy into bulb development, excessive nitrogen can encourage leafy growth instead of large bulbs. This gentle garlic fertilizer might be a better option.
Keep the Garlic Bed Weed-Free
Garlic doesn't compete particularly well with weeds. Keep the bed weed-free throughout the growing season so the plants don't have to compete for water and nutrients. Be careful when weeding around garlic plants. The bulbs develop underground, so aggressive cultivation can damage the roots or bulbs.
Harvesting Garlic Scapes
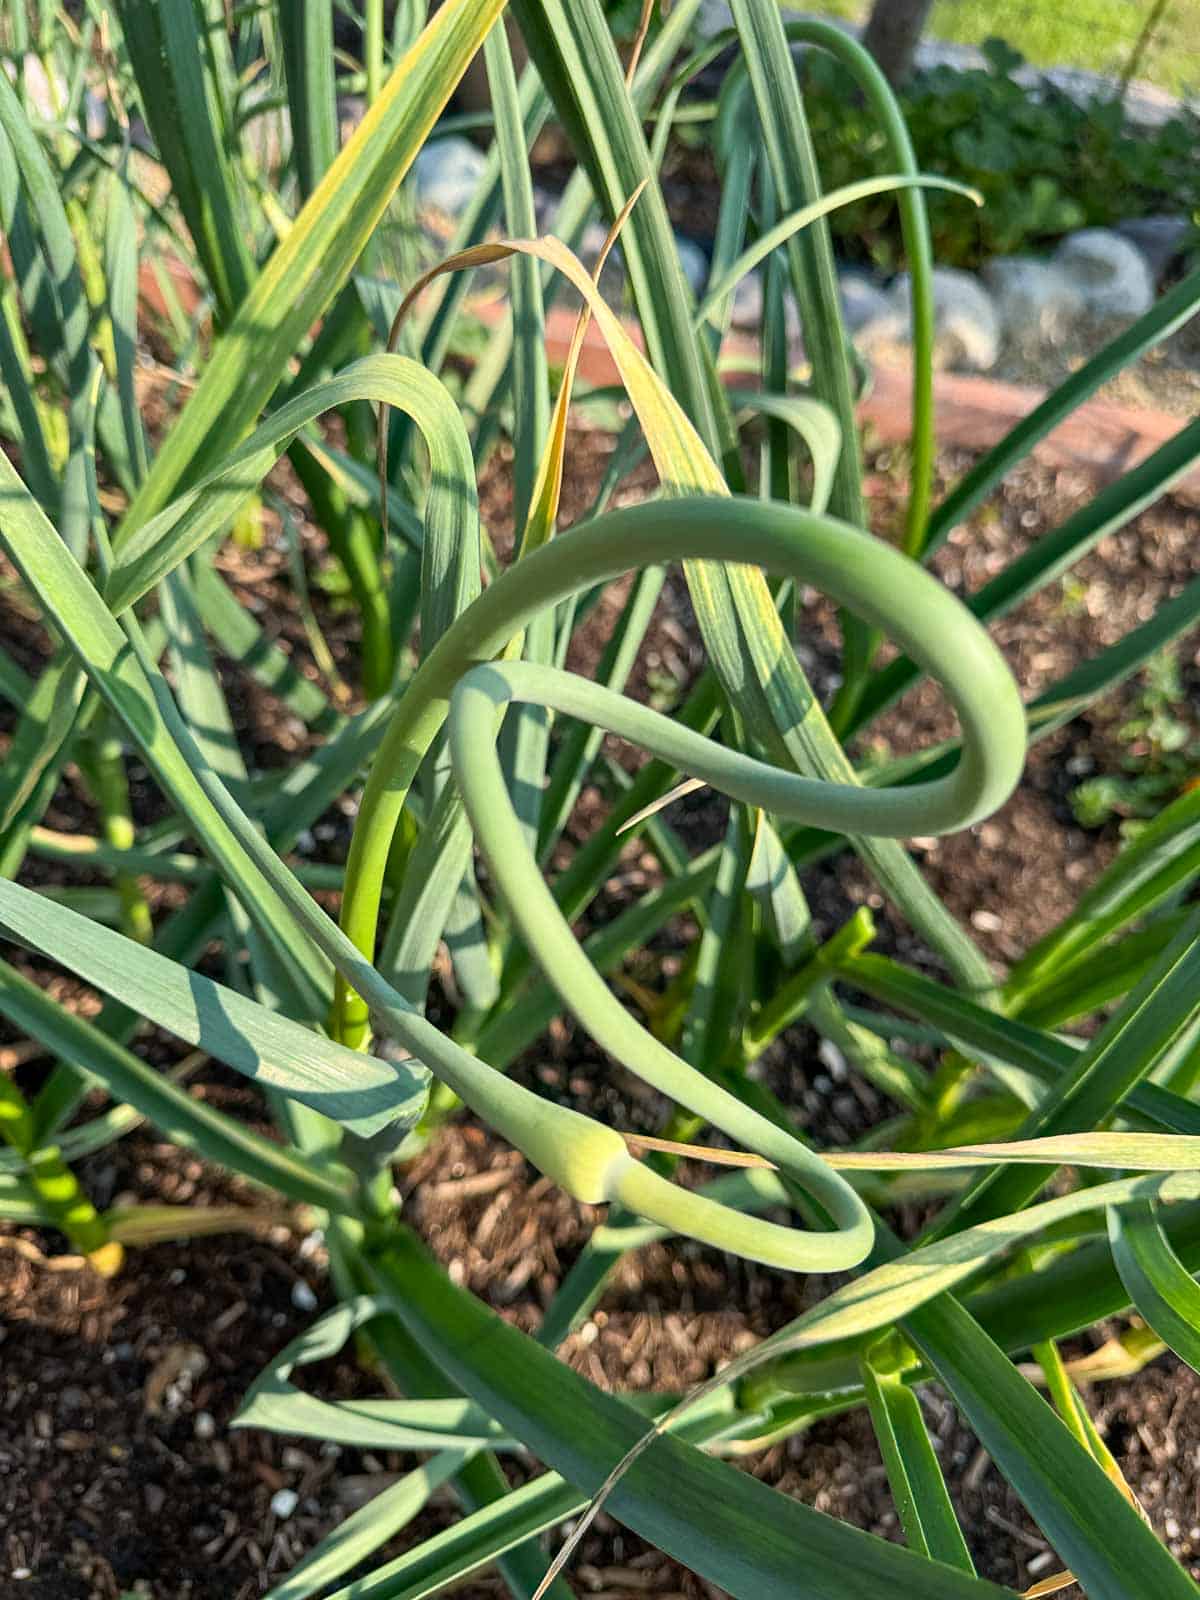
If you're growing hardneck garlic, you'll notice a tall, curling stalk emerging from the center of each plant. These are the garlic scapes I mentioned earlier, and they're one of the bonuses of growing hardneck garlic. Garlic scapes are the flowering stalks of the garlic plant. They typically appear in late spring or early summer and begin by curling into a loop before straightening out.
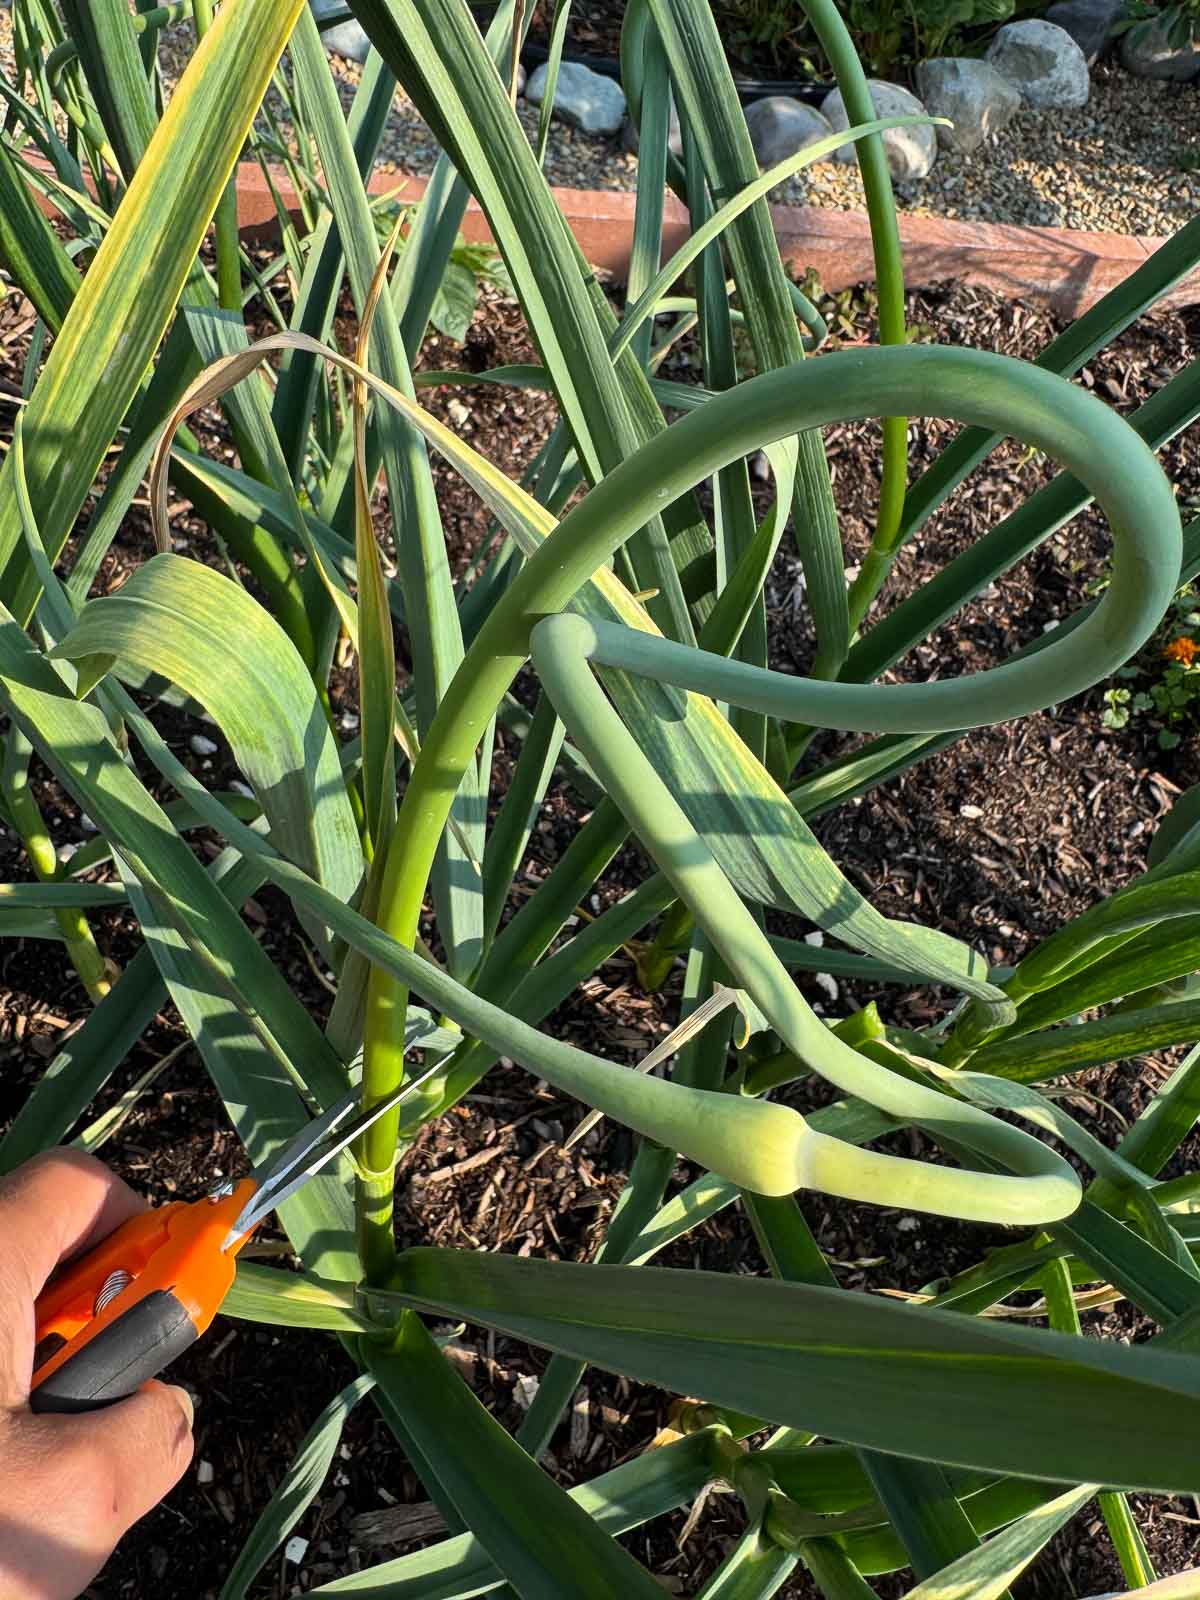
Harvest the scapes when they've formed one or two curls but before they become tough and woody. Use clean garden shears (this mini pruner is my favorite) to cut the scape where it emerges from the plant. And don't throw them away! Garlic scapes have a mild, fresh garlic flavor and can be used in a variety of dishes, including garlic scape pesto!
Why Remove Garlic Scapes?
The reason for harvesting garlic scapes isn't just because they're delicious. Removing the scapes encourages the plant to put more energy into the underground bulb.
You don't have to harvest scapes from softneck garlic because they don't produce the same type of flowering stalk.
When and How to Harvest Garlic
After months of waiting, it's time to harvest your garlic. Knowing when to harvest is important because digging too early can result in small, underdeveloped bulbs, while waiting too long can cause the cloves to separate and shorten their storage life.
When is Garlic Ready to Harvest?
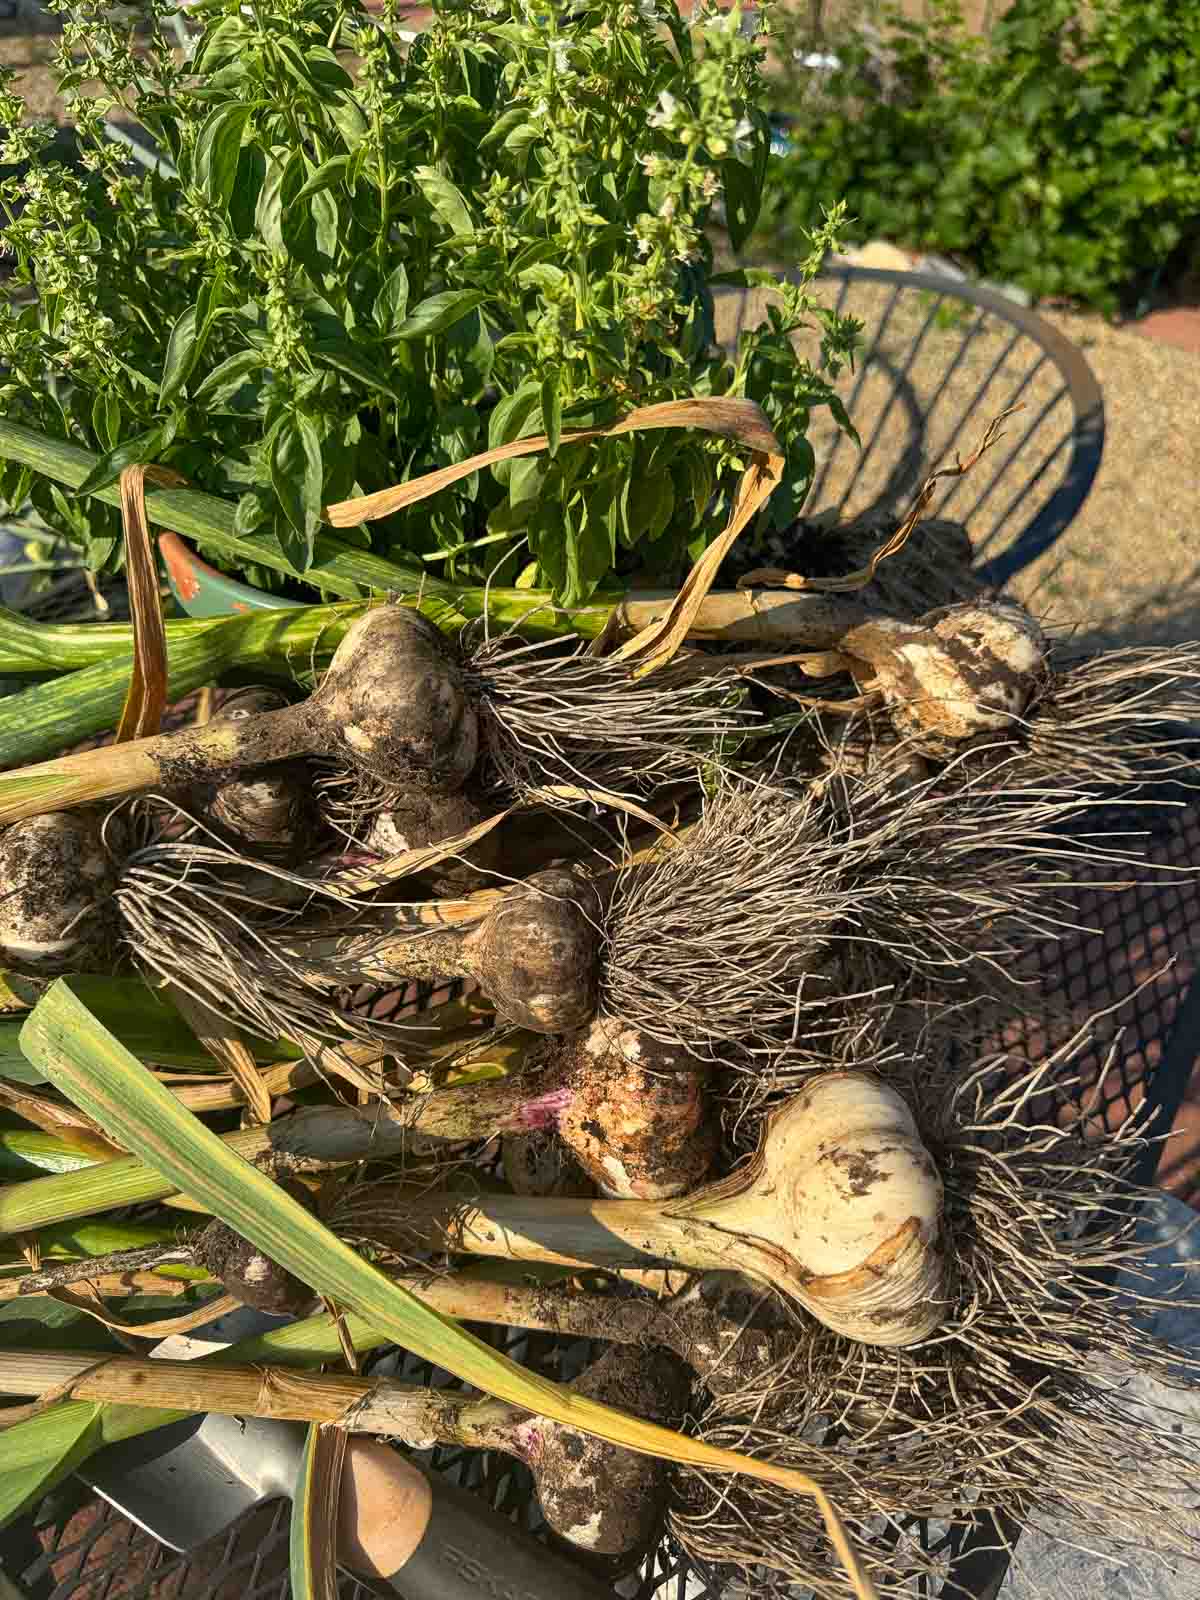
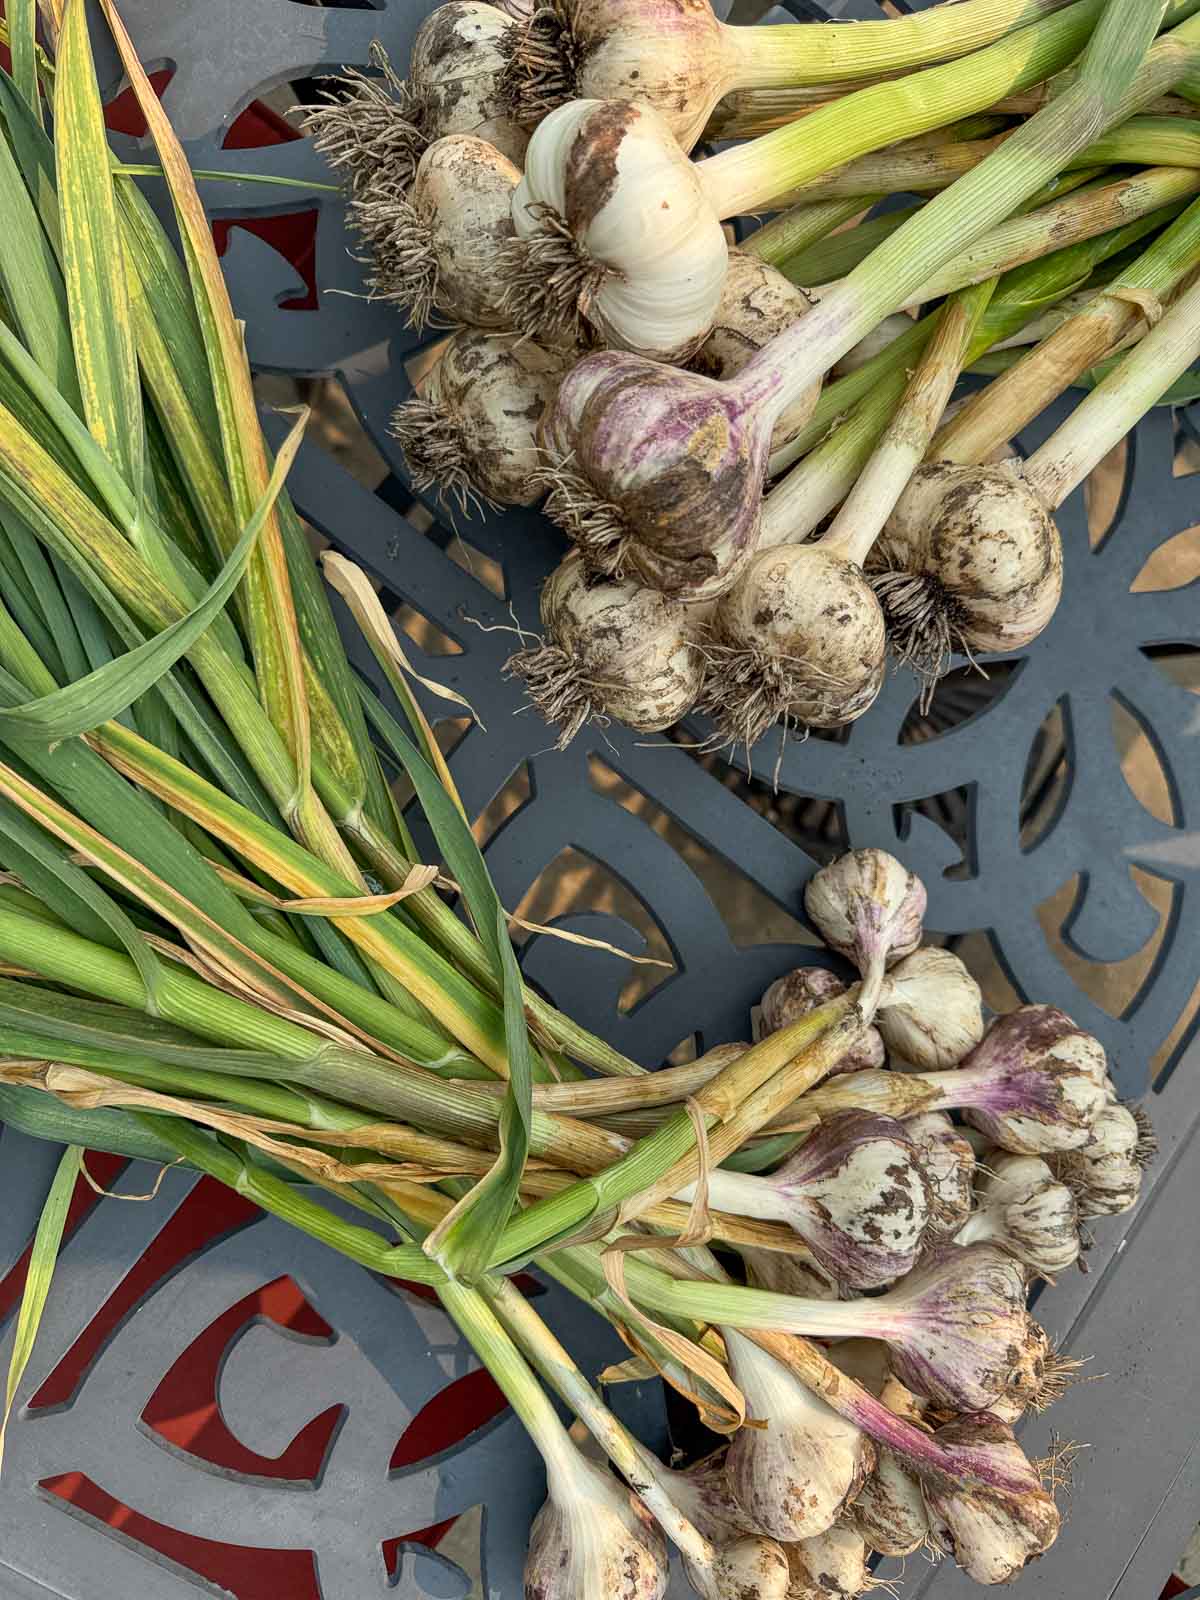
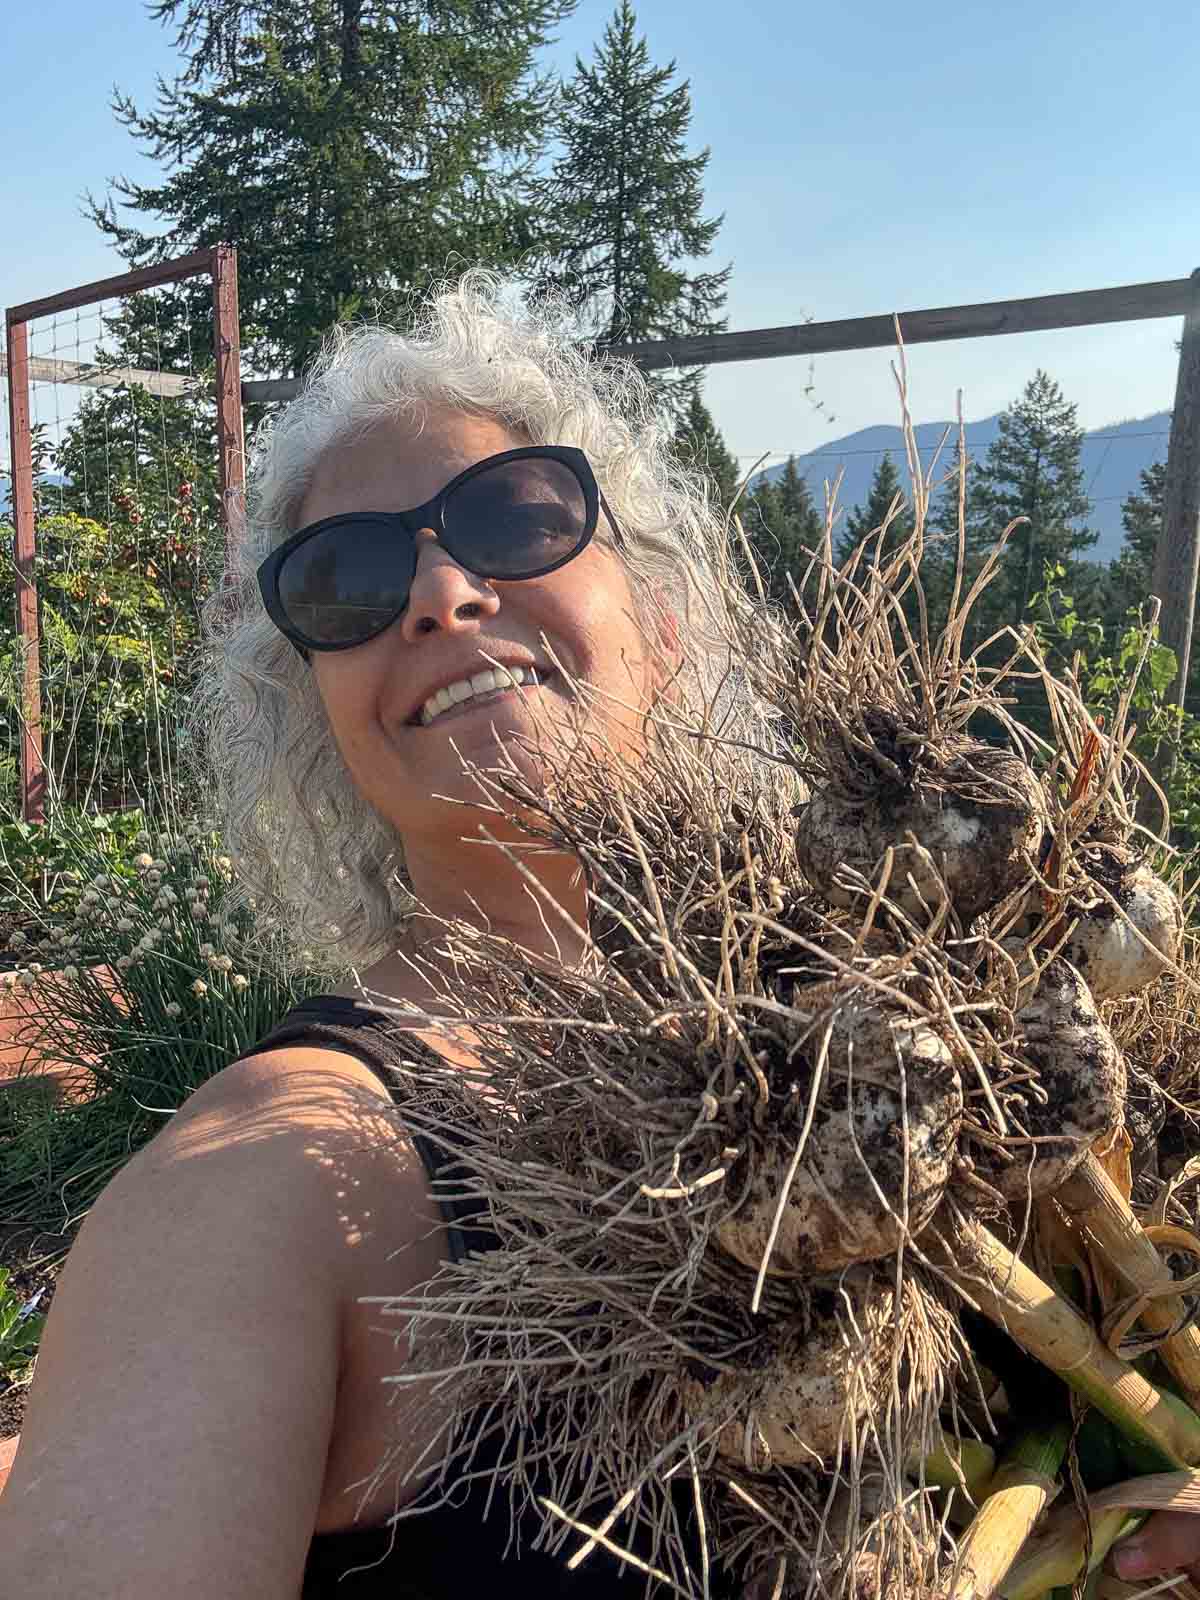
Garlic is generally ready to harvest in mid to late summer. One of the easiest ways to tell when garlic is ready is to look at the leaves. As the plant matures, the lower leaves will begin turning yellow and brown while the upper leaves remain green. When approximately 40-60% of the leaves have turned brown, it's time to start checking the bulbs.
Check a Test Bulb
If you're not sure whether your garlic is ready, dig up one plant and inspect the bulb. Look for well-developed cloves surrounded by several layers of papery skin. If the cloves are still small and the bulb hasn't filled out, give the remaining plants more time.
How to Harvest Garlic
Choose a dry day to harvest your garlic if possible. If you've been watering regularly, stop watering about a week or two before harvesting to allow the soil to dry out.
Loosen the soil around the bulb with a garden fork, being careful not to pierce or damage the bulb. Then gently lift the garlic from the soil.
Don't pull the garlic out by the leaves! The leaves can break away from the bulb, leaving you with a damaged plant and a harder time getting the bulb out of the ground.
Once you've lifted the garlic, gently brush away loose soil. Don't wash the bulbs at this stage. Excess moisture can encourage mold and rot while the garlic is curing.
How to Cure and Store Garlic
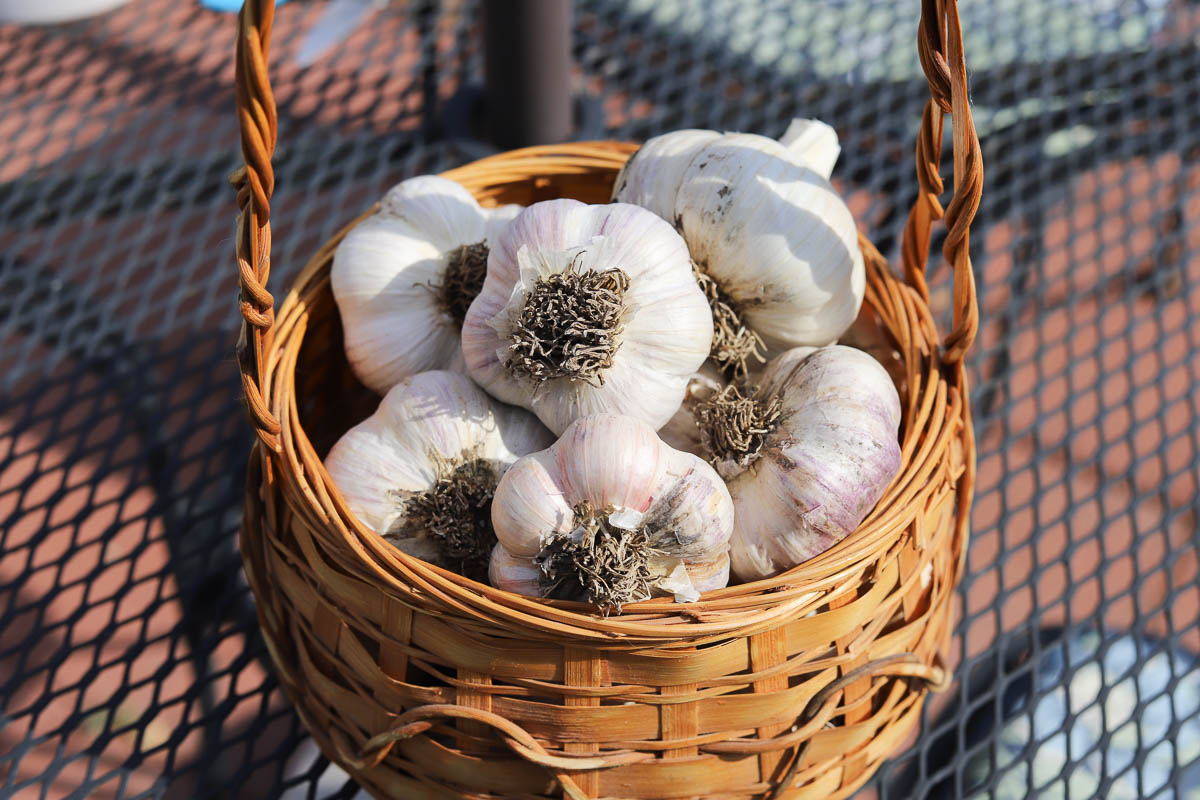
Once you've harvested the garlic, proper curing is essential for long-term storage. Curing allows the remaining moisture in the bulbs to evaporate and the outer layers of the skin to dry and harden, creating a protective layer around the cloves.
How to Cure Garlic
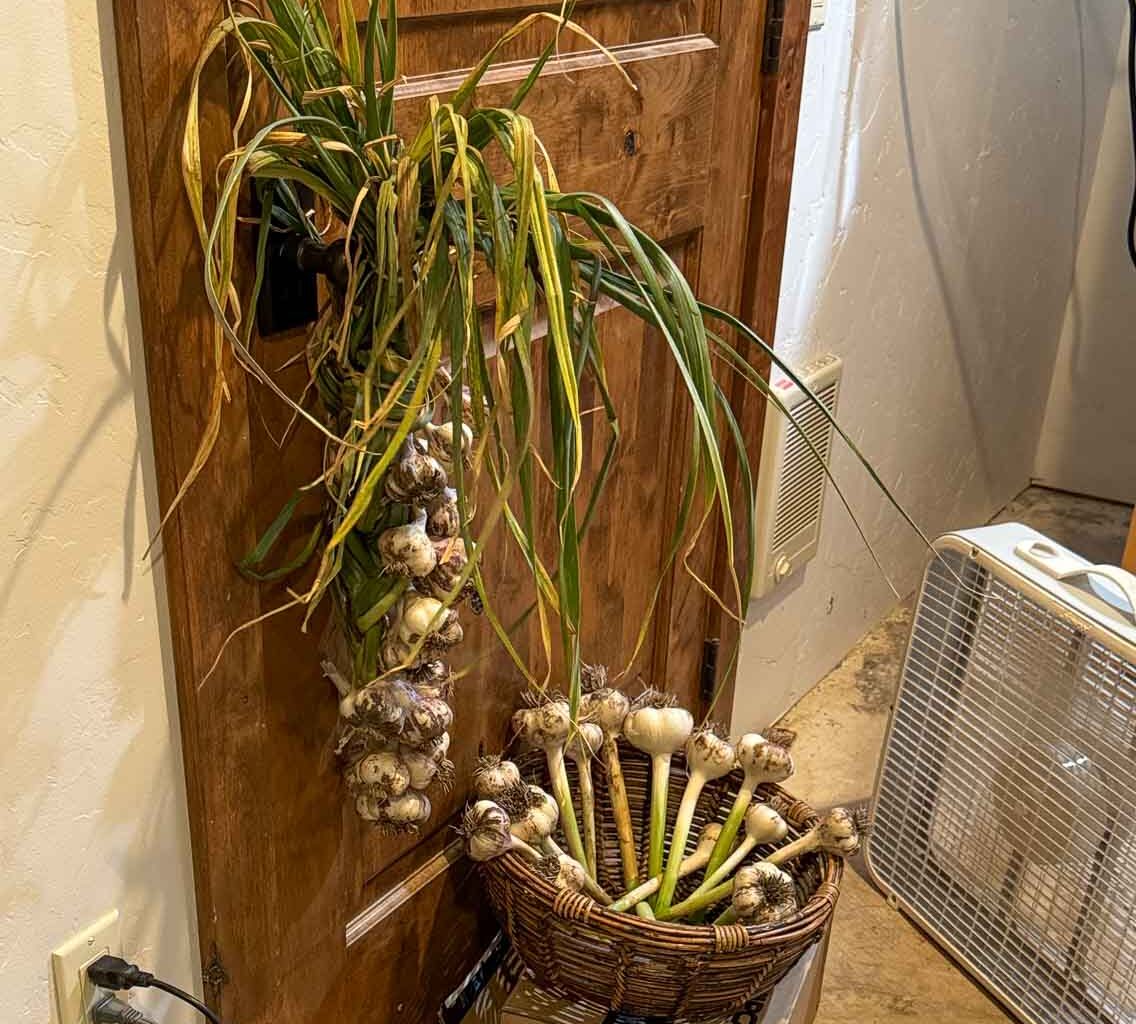
Move the freshly harvested garlic to a dry, well-ventilated location out of direct sunlight. Good airflow is important because the bulbs need to dry gradually without developing mold.
You can hang garlic in small bundles, spread the bulbs in a single layer on a screen or rack, or place them on a dry surface where air can circulate around them. Avoid piling freshly harvested garlic into deep containers. Trapped moisture can lead to rot.
Garlic usually takes 2-3 weeks to cure, although larger bulbs or humid conditions may require additional time. Leave the stalks and roots attached while the bulbs cure. The garlic is fully cured when the outer skin has become dry and papery, the neck is completely dry, and the garlic feels firm. The roots should also be dry and brittle.
Once cured, trim the roots and cut the stalks to about 1-2 inches above the bulb. If you're planning to braid softneck garlic, leave the stalks intact. Here's a demonstration video showing how to braid softneck garlic.
How to Store Garlic
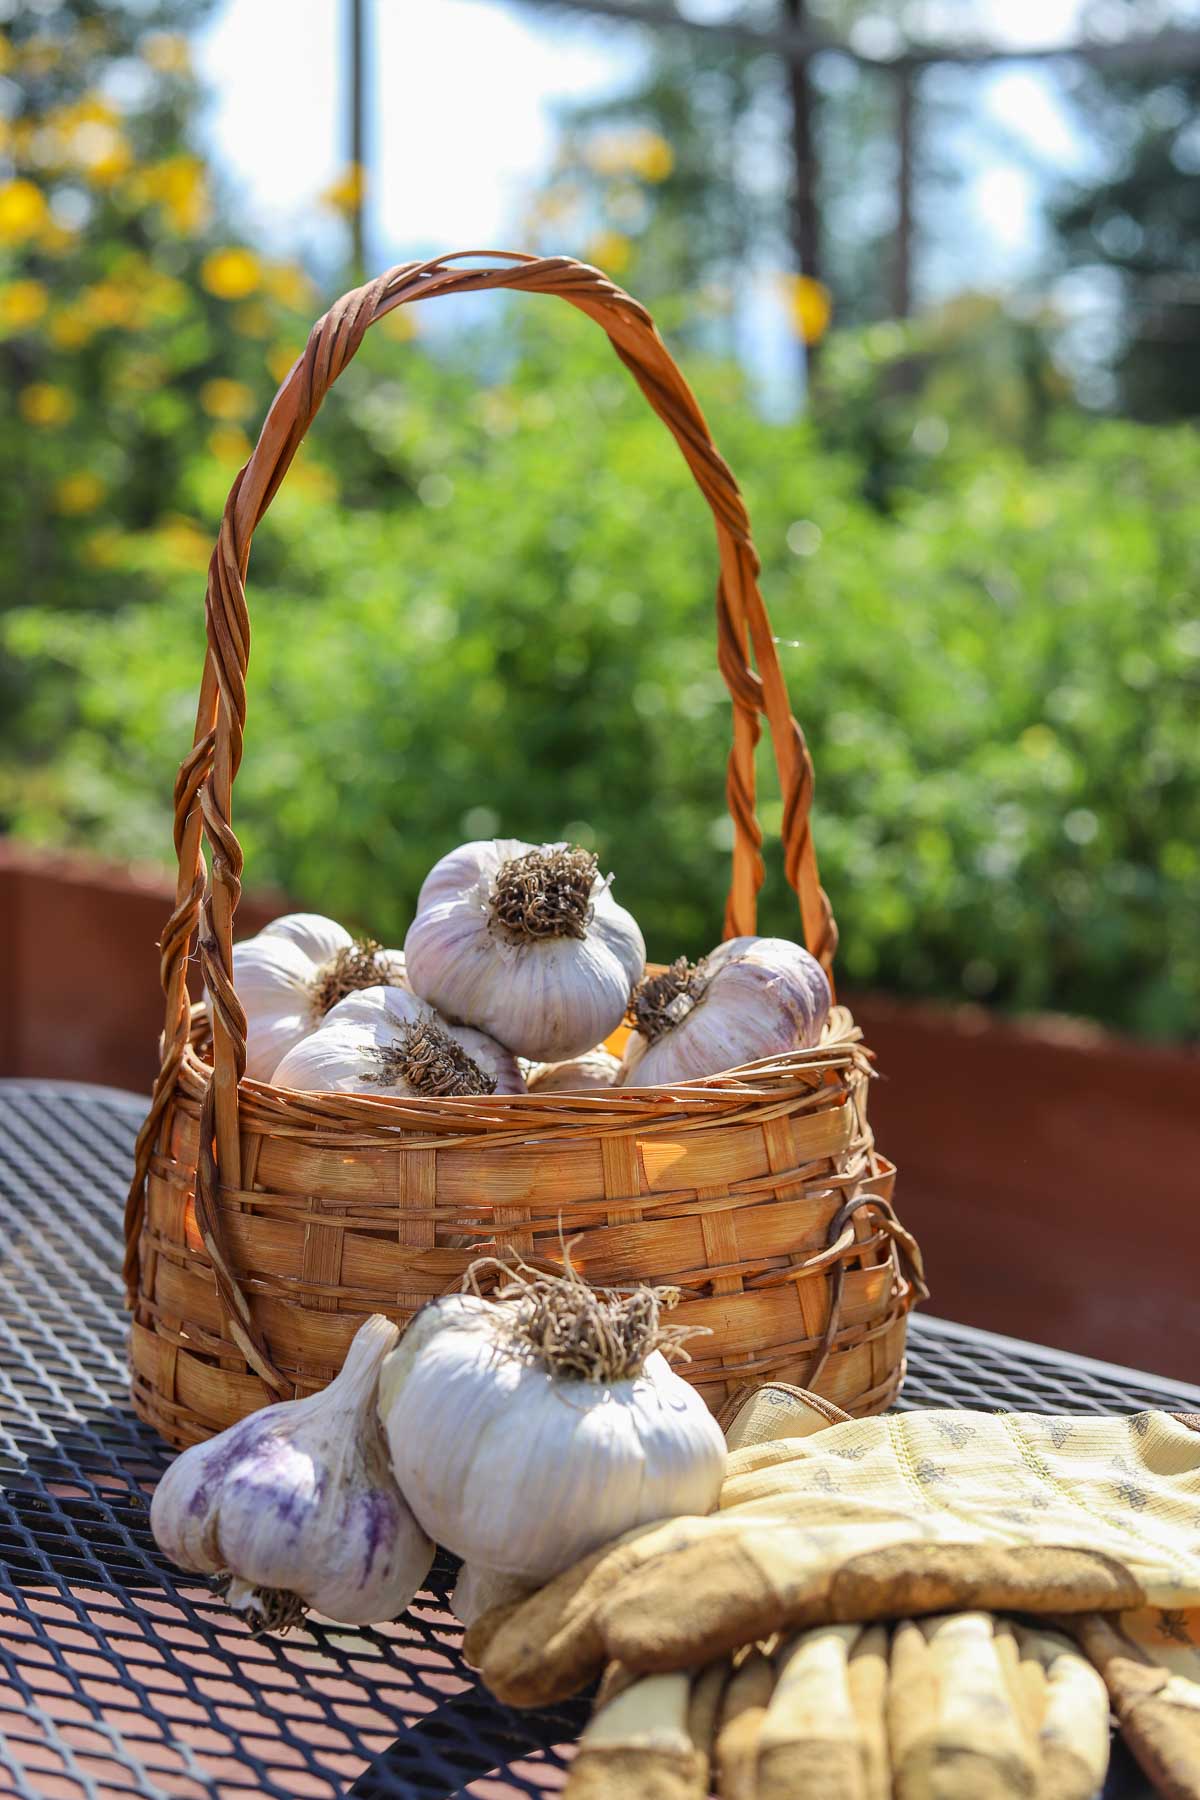
Store cured garlic in a cool, dry location with good air circulation. A pantry, cupboard, or other area away from heat, moisture, and direct sunlight works well. Avoid storing garlic in sealed plastic bags or airtight containers. Mesh bags, paper bags with ventilation, baskets, or garlic storage racks allow air to circulate and help prevent moisture buildup.
Hardneck garlic generally doesn't store as long as softneck varieties. Depending on the variety and storage conditions, hardneck garlic may last up to 6 months, while softneck garlic can often remain usable for 6 to 9 months.
Check your stored garlic periodically and remove any bulbs that become soft, moldy, or begin to rot.
Can You Freeze-Dry Garlic?
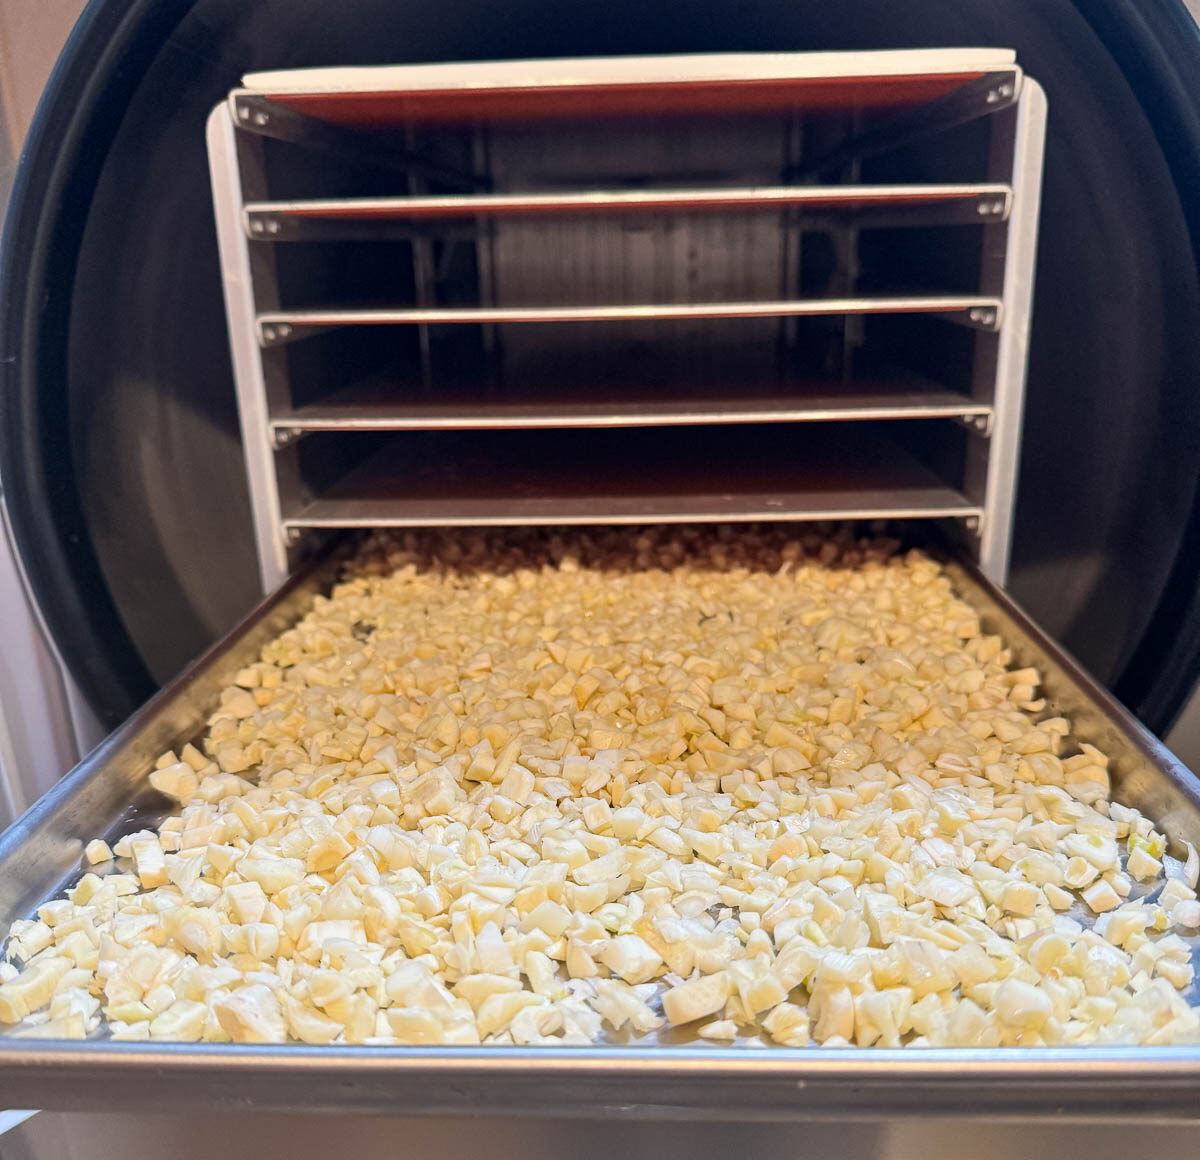
If you have a freeze dryer, garlic is an excellent crop to preserve. Freeze-dried garlic can be stored long-term and used in a variety of ways, from adding it directly to recipes to grinding it into garlic powder.
I freeze-dried garlic from previous harvests, and it turned out beautifully. Once the garlic is completely dry, store it in an airtight container with an oxygen absorber for the longest possible shelf life.
Saving Garlic for Next Year's Crop
One of the best things about growing garlic is that you can save part of your harvest to plant the following year. Set aside some of your largest, healthiest bulbs for seed garlic. Store them under the same conditions as the garlic you're keeping for eating. When it's time to plant in the fall, separate the bulbs into individual cloves and plant them as you normally would.
Over time, you can select the largest and healthiest bulbs from each harvest. Saving your own seed garlic not only saves money, but it also allows you to gradually develop garlic that performs well in your particular garden and climate.
Common Garlic Growing Problems
Even though garlic is relatively easy to grow, a few common problems can affect bulb size, plant health, and storage life.
Small Garlic Bulbs
If your garlic produces small bulbs, several factors could be responsible. Planting small cloves, overcrowding, poor soil fertility, insufficient sunlight, weeds, or planting at the wrong time can all affect bulb development.
For larger bulbs next year, start with the biggest, healthiest cloves you have, give plants adequate space, and keep the garden well watered and weed-free during active growth.
Yellowing Garlic Leaves
Some yellowing is normal as garlic matures, particularly when the lower leaves begin turning yellow as harvest approaches. If the leaves turn yellow prematurely, however, the problem could be related to overwatering, poor drainage, nutrient deficiencies, or disease. Check soil conditions before adding fertilizer.
Garlic Rot
Soft, discolored, or rotting bulbs can be caused by excessive moisture or soil-borne diseases. Planting garlic in well-drained soil and avoiding overwatering can help reduce the risk.
Remove affected plants and avoid saving cloves from diseased bulbs for future planting.
Garlic Rust
Garlic rust appears as small orange or yellowish spots on the leaves. Severe infections can weaken the plants and reduce bulb size. Good airflow between plants, proper spacing, and avoiding overhead watering can help reduce conditions that favor fungal diseases.
If you notice unusual spots, discoloration, or widespread damage, it's worth identifying the problem before treating the plants.
Growing Garlic Is Easier Than You Think
Now that you know how to grow garlic, you can add this rewarding crop to your garden with just a little planning. Plant the cloves in fall, protect them with mulch through winter, provide adequate water and nutrients in spring, and harvest when the leaves begin to brown.
The best part is that your garlic harvest doesn't have to end with this year's crop. Save your largest, healthiest bulbs to plant again in the fall, and you can continue growing your own garlic year after year!
Whether you're planting a small garden bed or growing enough garlic to stock your pantry, there's something satisfying about digging up a crop you planted months earlier. And once you've tasted garlic you've grown yourself, grocery-store garlic may never quite measure up!
More Gardening Posts
Looking for other recipes like this? Try these:

Comments
No Comments