
Thanks to this apple cider vinegar recipe, I'm never buying vinegar again! Fermenting your own vinegar is so easy! All you need is some apple peels, cores, or scraps, and water. Then try your hand at making chive blossom vinegar!

If you know me at all, you probably know that I'm always trying to learn something new. From brewing my own wine with Juneberries to making dandelion salve and freeze-drying bananas, there isn't anything I don't want to learn how to do or make from scratch.
Learning how to make ACV is yet another way I'm increasing my homesteading skills. It's one of those easy skills that everyone can learn to make. You don't even need any fancy equipment, just a quart-sized glass jar and a flip-top bottle.
I experimented with a few different methods, which included using no sugar, granulated sugar, and brown sugar. I even made a jar with pear cores and scraps that were left over from making pear wine.

What I learned is you don't need to add sugar since the fruit has natural sugars, but the sugar sure helps the concoction to ferment faster! As far as taste goes, I preferred the vinegar made with granulated sugar, but the flavor of the pear vinegar was really good, too!
So the next time you make an apple and puff pastry tart or an apple pie, save the apple cores and other pieces to make this homemade apple cider vinegar recipe! Then use some to make rowanberry shrub!
Jump to:
Ingredients & Substitutions

- Apples: Although you can use any apple variety, it's always good to use a few different varieties to improve and balance flavor.
- Sugar: As mentioned above, sugar is not necessary but it can get the fermentation going faster. You can also substitute with honey.
- Water: Use fresh, non-chlorinated water or filtered water for best results.
See recipe card for quantities.
How to Make Homemade Apple Cider Vinegar

- Fill a quart-sized mason jar ½ to ¾ full with chopped apples, cores, peel, or scraps. Mix 2 tablespoons of granulated sugar in 2 cups of water. Stir to dissolve.
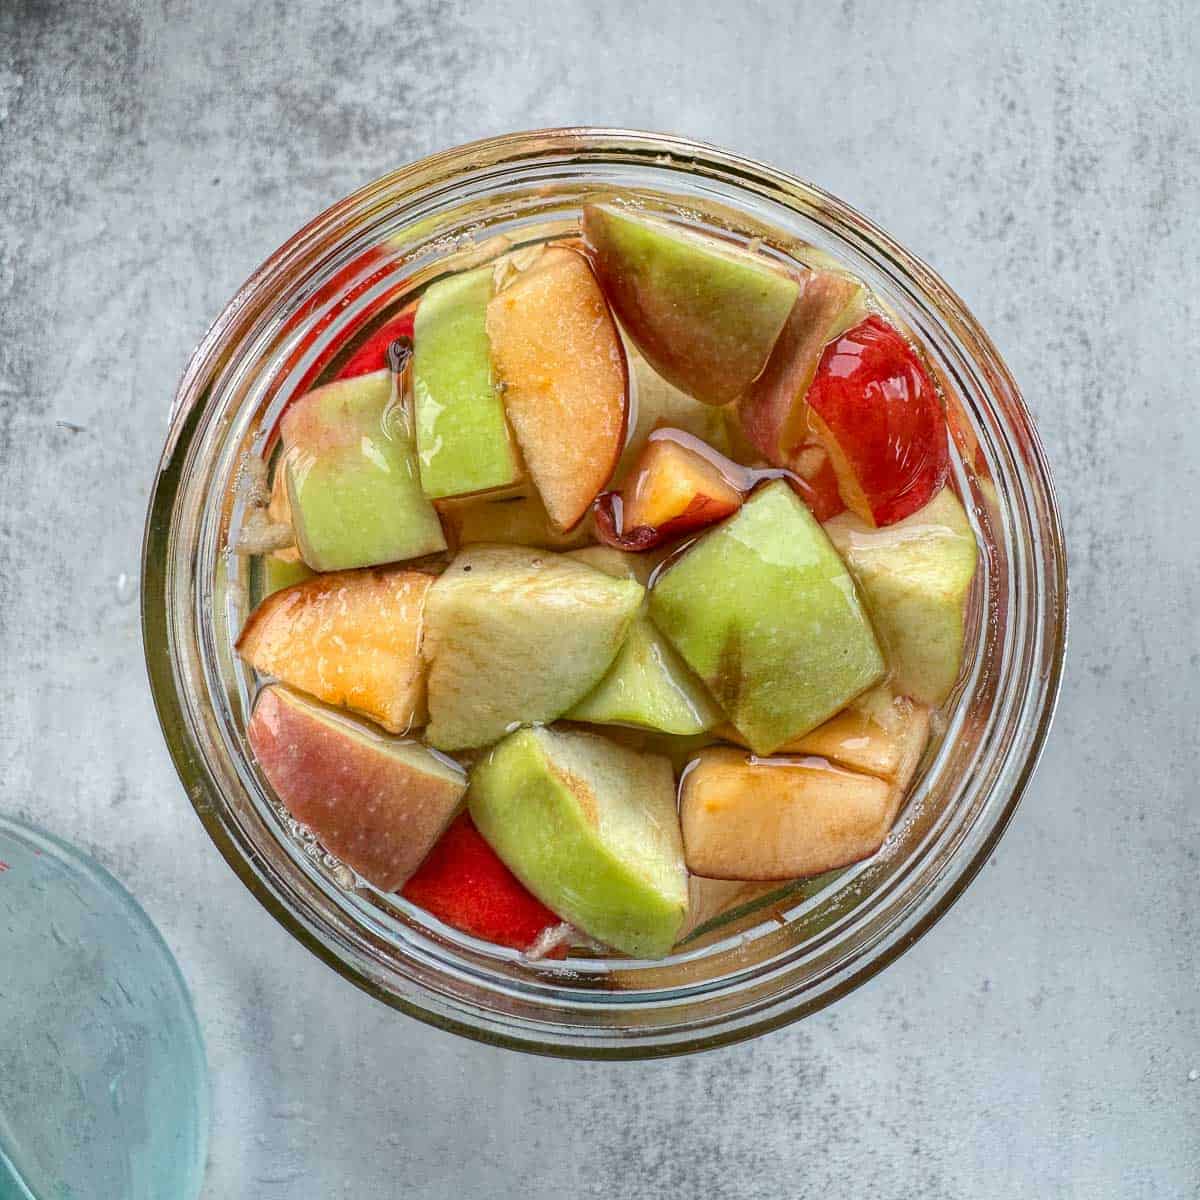
- Pour mixture over apples. If apples are not fully submerged, add an additional cup of water mixed with 1 tablespoon sugar.
Pro Tip: If possible, choose a wide-mouthed jar, which will be easier to fill and work with.
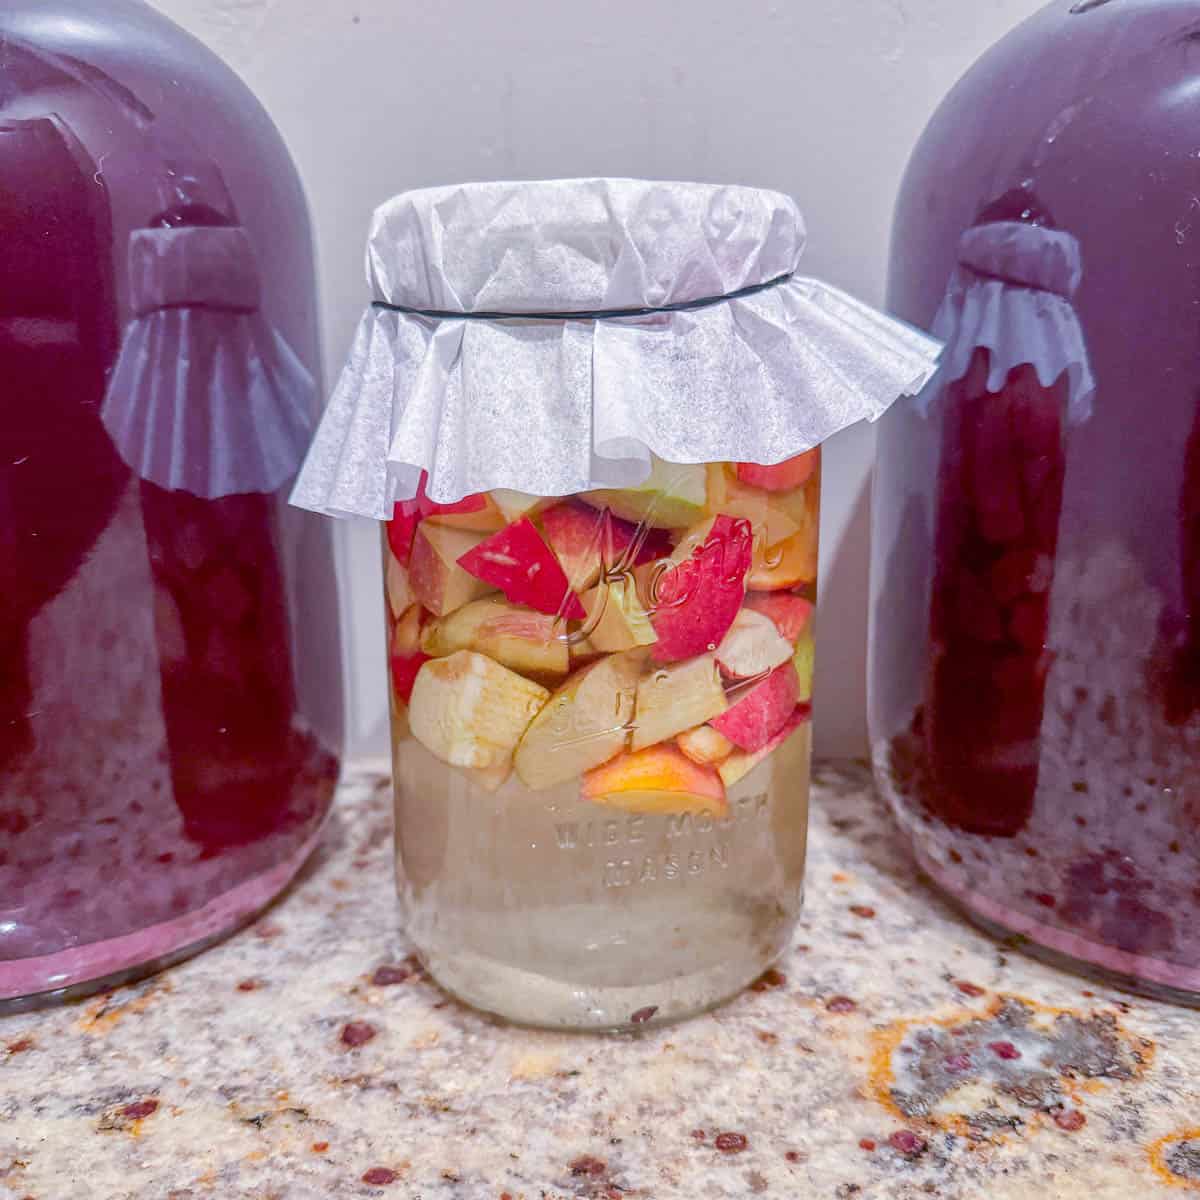
- Cover jar with a coffee filter or breathable cloth and secure it into place with a rubber band or jar collar. Place jar in a cool, dark location (away from direct sunlight).

- Watch fermentation start as you stir daily for the next two weeks. This will discourage mold growth, especially since some apples will float to the surface.
Pro Tip: During this time, bubbles will begin to form, indicating that fermentation is in progress!
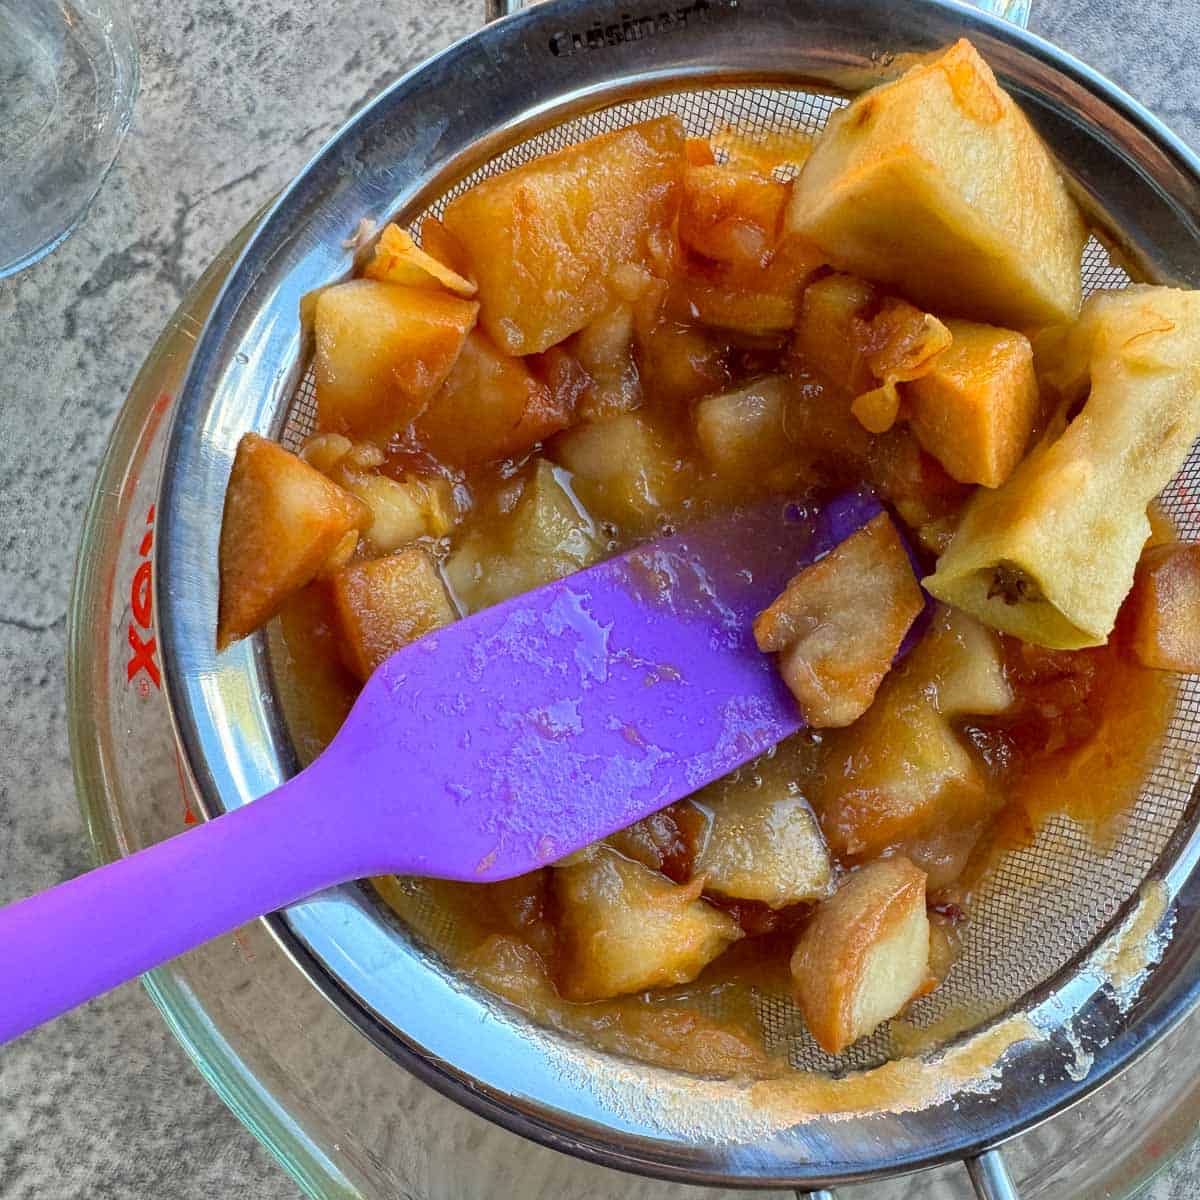
- After 2 weeks, strain vinegar through a fine mesh strainer and discard apples. Allow vinegar to ferment anywhere from 1 to 3 months. The longer you ferment the vinegar, the more the flavor will develop.

- Your finished vinegar should have a pH somewhere between 2 to 3. These PH test strips can be used to confirm that the vinegar is ready to be bottled.

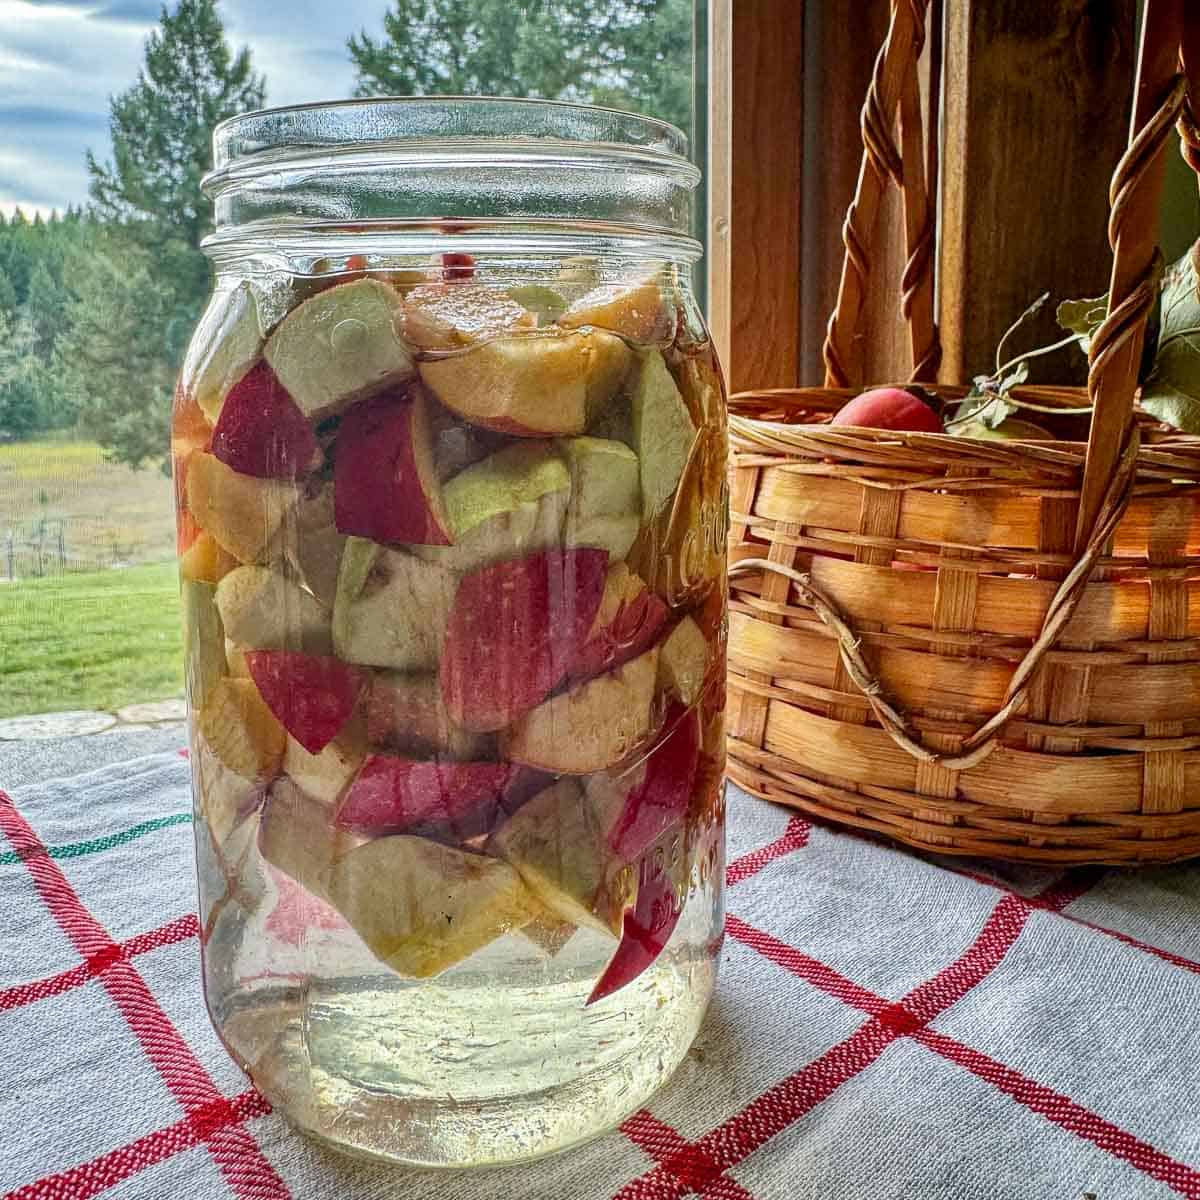
- Transfer finished vinegar to either flip-top bottles or bottles with tight-fitting lids and store in a cool, dark location.
Vinegar Mother
If you notice a film forming on the top of the vinegar, it's fine. This simply means your vinegar is forming a "mother", similar to a SCOBY in kombucha.
This film is called the "mother" because the acetic acid bacteria it's made up of facilitates the fermentation process, "giving life" to the vinegar. The mother will eventually get thicker and settle at the bottom of the jar. You can leave the mother in the vinegar or remove it, it's totally up to you!


Uses For Apple Cider Vinegar
Around here, we're always buying a 3-pack of apple cider vinegar from Costco because we add it to the water for our chickens. It helps keep them healthy.
But chickens aren't the only ones who can benefit from consuming this amazing vinegar. It has many health benefits for humans, too! One to two tablespoons of vinegar can aid digestion, reduce blood sugar, and encourage weight loss (read more about this at WebMD). It's great for gut health and your immune system, too!
Of course, ACV is also delicious in vinaigrettes, salad dressings, and German potato salad. You can also use it to make this elderberry shrub recipe or self-heal oxymel.
Besides uses in the kitchen, some people also use it as a vinegar cleaning product and a beauty aid as a facial toner and hair rinse!
Equipment
All you need to make homemade apple cider vinegar is a quart-sized mason jar, a 16-ounce fliptop bottle, a fine mesh strainer, and ph testing strips (optional, but very helpful).
FAQ
Initially, wild yeast consumes the sugar (whether added or natural sugars from the fruit). This produces alcohol and carbon dioxide. Acetic acid bacteria then consume the alcohol, leaving behind the vinegar.
Some people take a tablespoon of apple cider vinegar before a meal, while others stir it into water to make it more palatable. It's really a matter of preference.
The process of fermenting homemade vinegar can take anywhere from 1-2 months. The longer fermentation process produces a better flavor.
Pro Tips
- Whenever possible, use organic apples and filtered water or unchlorinated water.
- If you don't have enough apple bits and pieces to make this apple cider vinegar recipe, you can save them up over time in the freezer until you're ready to start a batch of apple cider vinegar.
- Don't use cheesecloth to cover the jar because fruit flies and other tiny bugs can get into the jar and ruin your fermentation.
- The acidity of homemade vinegar can vary. For this reason, it's not recommended for canning purposes!
More Homesteading Recipes
If you find this recipe informative, check out these related posts!


Recipe

How To Make Apple Cider Vinegar
Ingredients
- 3 cups chopped apples (cores, peels, pieces)
- 3 tablespoon granulard sugar (may substitute brown sugar)
- 3 cups filtered water
Instructions
- Fill a quart-sized mason jar ½ to ¾ full with chopped apples, cores, peel, or scraps. Mix 2 tablespoons granulated sugar in 2 cups water. Stir to dissolve, then pour over apples. If apples are not fully submerged, add an additional cup of water mixed with 1 tablespoon sugar.
- Cover jar with a coffee filter or breathable cloth and secure into place with rubber band or jar collar. Place jar in a cool, dark location (away from direct sunlight) and wait for the fermentation process to start. Stir mixture daily for the next two weeks. This will discourage mold growth, especially since some apples will float to the surface.
- After 2 weeks, strain vinegar through a fine mesh strainer, and discard apples. Allow vinegar to ferment anywhere from 1 to 3 months. The longer you ferment the vinegar, the more the flavor will develop. Your finished vinegar should have a ph somewhere between 2 to 3.
- Transfer finished vinegar to either flip-top bottles or bottles with tight fitting lids and store in a cool, dark, location.
Notes
- If possible, choose a wide-mouthed jar, which will be easier to fill and work with.
- During this time, bubbles will begin to form, indicating that fermentation is in progress.
- If you bottle the vinegar too early, the pressure will build up from the gases and you can end up with a mess on your hands.
- Whenever possible, use organic apples and filtered water or unchlorinated water.
- If you don't have enough apple bits and pieces to get started, you can save them up over time in the freezer until you're ready to start a batch of apple cider vinegar.
- Don't use cheesecloth to cover the jar because fruit flies and other tiny bugs can get into the jar and ruin your fermentation.
- The acidity of homemade vinegar can vary. For this reason, it's not recommended for canning purposes!
Hilda Sterner says
I hope you find this post informative!
Catherine says
Thank you, Hilda, I will try this, and it should be in time for the Fall.
God bless you, so happy I found your site. I am learning so much.
Hilda Sterner says
Thank you, Catherine, God bless you too! ❤️
Heidi says
Who knew making vi what was this easy? Thanks for the detailed info!
Hilda Sterner says
I know, right? I want everyone to know!!!